1999 BERNINA Of America
Section B - page14
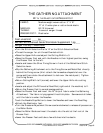
THE GATHERING ATTACHMENT
G
ATHERING FABRIC
Feet-ures Unit
____pg.___
Instruction Sheet for the Gathering Attachment
Bernette Advanced Guide Workbook Supplement 1
pg.___
Serger Library – Simply Serging
Specialty Stitches
Additions
•Turn the Stitch Selection Dial to “A’ on the Stitch Selection Panel.
•Thread the serger for a 4-thread Overlock stitch.
•Raise the Upper Knife and adjust the Cutting Width to 3.
•Raise the Presser Foot and, with the Needles in their highest position, swing
the Presser Foot to the left.
•Locate and loosen the silver Fixing Screw in front of the Rolled Hem Stitch
Selection Lever.
•Slip the Gathering Attachment on to the Fixing Screw and Metal Post directly
behind the Fixing screw. (Hint: attach the horseshoe-shaped slot over the
screw and then rotate the attachment to lock over the metal post.) Tighten
the Fixing Screw.
•Return Cutting Width to 2 (normal) and lower the Upper Knife into Cutting
Position.
•Locate and adjust the Differential Feed Dial (right end of the machine) to 2.
•Return the Presser Foot to normal sewing position.
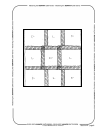
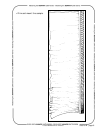
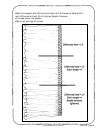
•Using a Fabric Marker, divide the fabric into 3 equal sections along a 15” edge.
•Touch the Needle Stop Button to lower the Needles and lower the Feed Dog.
•Raise the Presser Foot and insert the fabric under the Gathering Attachment
and up to the Needles. The fabric is lying against the stitch plate.
•Lower the Presser Foot and serge to the first mark.
•Adjust Stitch Length to 4 and serge to the second mark.
•Increase tension on both Needles by moving the Tension Fine Tuning Levers up.
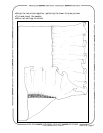
•Serge to the end of the fabric.
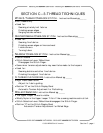
FABRIC: Medium weight woven cotton 3” X 15”
NEEDLES: 80/12 Universal, Sharp or Microtex
THREAD: 4 cones of serger thread
PRESSER FOOT: Standard


