


Network > Dynamic DNS
309
SonicOS Enhanced 4.0 Administrator Guide
To configure Dynamic DNS on the SonicWALL security appliance, perform these steps:
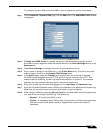
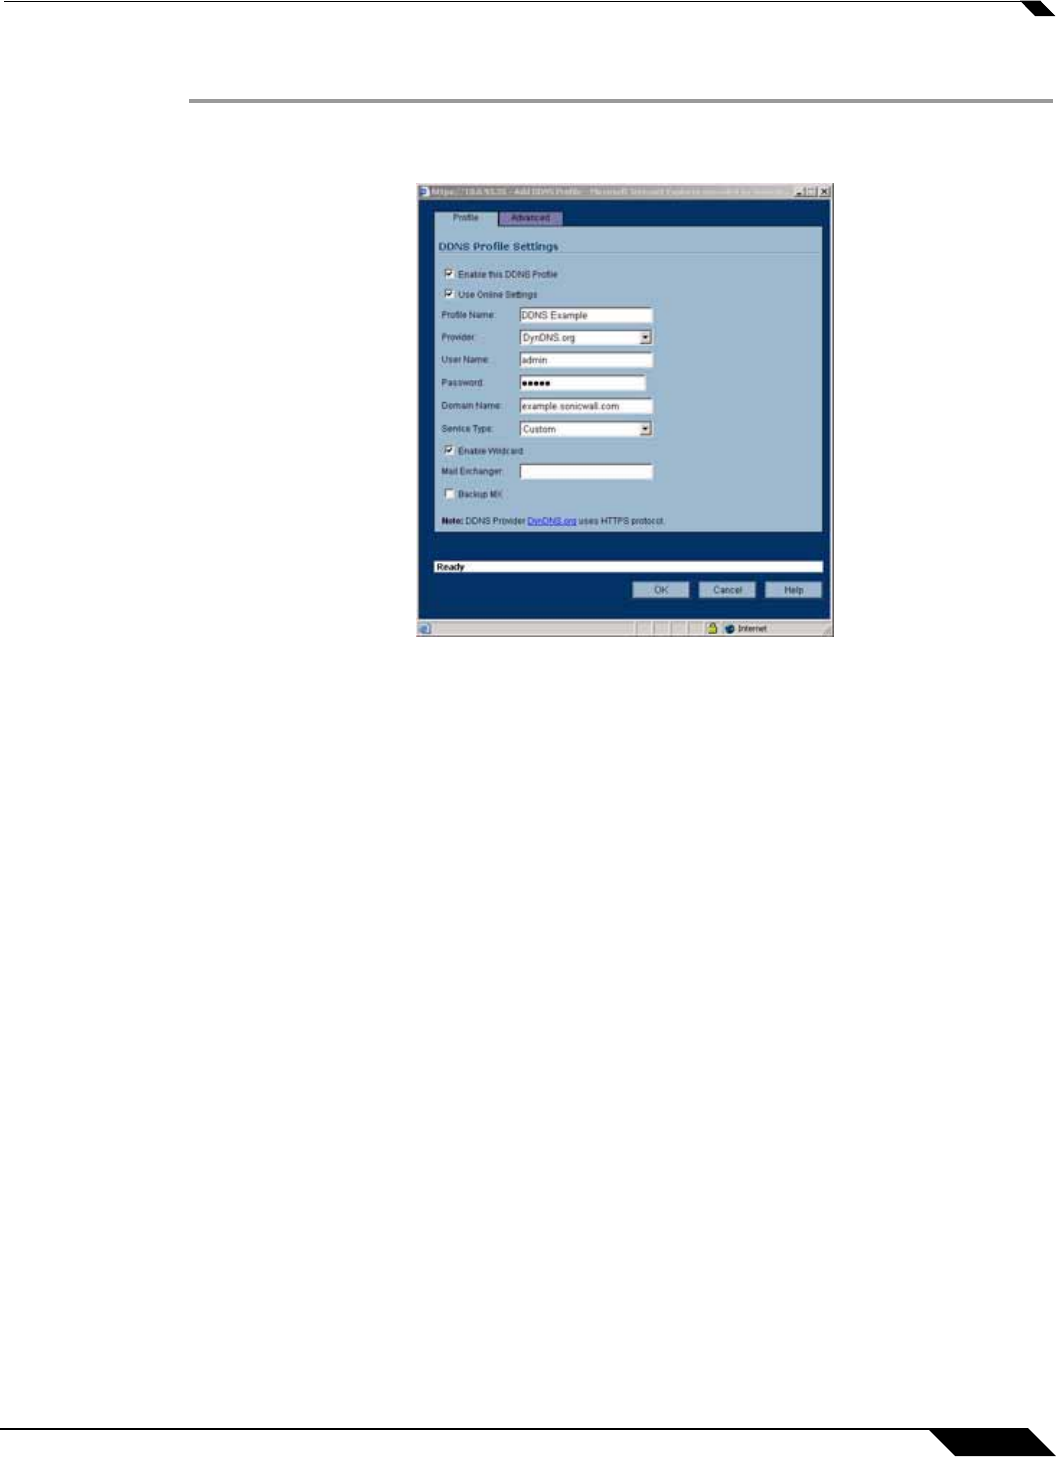
Step 1 From the Network > Dynamic DNS page, click the Add button. The Add DDNS Profile window
is displayed.
Step 2 If Enable this DDNS Profile is checked, the profile is administratively enabled, and the
SonicWALL security appliance takes the actions defined in the Online Settings section on the
Advanced tab.
Step 3 If Use Online Settings is checked, the profile is administratively online.
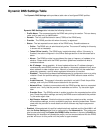
Step 4 Enter a name to assign to the DDNS entry in the Profile Name field. This can be any value
used to identify the entry in the Dynamic DNS Settings table.
Step 5 In the Profile page, select the Provider from the drop-down list at the top of the page.
DynDNS.org and changeip.com use HTTPS, while yi.org and no-ip.com use HTTP. This
example uses DynDNS.org. Dyndns.org requires the selection of a service. This example
assumes you have created a dynamic service record with dyndns.org.
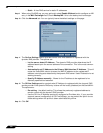
Step 6 Enter your dyndns.org username and password in the User Name and Password fields.
Step 7 Enter the fully qualified domain name (FQDN) of the hostname you registered with dyndns.org.
Make sure you provide the same hostname and domain as you configured.
Step 8 When using DynDNS.org, select the Service Type from the drop-down list that corresponds to
your type of service through DynDNS.org. The options are:
–
Dynamic - A free Dynamic DNS service.
–
Custom - A managed primary DNS solution that provides a unified primary/secondary
DNS service and a web-based interface. Supports both dynamic and static IP
addresses.