


Configuring Interfaces
146
SonicOS Enhanced 4.0 Administrator Guide
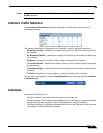
Note The above table depicts the maximum subnet mask sizes allowed. You can still use class-
full subnetting (class A, class B, or class C) or any variable length subnet mask that you wish
on WLAN interfaces. You are encouraged to use a smaller subnet mask (e.g. 24bit class C
- 255.255.255.0 - 254 total usable IPs), thus allocating more IP addressing space to clients
if you have the need to support larger numbers of wireless clients.
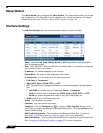
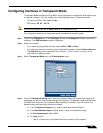
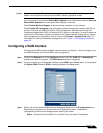
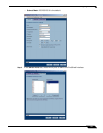
Step 5 Enter any optional comment text in the Comment field. This text is displayed in the Comment
column of the Interface table.
Step 6 If you want to enable remote management of the SonicWALL security appliance from this
interface, select the supported management protocol(s): HTTP, HTTPS, SSH, Ping, SNMP,
and/or SSH.
Step 7 If you want to allow selected users with limited management rights to log in to the security
appliance, select HTTP and/or HTTPS in User Login.
Step 8 Click OK.
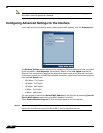
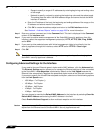
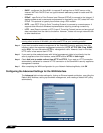
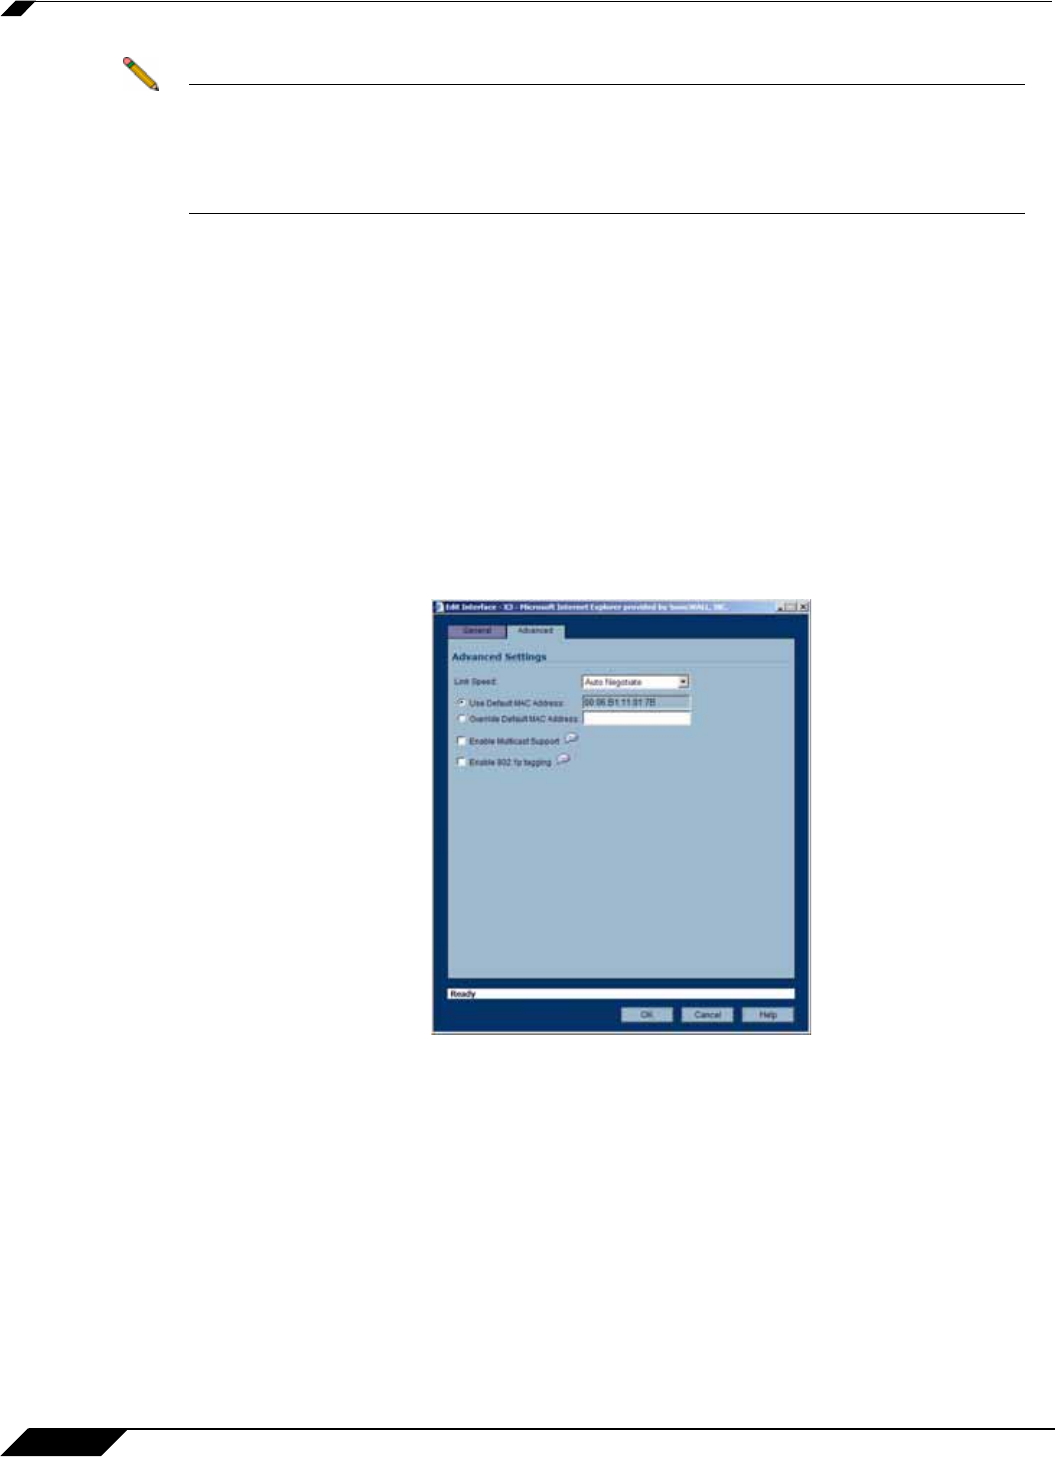
Configuring Advanced Settings for the Interface
If you need to force an Ethernet speed, duplex and/or MAC address, click the Advanced tab.
The Ethernet Settings section allows you to manage the Ethernet settings of links connected
to the SonicWALL. Auto Negotiate is selected by default as the Link Speed because the
Ethernet links automatically negotiate the speed and duplex mode of the Ethernet connection.
If you want to specify the forced Ethernet speed and duplex, select one of the following options
from the Link Speed menu:
• 1000 Mbps - Full Duplex
• 100 Mbps - Full Duplex
• 100 Mbps - Half Duplex
• 10 Mbps - Full Duplex
• 10 Mbps - Half Duplex