


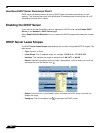
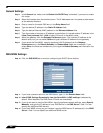

Network > DHCP Server
284
SonicOS Enhanced 4.0 Administrator Guide
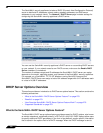
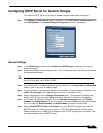
General Settings
Step 2 In the General tab, make sure the Enable this DHCP Entry is checked, if you want to enable
this range.
Step 3 Select the interface from the Interface menu. The IP addresses are in the same private subnet
as the selected interface.
Step 4 Enter a name for the static DNS entry in the Entry Name field.
Step 5 Type the device IP address in the Static IP Address field.
Step 6 Type the device Ethernet (MAC) address in the Ethernet Address field.
Step 7 Type the number of minutes an IP address is used before it is issued another IP address in the
Lease Time (minutes) field. 1440 minutes (24 hours) is the default value.
Step 8 Select the gateway from the Gateway Preferences menu. The interface IP address is the
default value, but you can select Other and type a different IP address for the gateway.
Step 9 If you select the SonicWALL security appliance LAN IP address from the Gateway
Preferences menu, the Default Gateway and Subnet Mask fields are unavailable. If you
select Other, the fields are available for you to type the Default Gateway and information into
the fields.
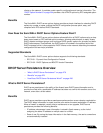
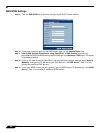
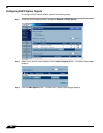
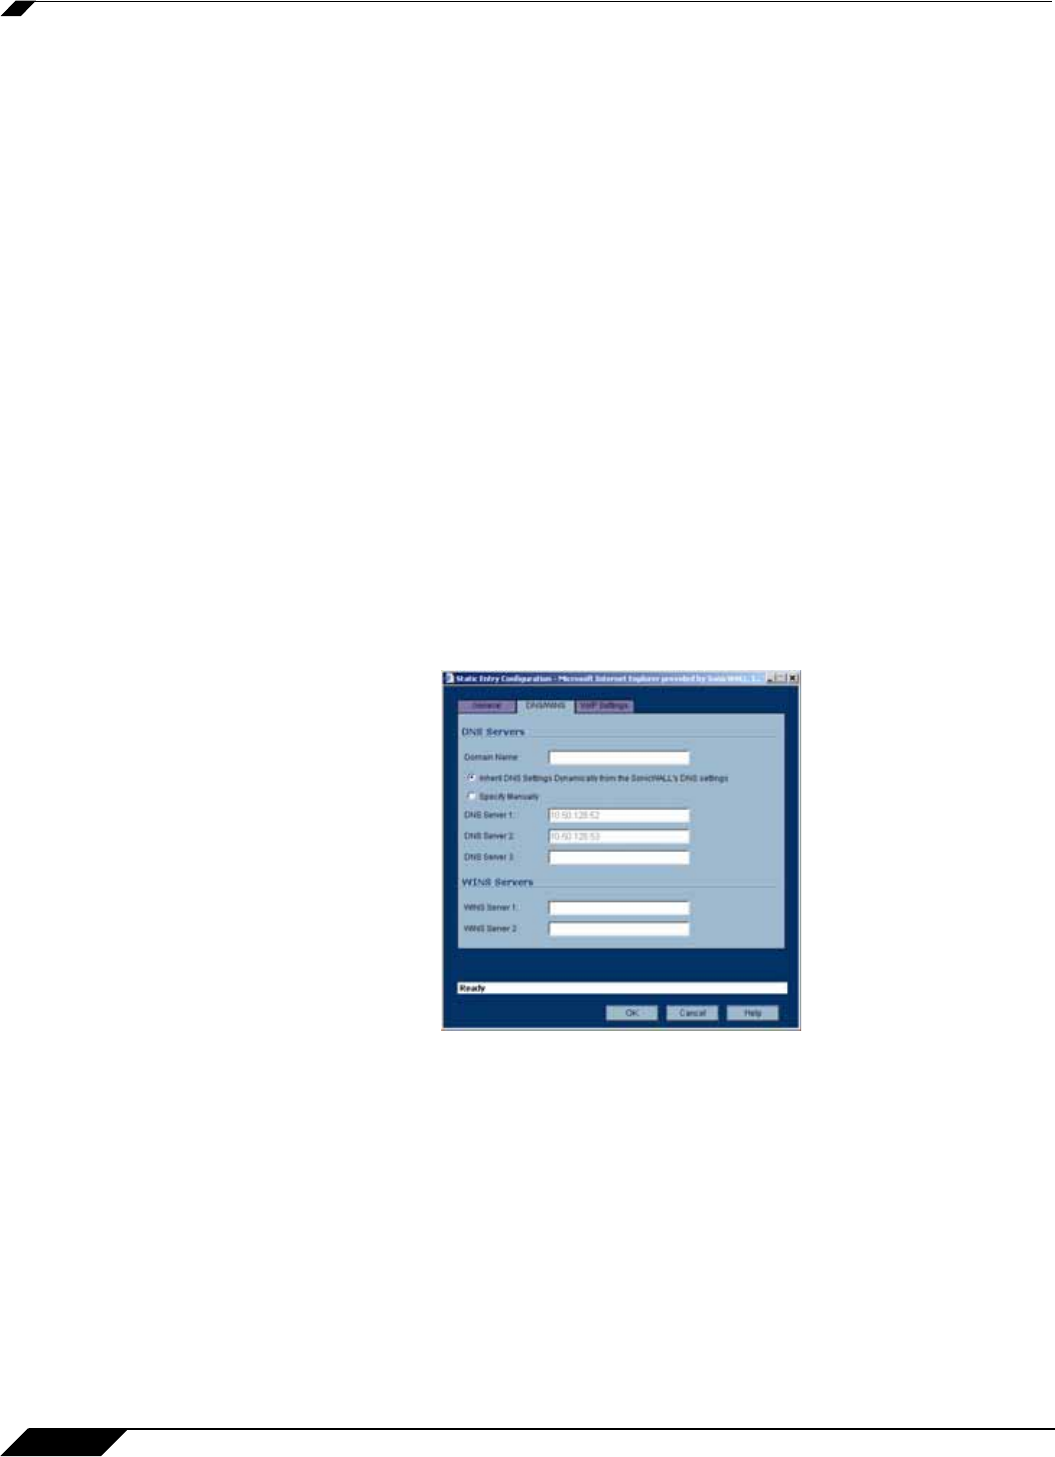
DNS/WINS Settings
Step 10 Click the DNS/WINS tab to continue configuring the DHCP Server feature.
Step 11 If you have a domain name for the DNS Server, type it in the Domain Name field.
Step 12 Inherit DNS Settings Dynamically from the SonicWALL’s DNS settings is selected by
default. When selected, the DNS Server IP fields are unavailable.
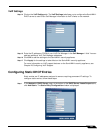
Step 13 If you do not want to use the SonicWALL security appliance network settings, select Specify
Manually, and type the IP address of your DNS Server in the DNS Server 1 field. You can
specify two additional DNS servers.
Step 14 If you have WINS running on your network, type the WINS server IP address(es) in the WINS
Server 1 field. You can specify an additional WINS server.