2-3
Installation Guide for the Cisco Secure PIX Firewall Version 5.2
78-11180-01
Chapter 2 Installing a PIX Firewall
Installing a PIX 506
• MTU size—The maximum transmission unit (MTU) size for each network interface. You only need
to specify a value if you want to set an MTU size that differs from the default
(1,500 bytes/block for Ethernet; 8,192 bytes/block for Token Ring and FDDI).
In addition, you should determine the IP address of the outside default router and your network topology
and security policy. We recommend that you take a few minutes to draw a diagram of your network with
IP addresses, indicating which computers you are protecting, and which switches, routers, and hosts are
on each network.
Installing a PIX 506
This section includes the following topics:
• Introduction
• PIX 506 Installation Steps
• Configuring the PIX 506
Introduction
To download software to a PIX Firewall, see the “Software Installation Notes” section in this chapter
or refer to the Cisco PIX Firewall Configuration Guide, Version 5.2.
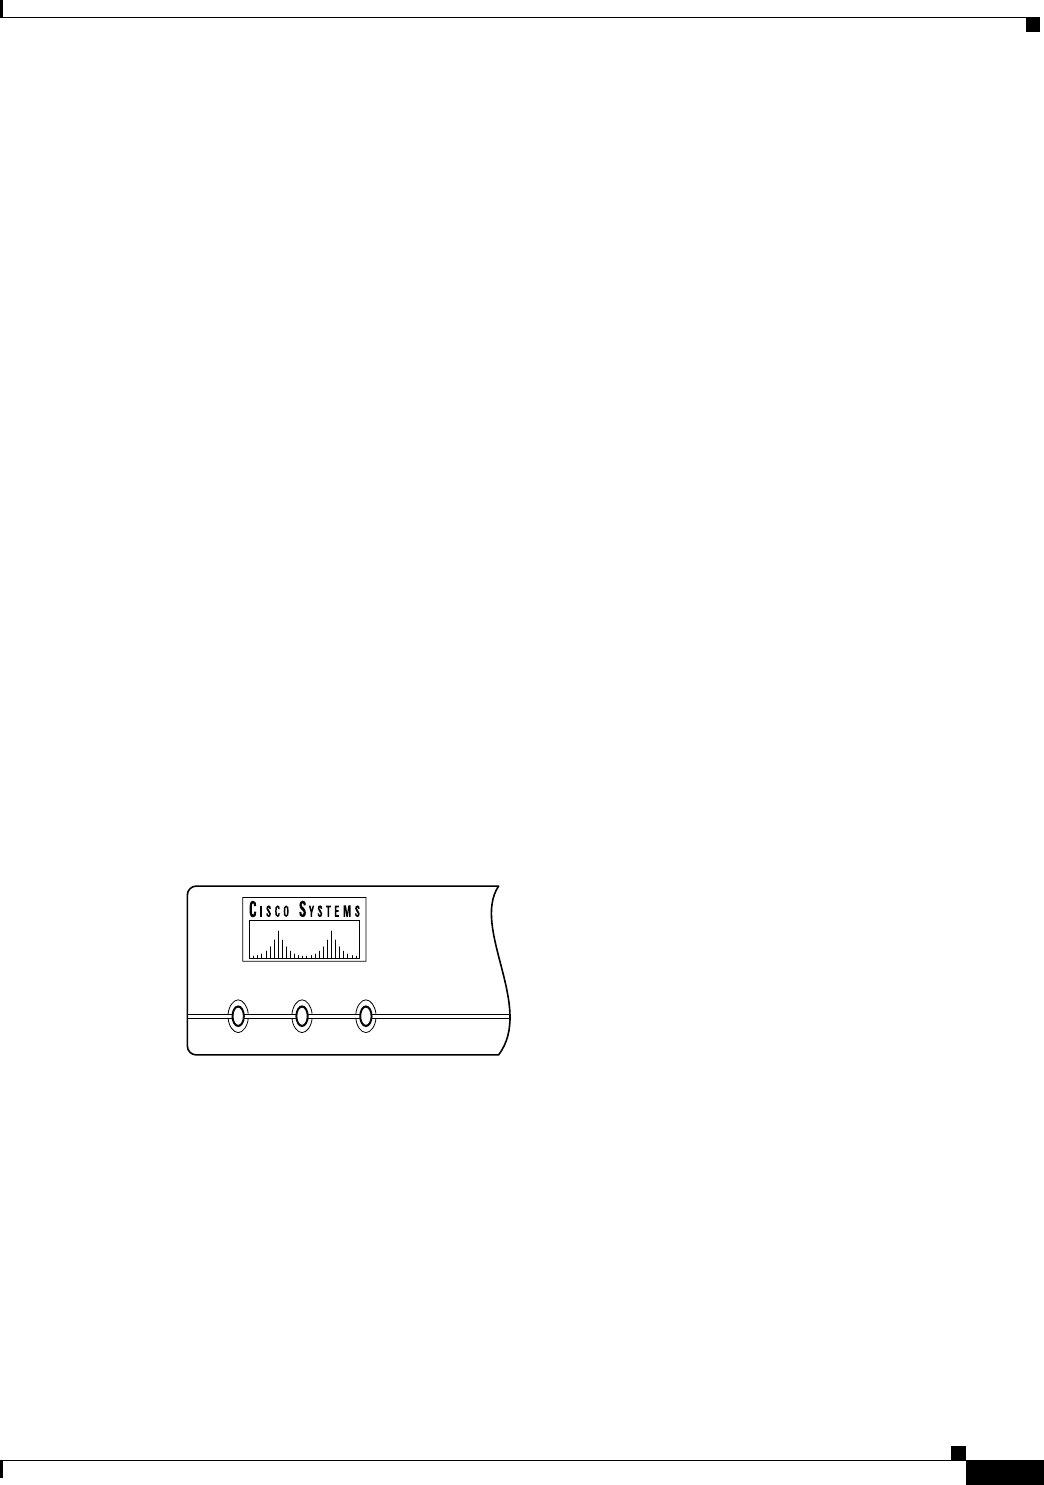
The Front Panel LEDs, as shown in Figure 2-1, are as follows:
• POWER—On when the unit has power.
• ACT—Active indicator—On when the software image has been loaded on the PIX 506 unit.
• NETWORK—On when at least one network interface is passing traffic.
Figure 2-1 PIX 506 Front Panel LEDs
PIX 506 back panel connectors and LEDS are shown Figure 2-2.
The LEDs for the RJ-45 network ports display the following transmission states:
• ACT—Shows network activity.
• LINK—Shows that data is passing on the network to which the connector is attached.
The USB port to the left of the Console port is not used.
POWER ACT NETWORK
25735
