


CARE AND MAINTENANCE
Appendix
327
8
g
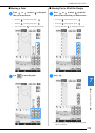
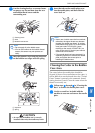
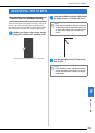
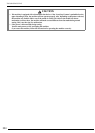
Use the cleaning brush or a vacuum cleaner
to remove any lint and dust from the race
and bobbin thread sensor and the
surrounding area.
a Cleaning brush
b Race
c Bobbin thread sensor
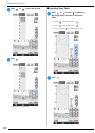
h
Insert the bobbin case so that the projection
on the bobbin case aligns with the spring.
a Projection
b Spring
i
Insert the tabs on the needle plate cover
into the needle plate, and then slide the
cover back on.
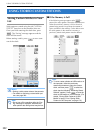
Cleaning the Cutter in the Bobbin
Case Area
The cutter below the needle plate should be
cleaned. If dust or lint accumulate on the cutter, it
will be difficult to cut the thread when the “Thread
Cutter” button is pressed or the automatic thread
cutting function is used. Clean the cutter when the
thread is not easily cut.
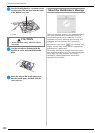
a
Follow steps
a
through
e
in “Cleaning the
Race” to remove the needle plate cover.
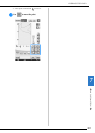
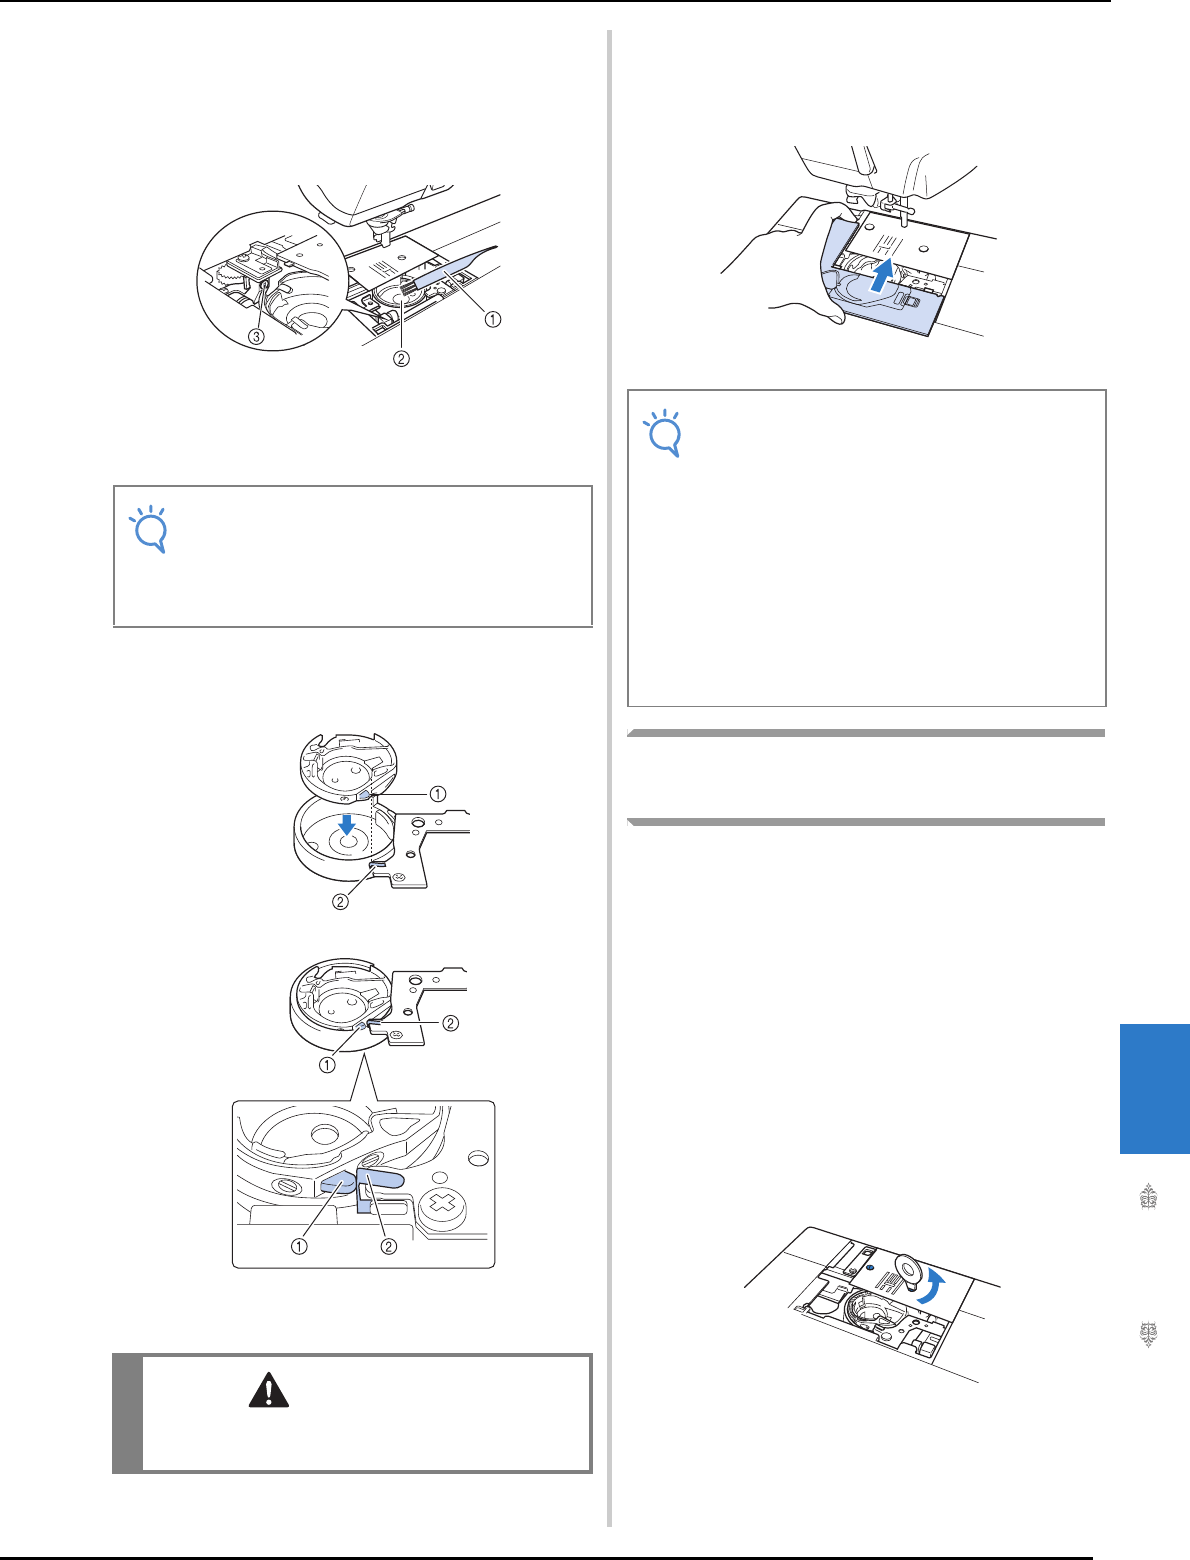
b
Use the screwdriver included with the
machine to unscrew and remove the needle
plate.
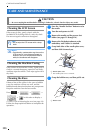
Note
• Do not apply oil to the bobbin case.
• If lint or dust collects on the bobbin thread
sensor, the sensor may not operate cor-
rectly.
CAUTION
• Be sure that the bobbin case is correctly
installed. Otherwise, the needle may break.
Note
• Never use a bobbin case that is scratched;
otherwise, the upper thread may become
tangled, the needle may break, or sewing
performance may suffer. For a new bobbin
case (part code: XC3153-251 (green
marking on the screw), XC8167-451 (no
color on the screw)), contact your nearest
authorized service center.
• If the needle plate has been removed it is
especially important to reinstall the needle
plate and tighten the screws prior to
installing the bobbin case.