


PRINT AND STITCH (COMBINING EMBROIDERY PATTERNS AND PRINTED DESIGNS)
308
Outputting the Background
Image and Positioning Image
Use USB media or the computer to output the
following three images from the machine.
* File name may differ depending on the PDF file
selected.
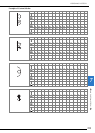
• [xxx]r.pdf (Example: E_1r.pdf)
An image flipped on a vertical axis (for an iron-
on transfer)
• [xxx]n.pdf (Example: E_1n.pdf)
An image that is not flipped (for printing on
printable fabric)
• [xxx]p.pdf (Example: E_1p.pdf)
An image that is not flipped, but has positioning
marks attached (for positioning)
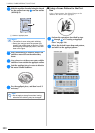
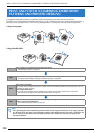
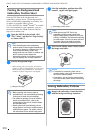
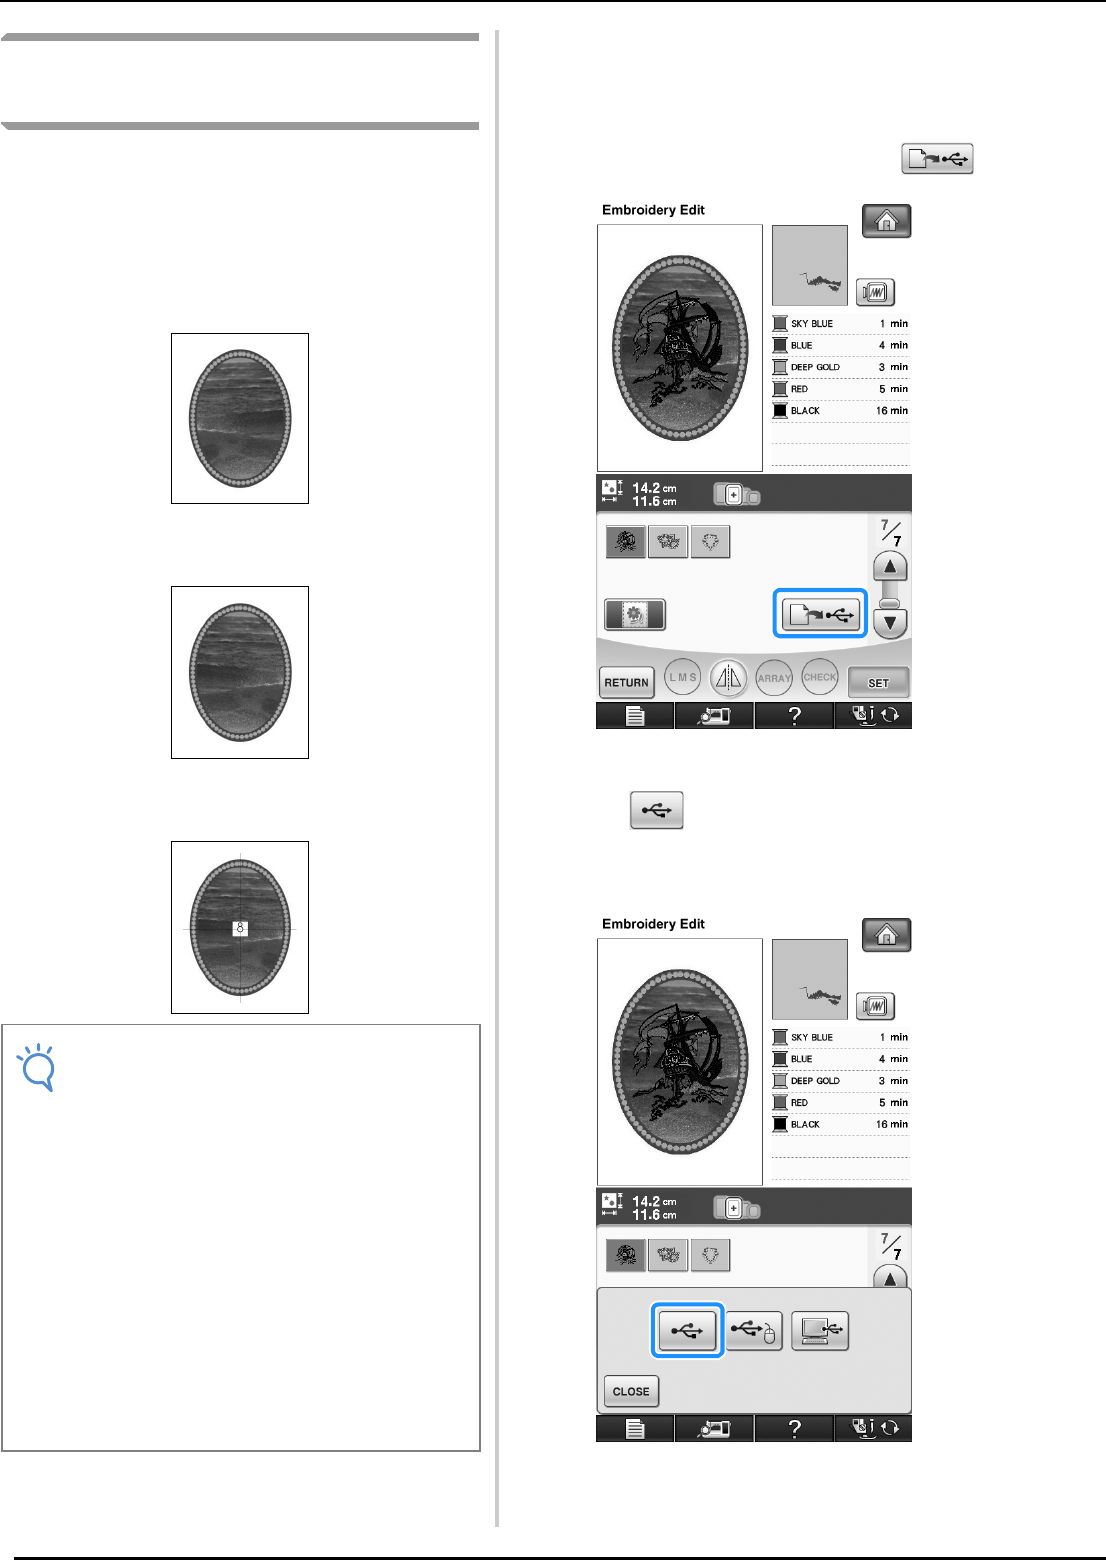
■ Using USB Media
a
Insert the USB media into the primary (top)
USB port on the machine.
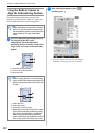
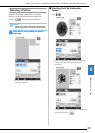
b
Select the pattern, and then press .
o The select USB output screen appears.
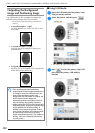
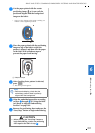
c
Press to select the primary (top) USB
port where the primary USB media is
inserted.
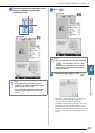
Note
• Print the background and embroidery
position sheet in their original dimensions. If
an image is printed in a different size, the
sizes of the embroidery pattern and
background may not match. In addition, the
built-in camera cannot detect the
embroidery position mark. Make sure that
the print settings are correctly specified.
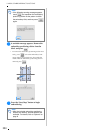
• When printing the PDF file of the image with
positioning marks, specify the highest image
quality possible for full-color printing. In
addition, use matte printing paper. Due to
poor printing conditions, the machine’s built-
in camera may not be able to correctly
detect the positioning marks. (For details on
printing, refer to the operating instructions
for your printer.)