


26
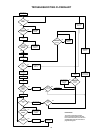
POWERED ANODE ROD REMOVAL / REPLACEMENT
Important: Use only factory authorized replacement
parts. If you lack the necessary skills to properly
perform the installation, you should not proceed, but
get help from a qualified service technician.
Tools required: Ratchet with 1-
1/16
” Socket, Pliers,
and Teflon
®
Tape or an approved pipe sealant.
Removing the Powered Anode Rod:
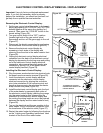
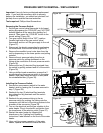
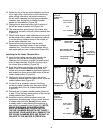
1. Set the gas control valve/thermostat to its lowest
setting by pressing the “COOLER” and “HOTTER”
buttons together at the same time holding for 1
second. Then press the “COOLER” button to the
lowest setting (Figure 30).
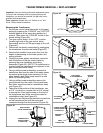
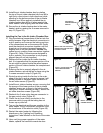
2. Turn gas control switch to the “OFF” position
(located right side of the gas control valve/
thermostat) and turn off the gas supply to the unit
(Figure 31).
3. Disconnect the electric connection by unplugging
the transformer from the wall outlet (Figure 31).
4. Shut off the incoming water supply to the water
heater and open a nearby hot water faucet to
depressurize the water tank.
5. Remove the manifold cover outer door and
connect a hose to the drain valve and terminate it
to adequate drain or to the exterior of the building.
Open the drain valve and allow at least 5 gallons
of water from the tank to drain. Close drain and
remove hose.
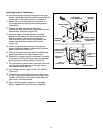
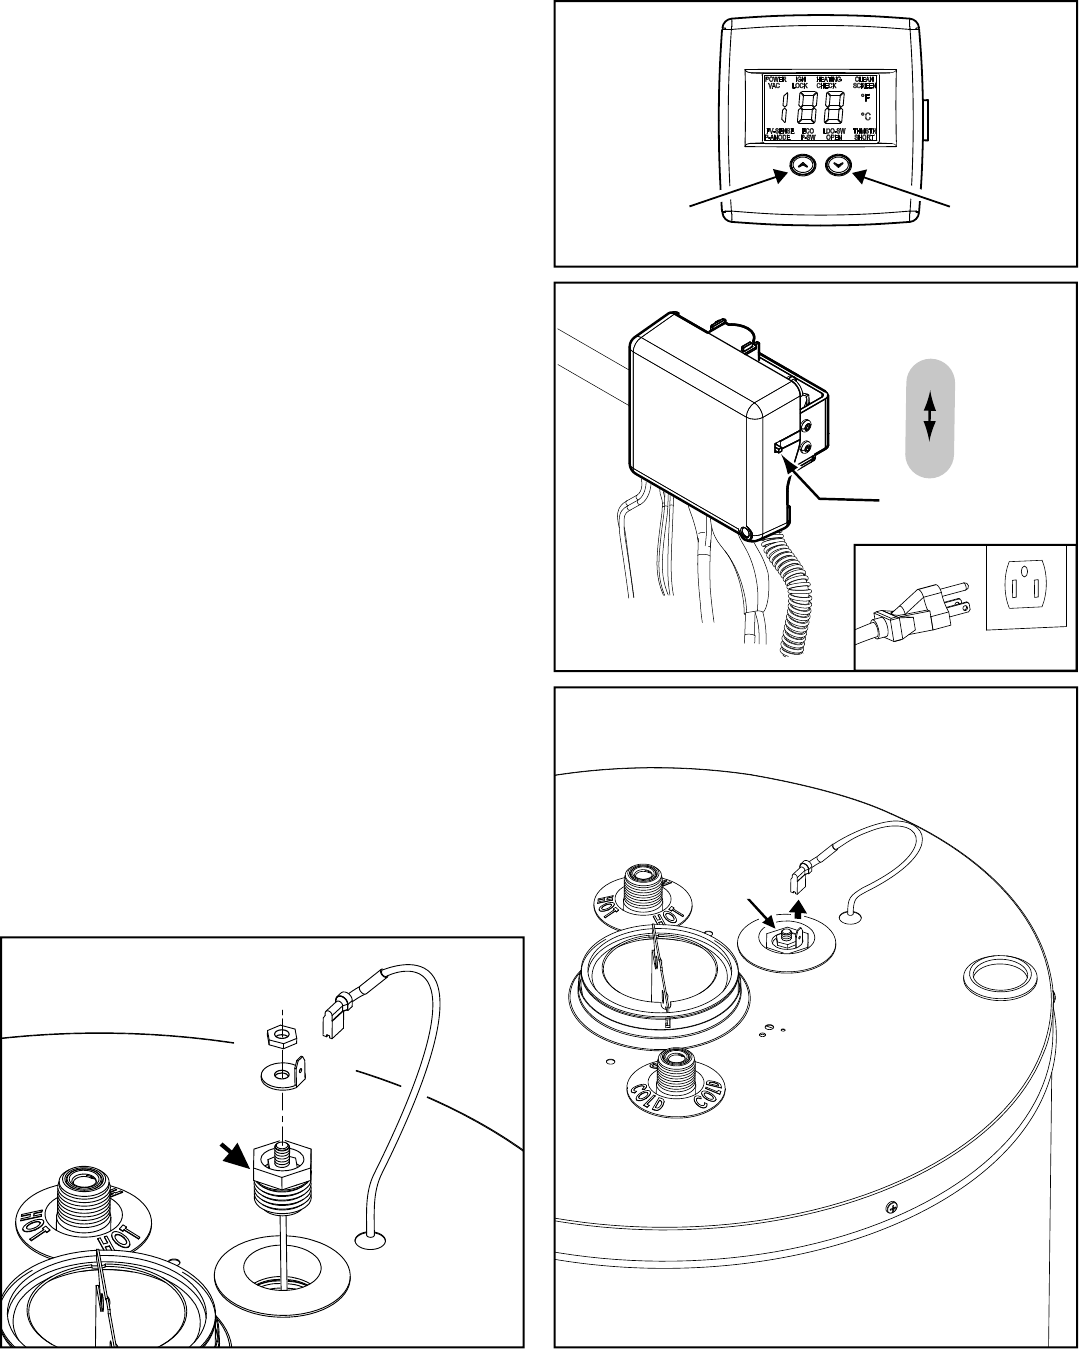
6. Unplug the electrical connection on top of the
powered anode by pulling the wire connector
up and off of the powered anode rod electrical
connector (Figure 32).
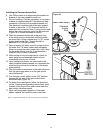
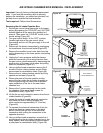
7. Remove the powered anode rod by using a ratchet
and a 1-
1/16
” socket turning counterclockwise
(Figure 33). Note: Figure 33 is shown exploded,
if the socket used is short well you may have
to remove the top male connector first before
removing the powered anode rod.
Powered
Anode
Rod
Figure 32.
Powered
Anode
Rod
Figure 33.
g
COOLER
HOTTER
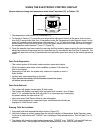
Electronic Control Display
Figure 30.
ON/OFF
SWITCH
ON
OFF
Figure 31.
UNPLUGGED