


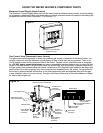
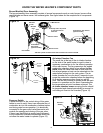
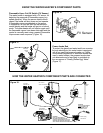


16
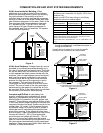
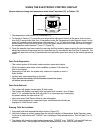
LIGHTING INSTRUCTIONS
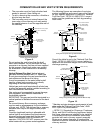
Read and understand these directions thoroughly before attempting to operate the water heater. Make sure
the view port is not missing or damaged. Make sure the tank is completely filled with water before operating
the water heater. The gas control valve/thermostat has an “On/Off Switch” and needs to be turned on
before the water heater is operational. Check the label on the front of the water heater near the gas control
valve/thermostat for the correct gas. Do not start this water heater with any gas other than the one listed on
the label. If you have any questions or doubts, consult the gas supplier or gas utility company. The following
Lighting Instruction label appears on the front of the water heater.
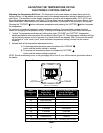
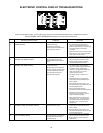
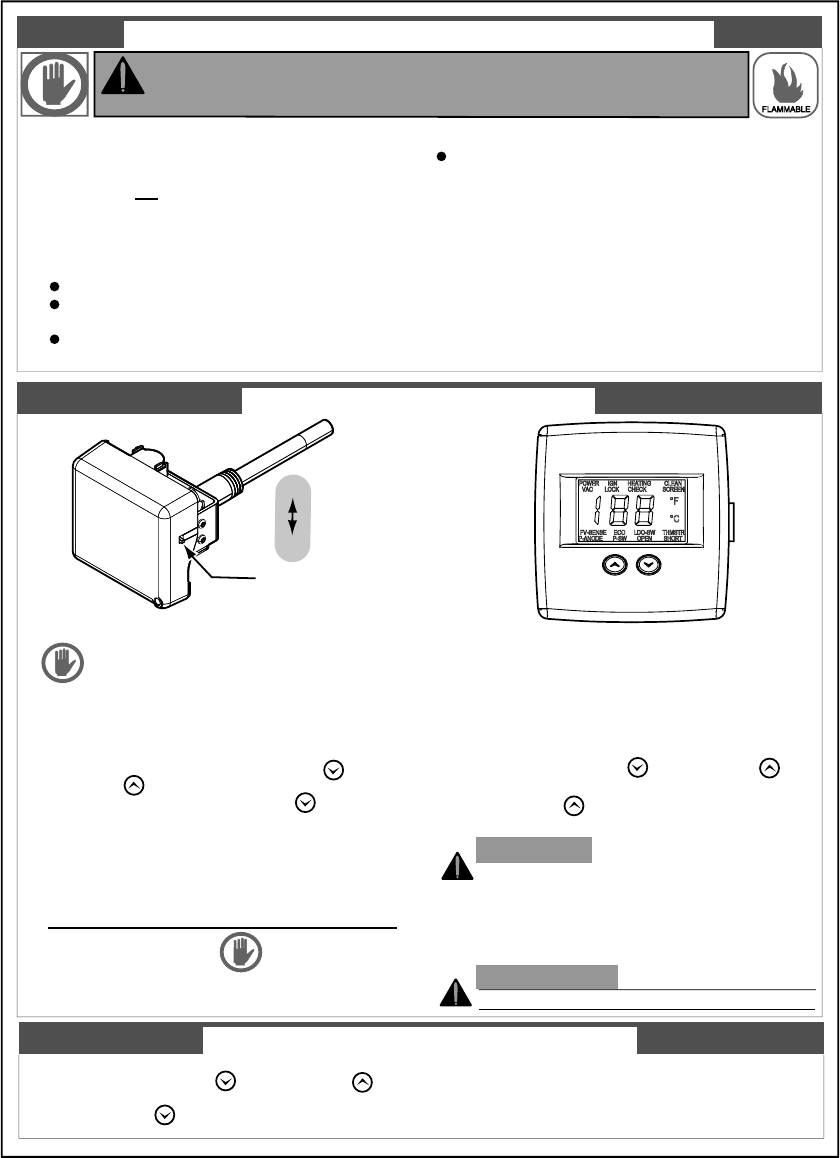
Set the Electronic Display to the lowest setting by first
pressing the COOLER and HOTTER but-
tons together and holding for 1 second. Then press
the COOLER button to the lowest setting.
185741-000
FLAMMABLE
BEFORE OPERATING: ENTIRE SYSTEM MUST BE FILLED WITH WATER AND AIR PURGED FROM ALL LINES.
A.
B.
C.
D.
WHAT TO DO IF YOU SMELL GAS:
Do not try to light any appliance.
Immediately call your gas supplier from a neighbor’s
phone. Follow the gas supplier’s instructions.
If you cannot reach your gas supplier, call the
fire department.
Do not touch any electric switch;
do not use any phone in your building.
1.
1.
STOP!
Read the safety information
above on the label.
3.
Set the ON/OFF switch on the gas control to the
"ON" position.
5.
Set the ON/OFF switch on the gas control to the
"OFF" position.
WARNING:
If you do not follow these instructions exactly, a fire or
explosion may result causing property damage, personal injury
or loss of life.
Turn on all electrical power to the appliance.
2.
Turn off all electrical power to the appliance if
service is to be performed.
3.
Set the ON/OFF switch on the gas control to the
"OFF" postition.
2.
6.
This appliance is equipped with a device
which automatically lights the burner.
DO NOT TRY TO LIGHT THE BURNER BY HAND.
This appliance does not have a pilot. It is equipped with
an ignition device that will
automatically
light the
burner.
Do not try to light the burner by hand.
BEFORE OPERATING smell all around the appliance
area for gas. Be sure to smell next to the floor because
some gas is heavier than air and will settle on the floor.
Use only your hand to push in the electronic display
buttons and gas control switch. Never use tools.
If the control buttons will not push in, don't try to
repair them, call a qualified service technician. Force
or attempted repair may result in a fire or explosion.
Do not use this appliance if any part has been
under water. Immediately contact a qualified
installer or service agency to replace a flooded
water
heater. Do not attempt to repair the unit.
It must
be replaced!
7.
Wait five (5) minutes to
clear out any gas.
If you then smell gas,
STOP! Follow "B" in
the safety information above on this label. If you
don't smell gas, go to the next step.
Set the Electronic Display to the lowest
setting by first
pressing the COOLER and
HOTTER but
tons together and holding for 1
second. Then press
the COOLER button to
the lowest setting.
4.
"GAS CONTROL"
FOR YOUR SAFETY READ BEFORE OPERATING
OPERATING INSTRUCTIONS
TO TURN OFF GAS TO APPLIANCE
ON/OFF
SWITCH
ON
OFF
"ELECTRONIC DISPLAY"
DANGER:
Hotter water increases the
risk of scald injury. Consult the instruction
manual before changing temperature.
Set the ON/OFF switch on the gas control to the
"ON" postition.
8.
Set the Electronic Display to the desired setting by first
pressing the COOLER and HOTTER but-
tons together and holding for 1 second. Then press
the HOTTER button until the desired setting
is reached.
9.
WARNING: TURN OFF ALL
ELECTRIC POWER BEFORE SERVICING.
10.
If the appliance will not operate, follow the instruc-
tions "TO TURN OFF GAS TO APPLIANCE" and
call your technician or gas supplier.
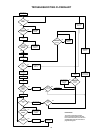
Figure 20.