Form RZ-NA-I-LDAP, P/N 207733 (Rev 2), Page 14
15. Thermostat
and
Connections
Use either an optional thermostat available with the heater or a field-supplied 24-volt
thermostat. Install according to the thermostat manufacturer's instructions, paying
particular attention to the requirements regarding the location of the thermostat.
Make sure that the heat anticipator setting on the thermostat is 0.6 amps (or in accor-
dance with the amperage value noted on the wiring diagram of your heater).
Make thermostat connections at the terminal strip on the front of the heater. The strip
has seven terminals, R, G, C, Y1, Y2, W1, and W2. Refer to the wiring diagram on
the heater.
IMPORTANT: All heaters MUST be operated by a 24-volt thermostat. Never
use a line voltage disconnect switch as a means of operating the heater. Operating by
means other than a 24-volt thermostat may result in the high limit control tripping
and may cause damage to the heater from excessive heat.
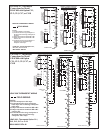
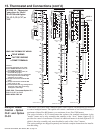
Connections for Reznor optional thermostats are shown in FIGURE 10 for LDAP
400; in FIGURE 11 for LDAP 800; and in FIGURE 12 for LDAP 1200.
24V Control Wiring
Connections
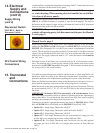
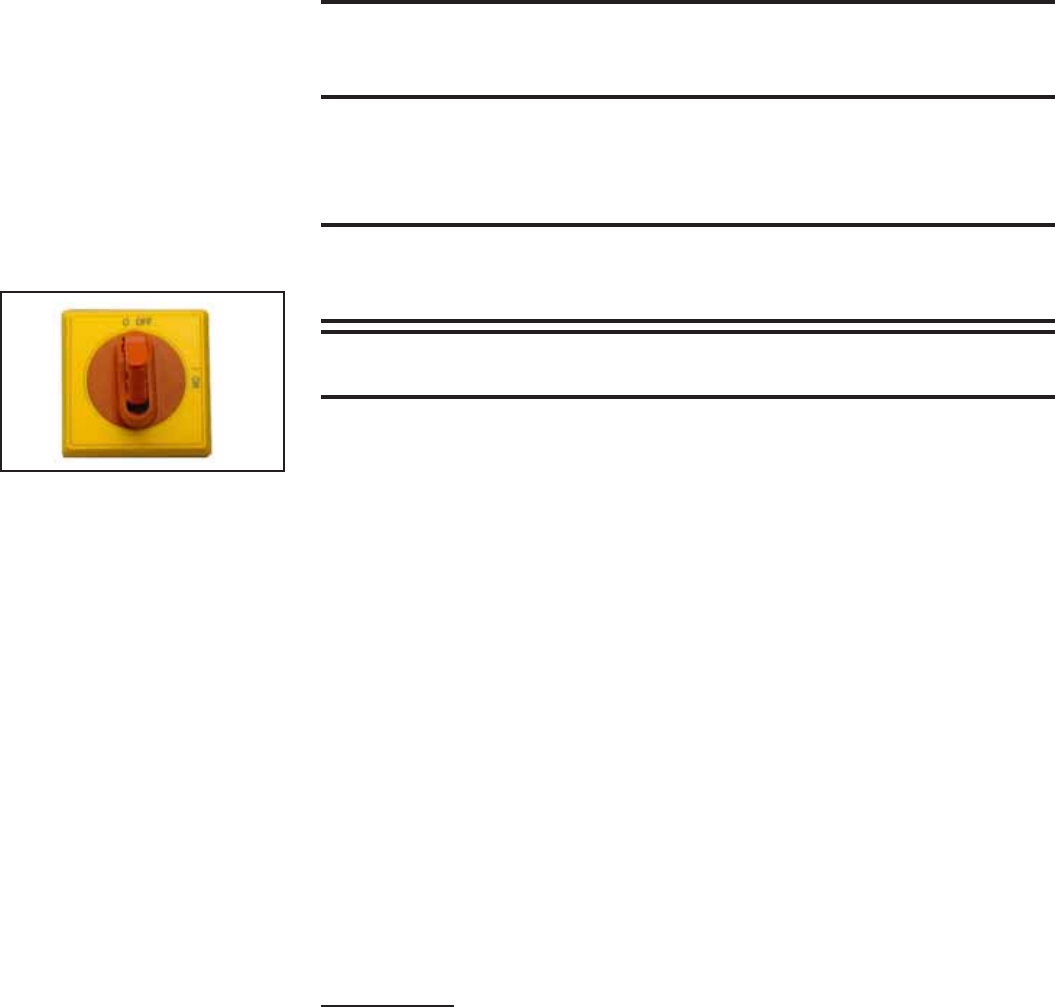
Disconnect Switch
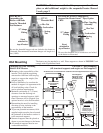
FIGURE 9 - Built-in
Disconnect Switch
• Option CL1 - Single-Stage Thermostat, 40-80°F
• Option CL2 - Single-Stage Thermostat with Fan Switch, 40-80°F
• Option CL3 - Single-Stage Thermostat, 40-90°F
• Option CL7 - Two-Stage Thermostat (for use with optional two-stage gas valve
on Size 400 or for staging heat sections on Sizes 800 and 1200)
• Option CL18 - Two-Stage Thermostat with Fan Switch (for use with optional
two-stage gas valve on Size 400 or for staging heat sections on Sizes 800 and
1200)
conduit and have a minimum temperature rise rating of 60°C. Conduit must be run so
as not to interfere with the heater access panel.
CAUTION: Route wires so that they do not contact the flue wrapper
or venter housing. When running electrical conduit, be careful that
it is clear of all access panels.
The heater is equipped with a built-in, non-fusible, lockable disconnect switch (FIG-
URE 8). If a fusible disconnect is required, it must be field supplied. The built-in
disconnect switch requires copper wiring with ampacity based on 60°C maximum
temperature rating at the line side terminals.
WARNING: To prevent injury or death due to electrocution or
contact with moving parts, lock disconnect switch open. See Hazard
Levels, page 2.
WARNING: If you turn off the power supply, turn off the gas. See
Hazard Levels, page 2.
Model LDAP supply wiring enters above and connects directly to the disconnect
switch (See FIGURE 1A or 1B in Paragraph 7 and FIGURE 9). A circuit board (See
FIGURE 13 in Paragraph 20) is located in the control compartment of each heat
section. The circuit boards are polarity sensitive. It is advisable to check the electrical
supply to be certain that the black wire is the “hot” wire and that the white wire is the
neutral wire. The supply connection made to “L1” on the disconnect switch must be
the “hot” wire.
Each heat section in the heater has a terminal strip for 24-volt thermostat connec-
tions. The terminal strip is located on the outside of the cabinet at the front of each
heat section (See FIGURE 1A or 1B in Paragraph 7). Wires from the terminal strip(s)
are factory wired to the circuit board(s).
14. Electrical
Supply and
Connections
(cont’d)
Supply Wiring
(cont’d)


