


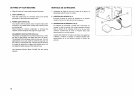
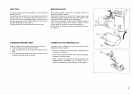
SETTING UP YOUR MACHINE
1. Wipe off excess oil in the needle plate and bed areas.
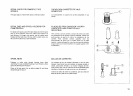
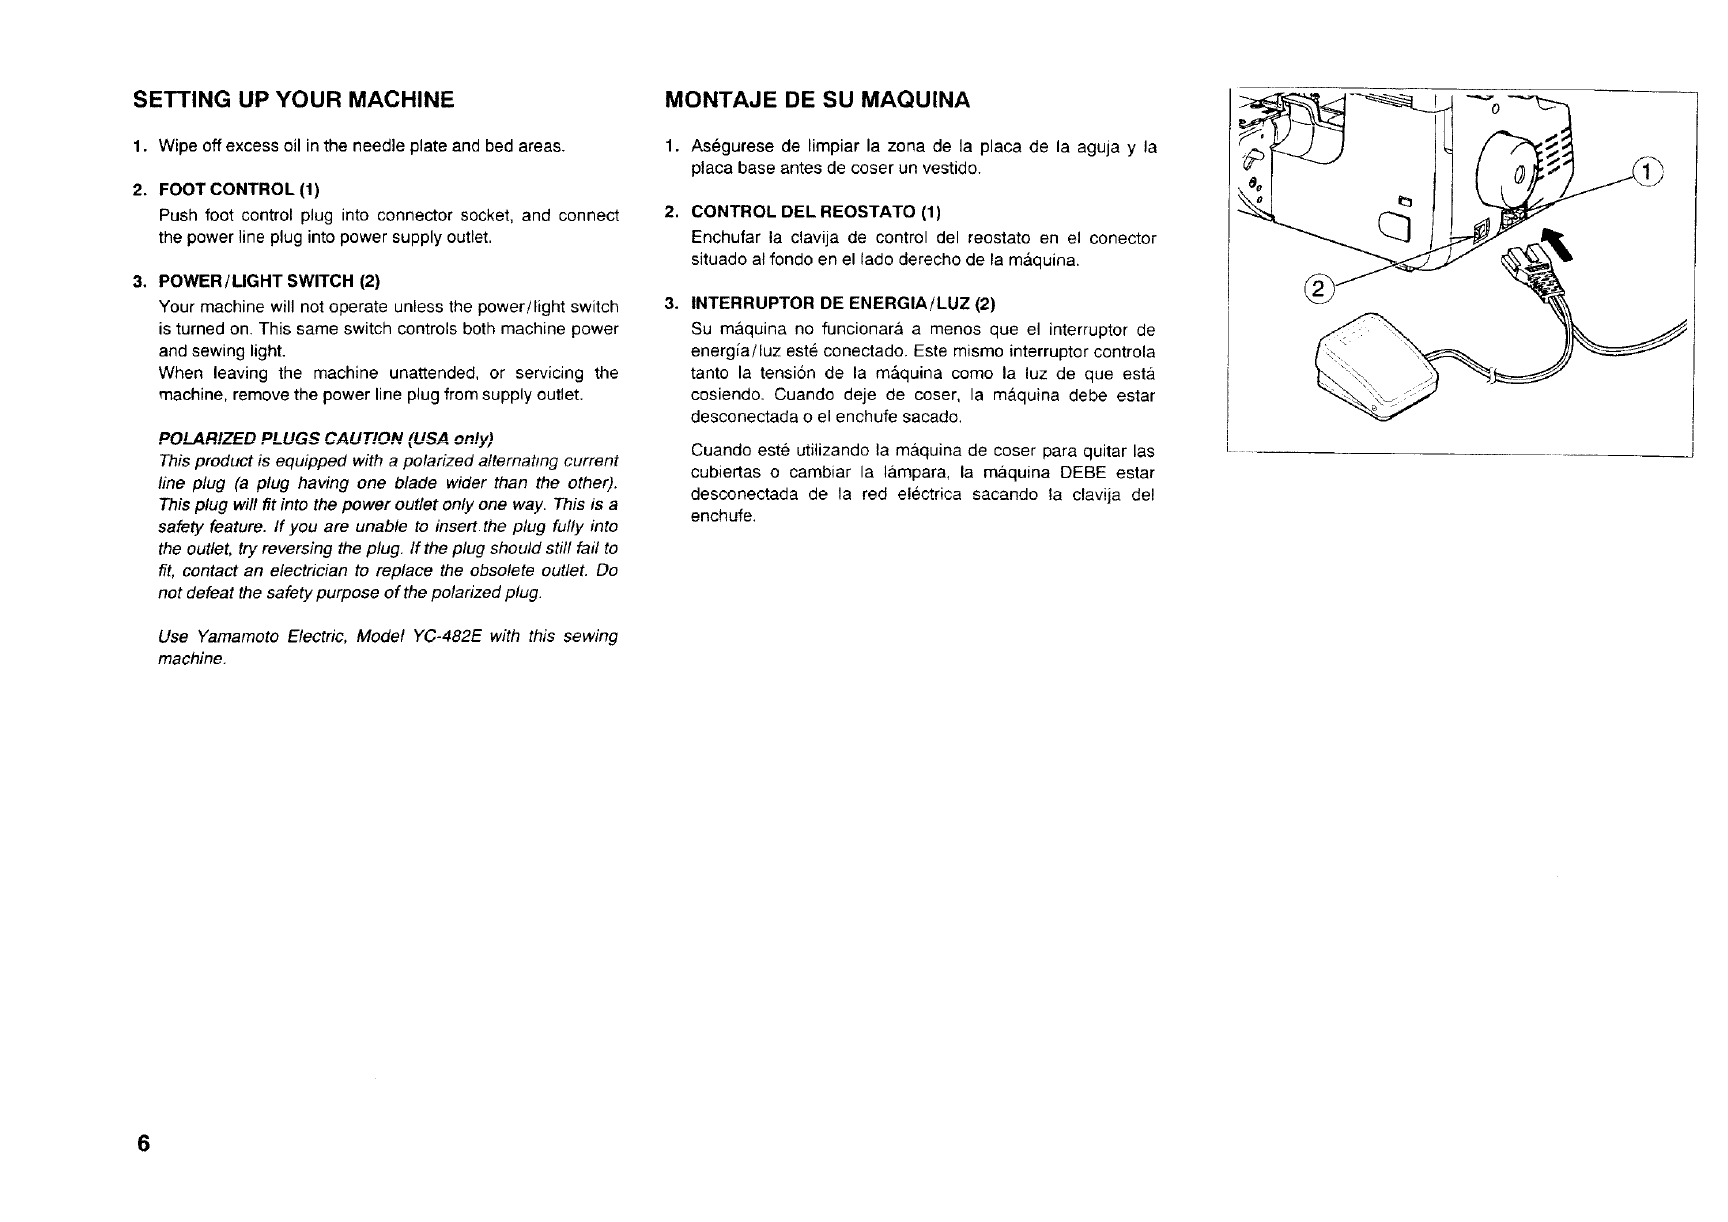
2, FOOT CONTROL (1)
Push foot control plug into connector socket, and connect
the power line plug into power supply outlet,
3. POWER/LIGHT SWITCH (2)
Your machine will not operate unless the power/light switch
is turned on. This same switch controls both machine power
and sewing light.
When leaving the machine unattended, or servicing the
machine, remove the power line plug from supply outlet.
POLARIZED PLUGS CAUTION (USA only)
This product is equipped with a polarized alternating current
line plug (a plug having one blade wider than the other).
This plug wil! fit into the power outlet only one way. This is a
safety feature. If you are unable to insert the plug fully into
the outlet, try reversing the plug. If the plug should still fail to
fit, contact an electrician to replace the obsolete outlet. Do
not defeat the safety purpose of the polarized plug.
Use Yamamoto Electric, Model YC-482E with this sewing
machine.
MONTAJE DE SU MAQUINA
1. Asegurese de limpiar la zona de la placa de la aguja y la
placa base antes de coser un vestido.
2, CONTROL DEL REOSTATO (1)
Enchufar la clavija de control del reostato en el conector
situado al rondo en el lado derecho de la mdquina.
INTERRUPTOR DE ENERGIAiLUZ (2)
Su m&quina no funcionara a menos que el interruptor de
energia/luz est6 conectado. Este mismo interruptor controla
tanto la tensiSn de la m&quina como la luz de que esta
cosiendo. Cuando deje de coser, la m&quina debe estar
desconectada o el enchufe sacado.
Cuando este utilizando la m&quina de coser para quitar las
cubiertas o cambiar la tampara, la m,_quina DEBE estar
desconectada de la red electrica sacando la clavija de!
enchufe.
6