


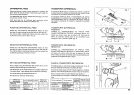

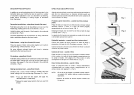
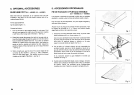
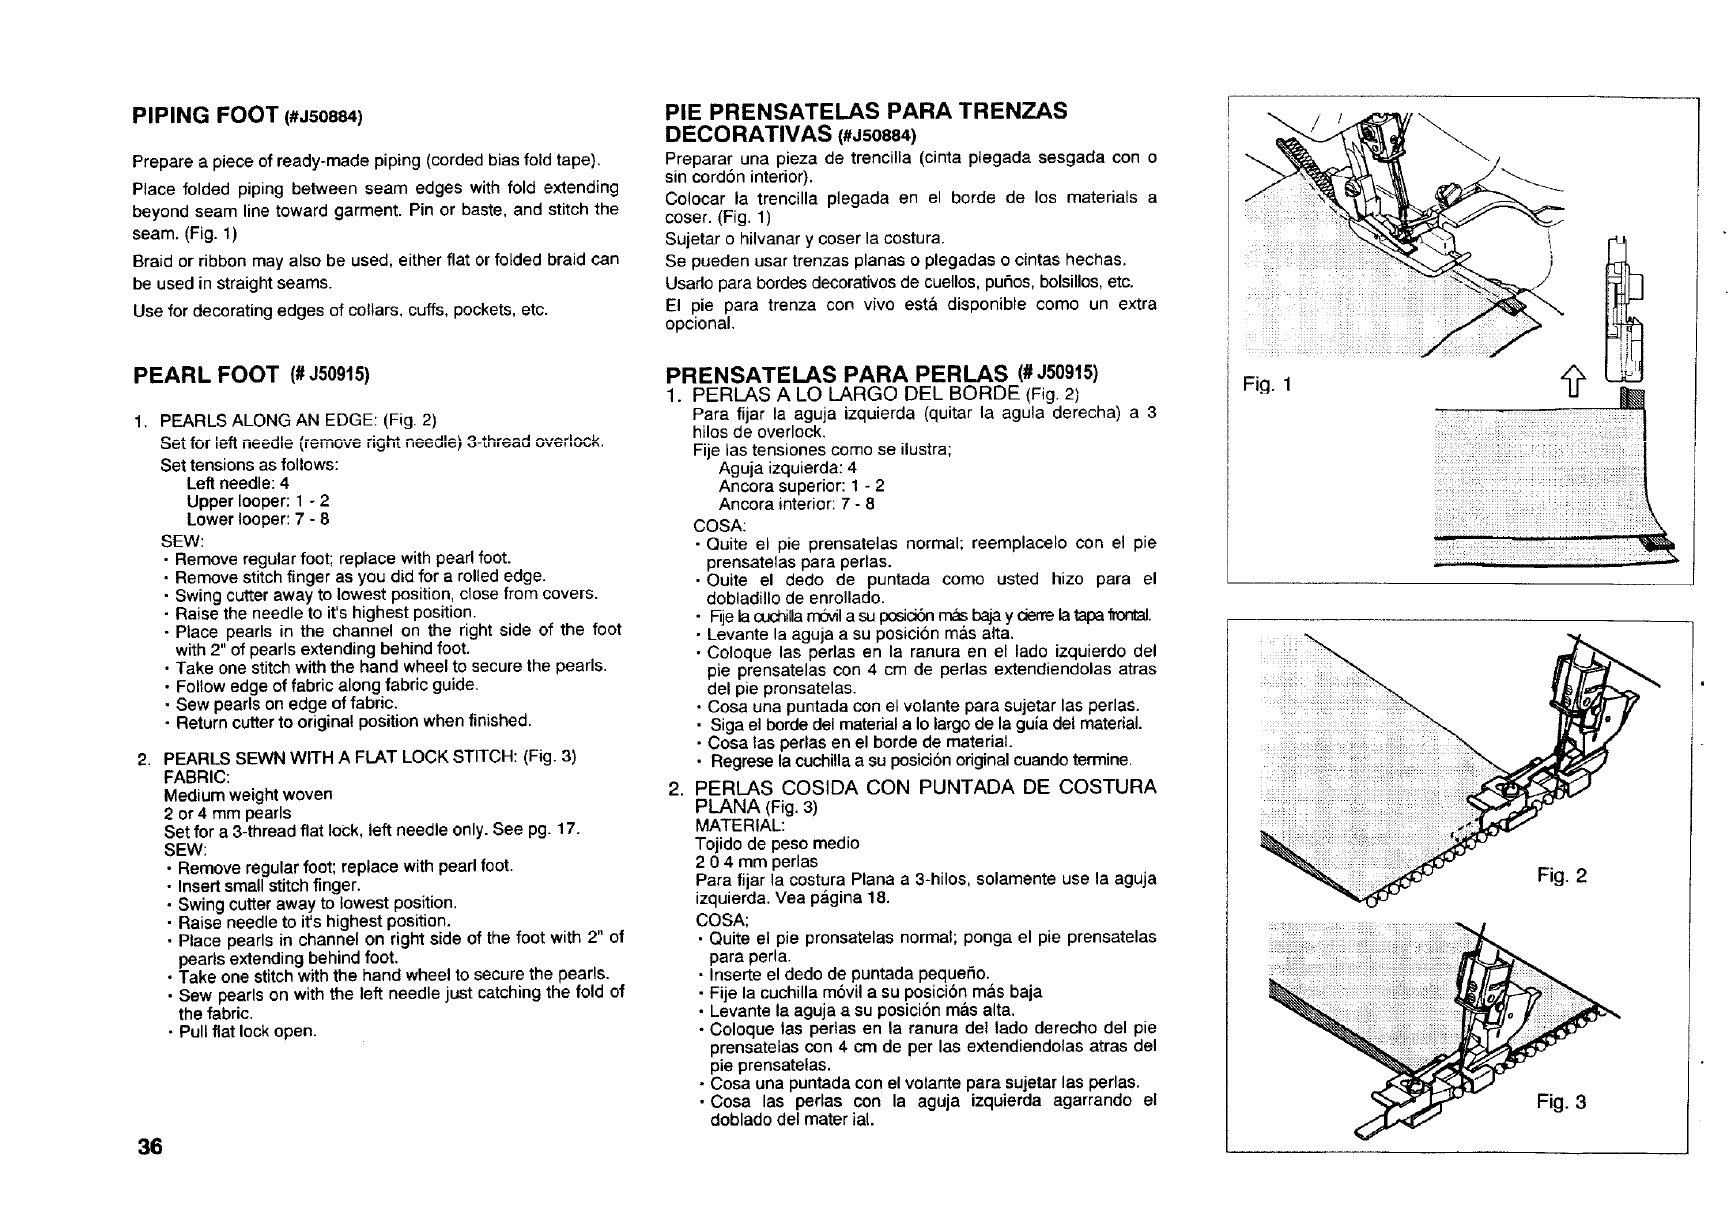
PIPING FOOT (#J50884)
Prepare a piece of ready-made piping (corded bias fold tape).
Place folded piping between seam edges with fold extending
beyond seam line toward garment. Pin or baste, and stitch the
seam. (Fig. 1)
Braid or ribbon may also be used, either flat or folded braid can
be used in straight seams.
Use for decoratingedges of collars, cuffs,pockets, etc.
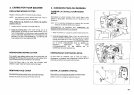
PEARL FOOT (#J50915)
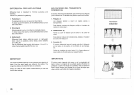
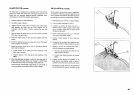
1. PEARLS ALONG AN EDGE: (Fig. 2)
Set for left needle _,_mOw ,gh_, ,_eu,=p ,,-, ,,_=,_ vw, ,_,,,k.
Set tensions as follows:
Left needle: 4
Upper looper: 1 - 2
Lower looper: 7 - 8
SEW:
• Remove regular foot; replace with pearl foot.
• Remove stitch finger as you did for a rolled edge.
• Swing cutter away to lowest position, close from covers.
• Raise the needle to it's highest position.
• Place pearls in the channel on the right side of the foot
with 2" of pearls extending behind foot.
• Take one stitch with the hand wheel to secure the pearls.
• Follow edge of fabric along fabric guide.
• Sew pearls on edge of fabric.
• Return cutter to original position when finished.
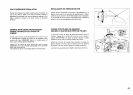
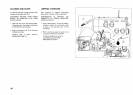
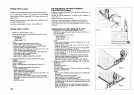
2. PEARLS SEWN WITH A FLAT LOCK STITCH: (Fig. 3)
FABRIC:
Medium weight woven
2 or 4 mm pearls
Set for a 3-thread fiat lock, left needle only. See pg. 17.
SEW:
• Remove regular foot; replace with pearl foot.
• Insert small stitch finger.
• Swing cutter away to lowest position.
• Raise needle to it's highest position.
• Place pearls in channel on right side of the foot with 2" of
pearls extending behind foot.
• Take one stitch with the hand wheel to secure the pearls.
• Sew pearls on with the left needle just catching the fold of
the fabric.
• Pull fiat lock open.
36
PIE PRENSATELAS PARA TRENZAS
DECORATIVAS (#J50884)
Preparar una pieza de trencilla (cinta plegada sesgada con o
sin cord6n interior).
Colocar la trencilla plegada en el horde de los materials a
coser. (Fig. 1)
Sujetar o hilvanar y coser la costura.
Se pueden usar trenzas planas o plegadas o cintas hechas.
Usarlo para bordes decorativos de cuellos, pufios, bolsillos, etc.
El pie para trenza con vivo est& disponible come un extra
opcional.
PRENSATELAS PARA PERLAS (# J50915)
1. PERLAS A LO LARGO DEL BORDE (Fig. 2)
Para fijar la aguja izquierda (quitar la agula derecha) a 3
hilos de overlock.
Fije las tensiones como se ilustra;
Aguja izquierda: 4
Ancora superior: 1 - 2
Ancora interior: 7 - 8
COSA:
• Quite el pie prensatelas normal; reemplacelo con el pie
prensatelas para perlas.
• Ouite el dedo de puntada como usted hizo para el
dobladillo de enrollado.
• Fqjela cuchilla mbvil a su posici6n rn_ baja y derre latapa #o_al.
• Levante la aguja a su posicion m&s alta.
• Coloque las perlas en la ranura en el lado izquierdo del
pie prensatelas con 4 cm de perlas extendiendolas atras
del pie pronsatelas.
• Cosa una puntada con el volante para sujetar las perlas.
• Siga el borde del material a Io largo de la guia del material.
• Cosa las perlas en el borde de material.
• Regrese la cuchilla a su posici6n original cuando termine
2. PERLAS COSIDA CON PUNTADA DE COSTURA
PLANA (Fig. 3)
MATERIAL:
Tojido de peso medio
2 0 4 mm perlas
Para fijar la costura Plana a 3-hilos, solamente use la aguja
izquierda. Vea p&gina 18.
COSA;
• Quite el pie pronsatelas normal; ponga el pie prensatelas
para perla.
• Inserte el dedo de puntada pequefio.
• Fije la cuchilla movil a su posicibn m&s baja
• Levante la aguja a su posici6n mas alta.
• Coloque las perlas en la ranura del lado derecho del pie
prensatelas con 4 cm de per las extendiendolas atras del
pie prensatelas.
• Cosa una puntada con el votante para sujetar las perlas.
• Cosa las perlas con la aguja izquierda agarrando el
doblado del mater ial.
Fig. 2
Fig. 3