December 15, 2009
7046-137C
Page 4
2700-I ACC Wood Insert
R
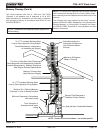
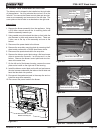
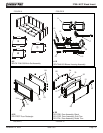
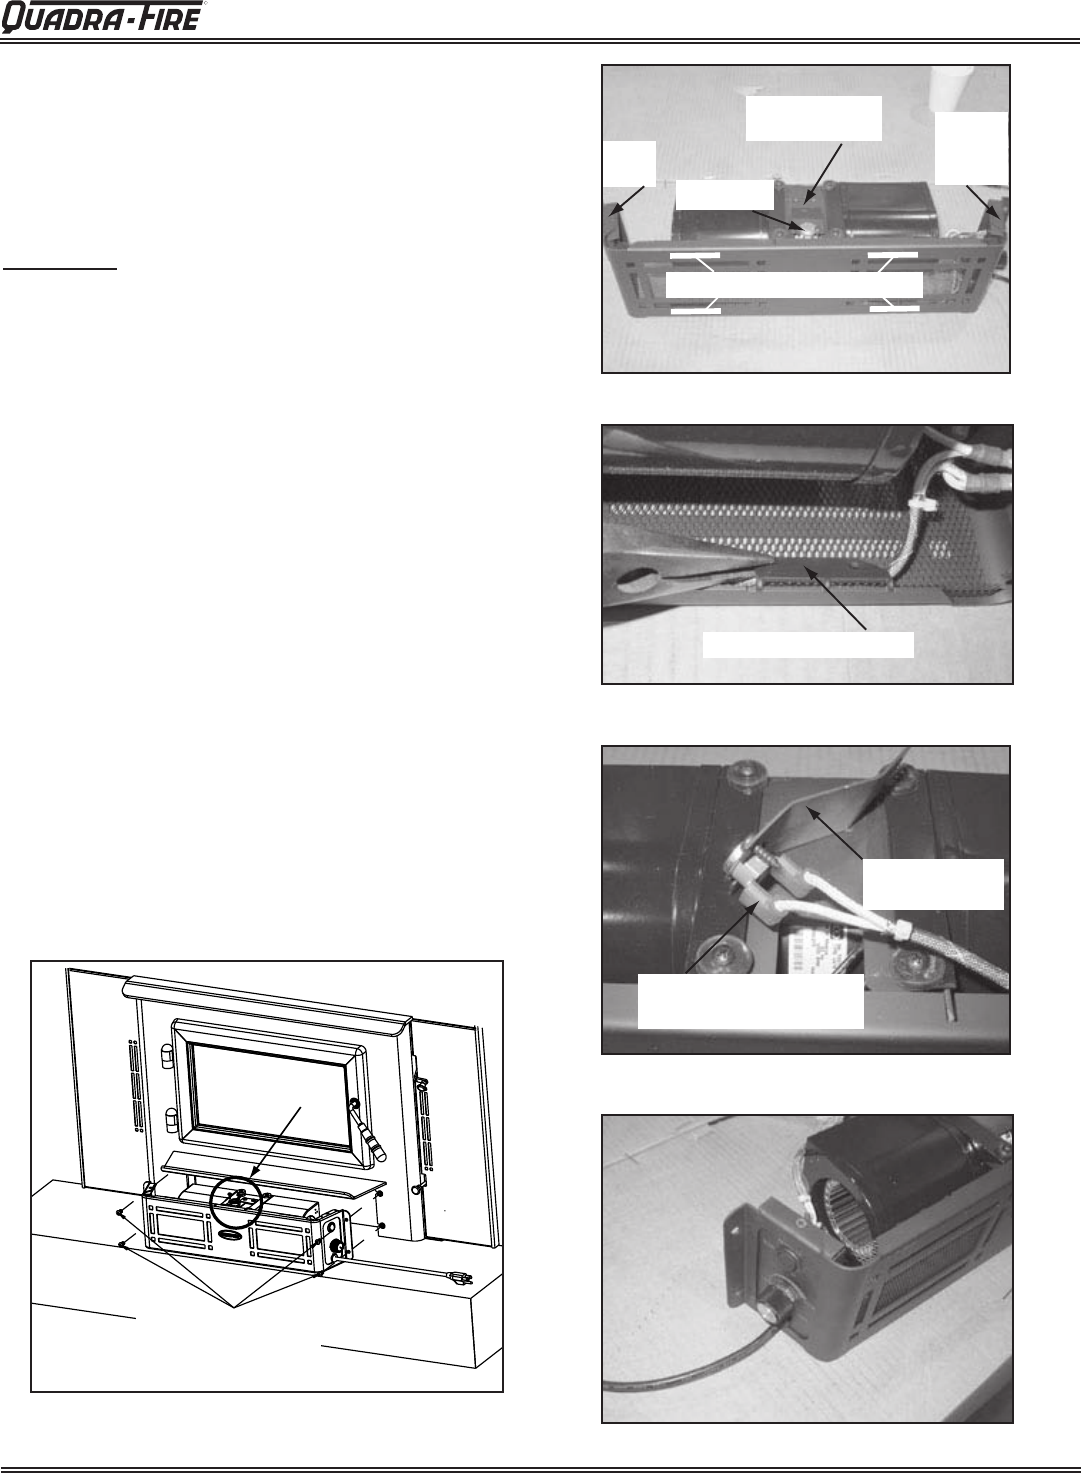
Figure 43.1
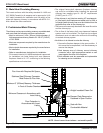
Figure 43.2
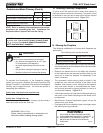
Figure 43.3
Figure 43.4
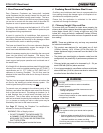
Figure 43.5 - Installed on Left Side
H. Blower Cord Installation on Left Side
The blower cord is shipped to be installed on the right side
of the appliance. You may relocate the cord so it is on the
left side. You remove the blower control plate and wire har-
ness as one assembly and reconnect on the left side. The
cover plate on the left side is re-attached on the right side.
Instructions
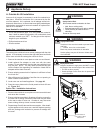
1. Remove the blower assembly from the appliance. Using
a 5/2 Allen wrench remove the 4 mounting bolts and
slide the assembly towards you.
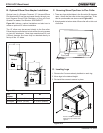
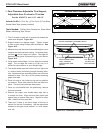
2. Using needle nose pliers bend the tabs up that holds the
wire harness in place and remove the wires. There are
2 tabs, one at the top of the assembly and one at the
bottom.
. Disconnect the power leads to the blower.
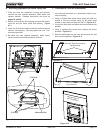
4. Remove the snap disc mounting plate by removing the 2
sheet metal screws with a Phillips head screw driver.
5. Disconnect the spade terminals to the snap disc.
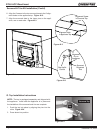
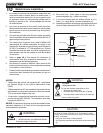
6. Remove the blower control plate using a at head screw
driver to remove the 2 screws, 1 on the top and 1 on the
bottom. Remove the blower control plate and wire har-
ness at the same time.
7. On the left end of the blower housing, remove the cover
plate and re-install on the right end of the housing.
8. Install the blower control plate on the left end and secure
the wire harness underneath the tabs on the left side and
bend the tabs back into position.
9. Re-connect the spade terminals to the snap disc and re-
install the snap disc assembly.
10. Re-connect the power leads to the blower.
Remove Bolts and Slide
Blower Assembly Out
Snap Disc Location
Cover
Plate
Blower
Control
Plate
Wire Harness Tabs Locations
Snap Disc
Mounting Plate
Snap Disc
Left Side
Right Side
Bend Wire Harness Tab
Disconnect Spade
Terminals from Snap Disc
Snap Disc
Mounting Plate


