


42
Note
For connecting VN-C10 with the factory settings, either one of the environments described
below is required.
•Environment where no DHCP server exists.
•Environment where a DHCP server, which clearly defines the IP address and MAC address
allotted to VN-C10, exists.
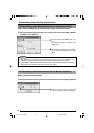
The connected camera can be registered with the installed [V.Networks Controller].
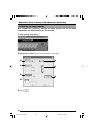
1.
Select [Start], [Programs], [V.NETWORKS] and then [V.Networks Controller] to start
up [V.Networks Controller].
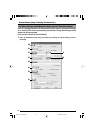
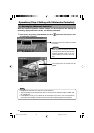
2-5 Registering the Connected Camera with V.Networks Controller
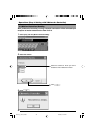
Select [File] and [New].
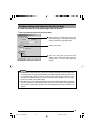
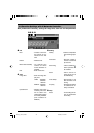
Enter [V.Network Name], a name under which
the camera is registered. Use a name that is
easy to remember, such as the installation
location or number. (1 to 40 characters)
Note
In a DHCP environment, enter the IP
address allotted by the DHCP server.
Enter 198.168.0.2 in [IP Address].
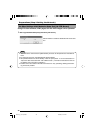
2.
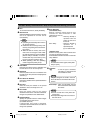
[New] is displayed.
Recording files of the name given in
are
saved in a designated folder here.
You can set whether VN-C10 automatically
starts recording upon connection.
Preparations (Step 2 Setting the Network)
VN-C10_E_01-43.pm65e 14/04/03, 10:14 AM42