


HE-800A
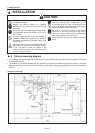
4. INSTALLATION
13
ዐ
-
ውው
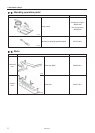
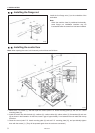
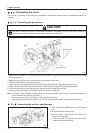
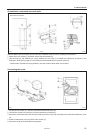
. Connecting the cords
The harness is connected in the same way regardless of whether the machine head is positioned horizontally or
vertically.
ዐ
-
ውው
-
ው
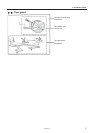
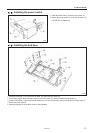
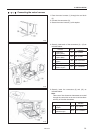
. Connecting the ground wire
CAUTION
Be sure to connect the ground. If the ground connection is not secure, you run a high risk of receiving a
serious electric shock, and problems with correct operation may also occur.
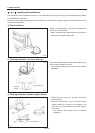
1. Remove the 12 screws (1), and then open the covers (main P.C. board mounting plate (2) and sub P.C. board
mounting plate (3)).
Note: When opening the cover, hold it securely so that it does not fall down.
2. Insert the panel harness (4) into the control box.
3. Connect the ground wire (5) which is protruding out from the hole at the side of the control box to the leg (6).
4. Connect the ground wire (7) coming from the machine head to the grounding point (8) inside the control box.
5. Connect the ground wire in the panel harness to the ground point (9) inside the control box.
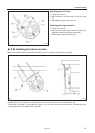
* Grounding marks are displayed on the machine head and inside the control box.
Note: If the shape of the grounding screw in the leg (6) requires a different ground wire to be connected, replace the
ground wire with the accessory ground wire.
If the ground wires are not connected, incorrect operation may result.
If the grounding point has been painted over, remove the paint coating before connecting the ground wire.
ዐ
-
ውው
-
ዎ
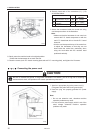
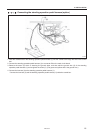
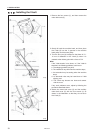
. Connecting the machine head harness
1. Insert the machine head harness (1) into the control
box.
2. Gently tilt back the machine head.
3. Pull the harness (1) through the cord clamp (2) at
the top of the control box.
* This cord clamp is not used when the machine
head is positioned horizontally.
3867Q
Grounding mark
Grounding mark
3868Q