


– 191 –
14-1-2. Slim Duct Type
RAV-SM404SDT-E, RAV-SM454SDT-E, RAV-SM564SDT-E
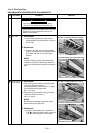
[In case of sucking system from rear side]
[In case of sucking system from rear side]
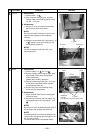
[In case of sucking system from bottom side]
[In case of sucking system from bottom side]
Air filter
Air filter
Air filter
Air filter
Hook
Hook
Hook
Hook
Push
Push
Push
Push
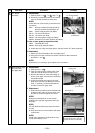
Plate inlet-A: 8 screws
Plate inlet-A: 8 screws
Plate inlet-B: 6 screws
Plate inlet-B: 6 screws
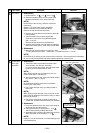
Plate inlet-A: 11 screws
Plate inlet-A: 11 screws
Plate inlet-B: 6 screws
Plate inlet-B: 6 screws
Air filter
Air filter
Hook
Hook
Push
Push
Plate inlet-A: 8 screws
Plate inlet-B: 6 screws
Plate inlet-A: 11 screws
Plate inlet-B: 6 screws
No.
1
2
Part name
Air Filter
Plate inlet-A
Plate inlet-B
Procedure
XREQUIREMENTX
Be sure to put on gloves at working; other-
wise an injury may be caused by parts, etc.
• Before replacement of the parts, be sure to stop
operation of the air conditioner and turn off
switch of the breaker.
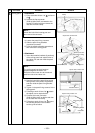
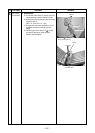
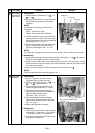
1. Detachment
1) Push knobs (3 positions) of the air filter
hooks toward the arrow direction to remove
the air filter.
2. Attachment
1) Insert the air filter surely into the hooking
grooves (4 positions) at the opposite side of
the hooks, and then fix it to the original
position.
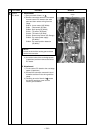
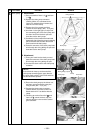
NOTE)
In case of sucking system from bottom side,
installation direction is determined. Install the
air filter so that hooks are aligned at discharge
side.
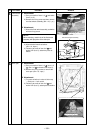
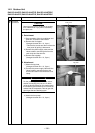
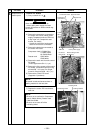
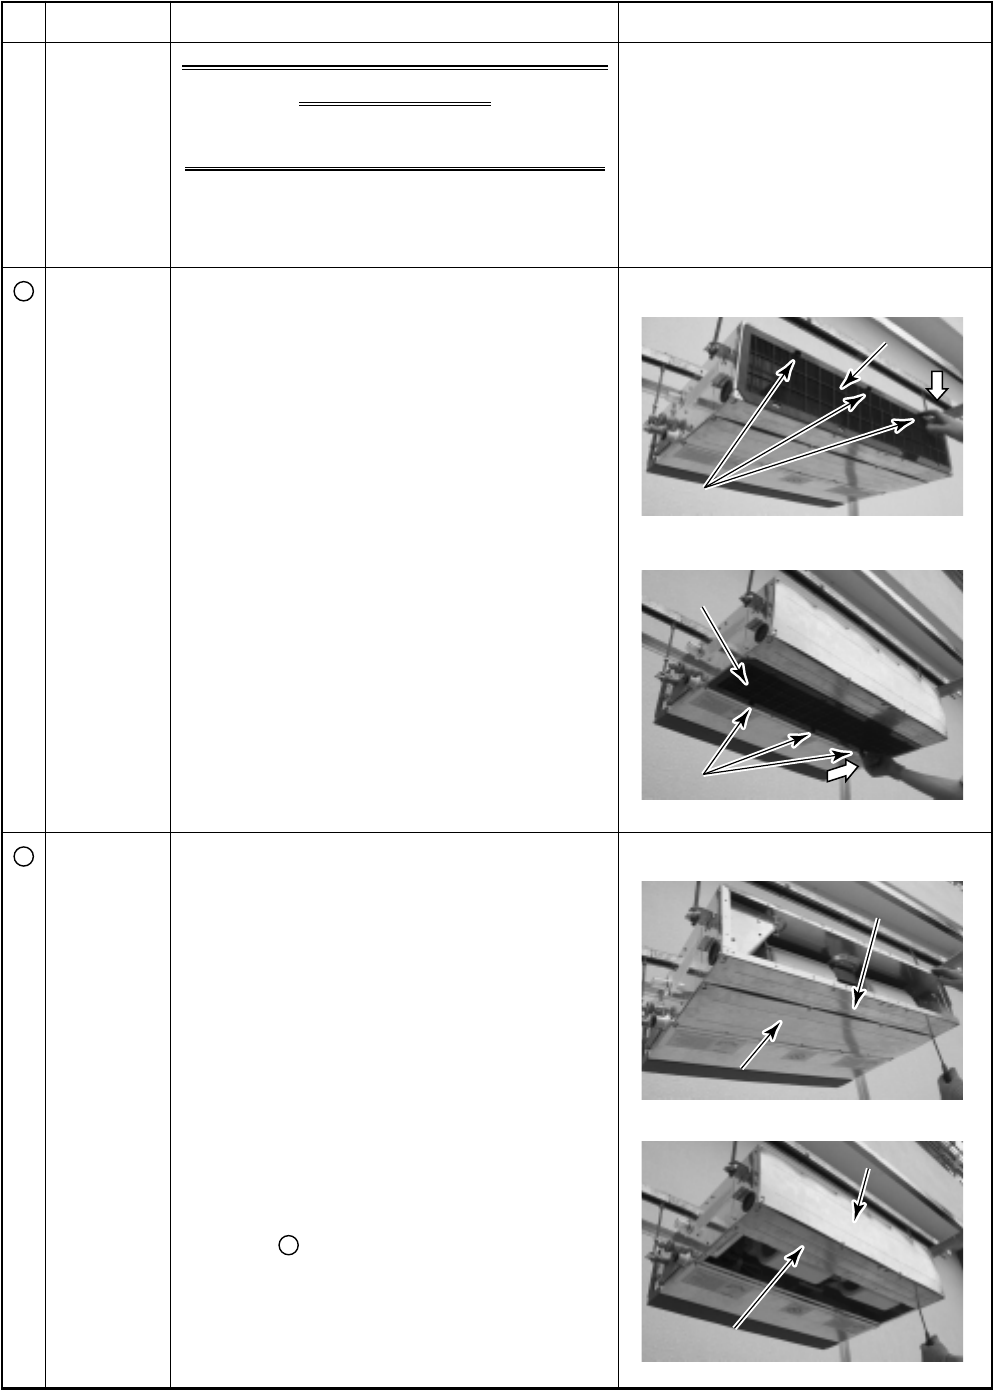
1. Detachment
1) Take off fixing screws while holding the plate
inlet-A with hands to remove it.
(Sucking system from rear side: Ø4 × 10, 8 pcs)
(Sucking system from bottom side:
Ø4 × 10, 11 pcs)
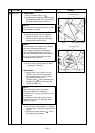
2) Take off fixing screws while holding the plate
inlet-B with hands to remove it.
(Ø4 × 10, 6 pcs)
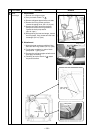
NOTE)
Be careful that sheeting metal does not fall
when removing the plate inlet.
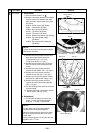
2. Attachment
1) Using the screws taken off in procedure 1.
2) of
2
, attach the plate inlets in order of B
→ A while holding them not to fall down.
Remarks