


C540M-C (10/05) 35
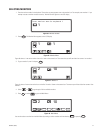
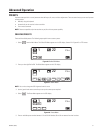
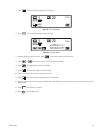
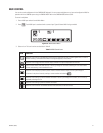
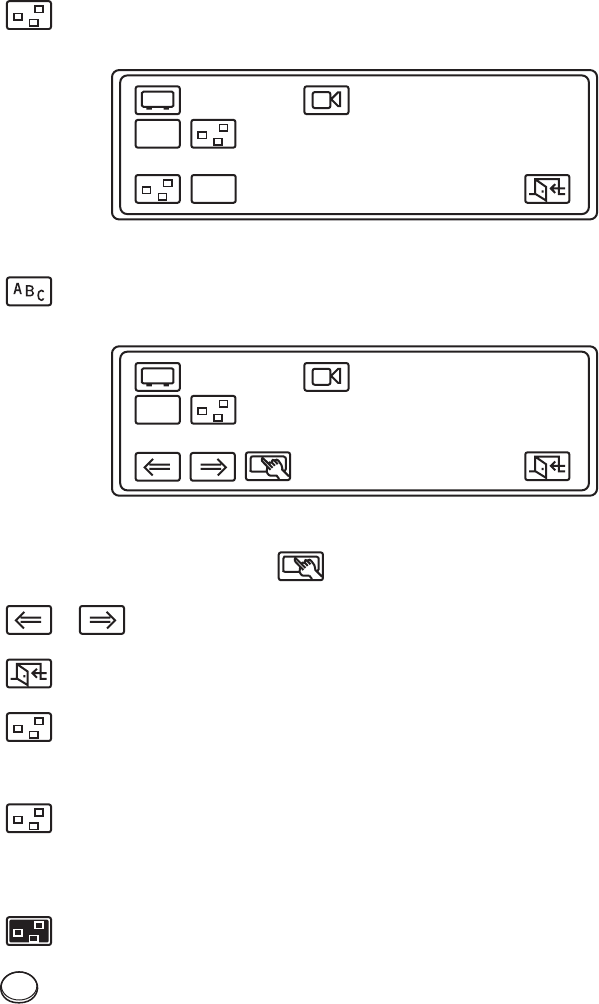
4. Select . The Zone Label Menu appears on the LCD display.
Figure 55. Zone Label Menu
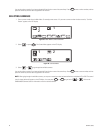
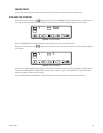
5. Select . The Character Menu appears on the LCD display.
Figure 56. Character Menu
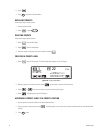
6. Move the joystick to a character and then select . You can enter a maximum of 20 characters.
7. Select or if you want to move to a specific character and change it.
8. Select . The label appears on the Zone Label Menu.
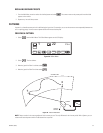
9. Select . “Zone Number?” appears on the LCD display.
10. Enter a zone number (1-8) to assign a priority level to the zone.
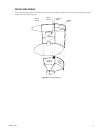
11. Select again. The icon darkens signaling the start of zone creation.
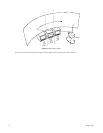
12. Move the joystick to the point where you want zone definition to end. Remember to move the joystick so that the camera pans only from the
left to the right.
13. Select . Zone definition is complete.
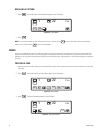
14. Press to go to the Main Menu.
A
B
C
DEF
Ptz
221
Ptz
DEF
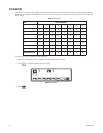
_!”#$%&’()*+,-./
0123456789;:<=>?
@ABCDEFGHIJKLMNO
PQRSTUVWXYZ[\]^_
221
esc