


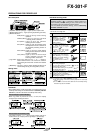
525
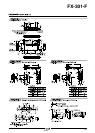
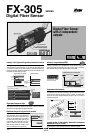
FX-301-F
PRECAUTIONS FOR PROPER USE
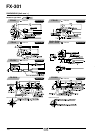
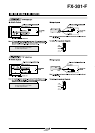
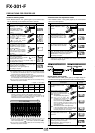
Press MODE key to light up
MODE indicator / OUT
(yellow).
(Present output state is
displayed.)
When Jog switch is turned to the
‘
ם’ side or ‘מ’ side, the output is
compulsory changed to ON or
OFF.
Since the emitting element of the
amplifier blinks, it is possible to
check the fiber connected to the
amplifier.
When the output is compulsory
changed to ON, the operation
indicator (orange) lights up.
Press MODE key to return
the sensor to step
1.
When MODE key is pressed, the sensor returns to RUN
mode and the incident light intensity is displayed.
MODE indicator / RUN (green) lights up.
The setting is complete.
Forced output mode
•
When MODE indicator / OUT (yellow) lights up, the output can be
compulsory changed to ON or OFF regardless of the incident light intensity.
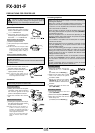
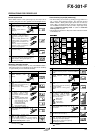
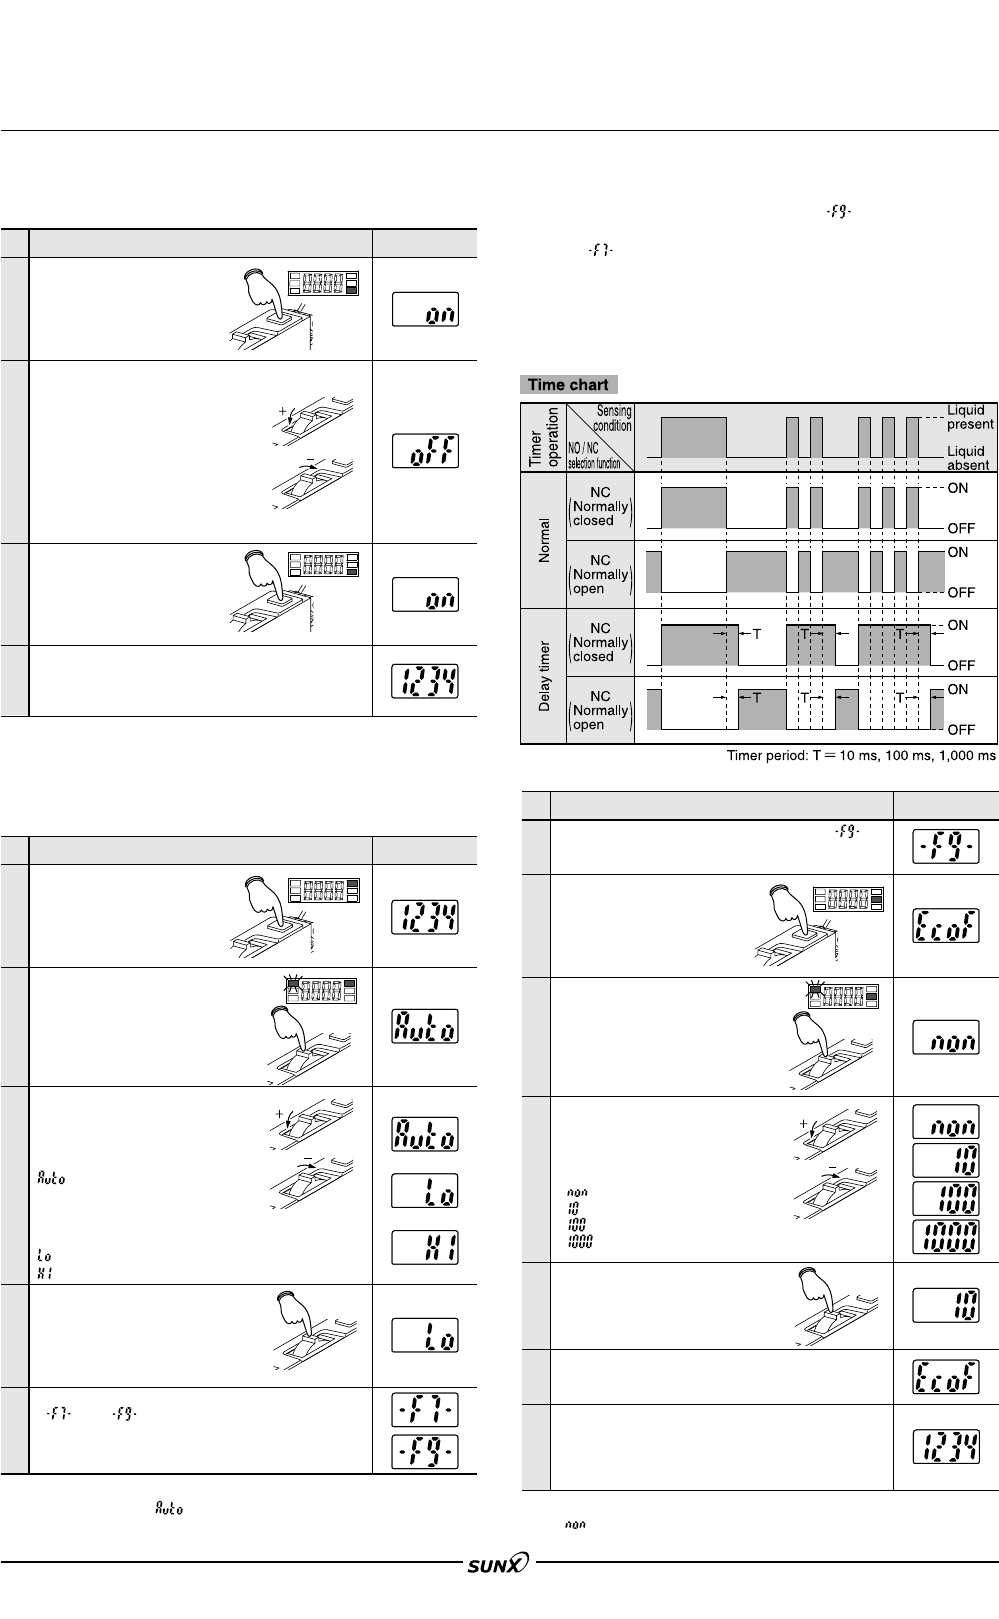
Timer function [Liquid (F9) mode only]
• The timer setting can be done by pressing the jog switch for 3
sec., or more, when Liquid (F9) mode ( ) has been set and
MODE indicator / DISP (yellow) lights up. In case of Leak (F7)
mode ( ), the display does not change to the timer function.
For the selection method of Leak (F7) mode / Liquid (F9) mode,
refer to ‘Individual teaching mode’ on p.523 or ‘Collective
teaching mode’ on p.524.
• This product incorporates a delay timer which reduces the effect
of air bubbles, etc.
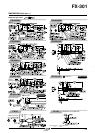
1
2
3
4
Step
Description Display
Confirm if the sensor is in Liquid (F9) mode
()
in
‘Individual teaching mode’ or ‘Collective teaching
mode’.
Press MODE key to light up
MODE indicator / DISP
(yellow).
Press Jog switch for 3 sec., or
more.
The sensor goes into the timer
setting condition.
MODE indicator / RUN (green)
blinks.
When Jog switch is turned to the
‘
ם’ side or ‘מ’ side, the display
and MODE indicator / RUN
(green) blinks, and the timer
period can be chosen.
:Without timer
: 10 ms timer
: 100 ms timer
: 1,000 ms timer
When Jog switch is pressed,
setting display blinks 3 times and
is confirmed.
The sensor returns to step
2.
When MODE key is pressed twice or for 1 sec., or
more, the sensor returns to RUN mode and the
incident light intensity is displayed.
MODE indicator / RUN (green) lights up.
The setting is complete.
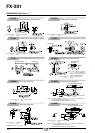
1
2
3
4
5
6
7
Step
Description Display
Note:The initial setting at the time of factory shipment is the without timer
()
condition.
(
(
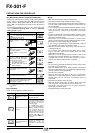
Sensitivity selection function
•
If Jog switch is pressed for 3 sec., or more, when MODE indicator /
ADJ (yellow) lights up, the sensitivity can be fixed to low sensitivity
or high sensitivity, or set to automatic sensitivity.
Press MODE key to light up
MODE indicator / ADJ
(yellow).
Press Jog switch for 3 sec. or
more.
The sensor goes into the sen-
sitivity setting condition.
MODE indicator / RUN (green)
blinks.
When Jog switch is turned to the
‘
ם’ side or ‘מ’ side, the display
and MODE indicator / RUN
(green) blinks, and the sensitivity
can be selected.
:
Automatic sensitivity setting
After selecting the auto-
matic sensitivity, the opti-
mum sensitivity is set by
carrying out teaching.
: Low sensitivity setting
: High sensitivity setting
When Jog switch is pressed, the
setting display blinks 3 times and
is confirmed.
MODE indicator / TEACH (green) lights up and
‘ ’ or ‘ ’ is displayed.
After sensitivity selection, carry out the teaching.
For the setting method of teaching, refer to
‘Individual teaching mode’ on p.603.
1
2
3
4
5
Step
Description Display
Note:The initial setting at the time of factory shipment is the automatic
sensitivity setting
().
(
(
08/2005