


26
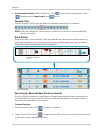
Taking Screenshots
Taking Screenshots
ATTENTION: Video footage is preferable to screenshots when submitting surveillance
evidence in court. For instructions on how to backup or extract video footage from your DVR,
see “Backup” on page 43.
You can take screenshots (screen captures) of the main display of your system at any time:
during live viewing, search, and playback, or in any system menu. Screenshots are useful
if you need to provide a still image of your security footage to the authorities.
NOTE: A USB flash
drive (not included) must be connected to the system and formatted
in order to take screenshots. For instructions on how to format USB flash drives,
see “Formatting the USB Drive” on page 43.
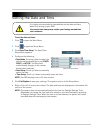
To take a screenshot:
1 Connect a USB flash
drive (not
included) to one of the USB ports on
the DVR. Format the USB flash drive
if you have not already done so.
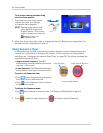
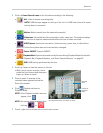
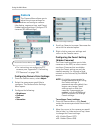
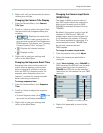
Screenshot being taken on the system
Filename
Screenshot
2 If you want to capture a moment in
Viewing or Playback mode, select the
display view for the screenshot:
full-screen or split-screen.
3 Click
. The screenshot appears
in the center of the main display,
fo
llowed by the file name.
Screenshots are saved to the
Picture
folder on the USB flash drive.
NOTE: Screenshots are saved as
JPE
G files with the following
naming convention:
NmmDD00x.jpg
Filename Definition
N
System file marker
mm
Month
DD
Day
x
Numeral (e.g. 001, 002, 003, etc.)