Ceiling & Floor, Ceiling Suspended (50Hz, R22) 85
15. Installation
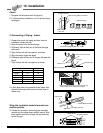
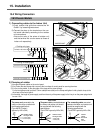
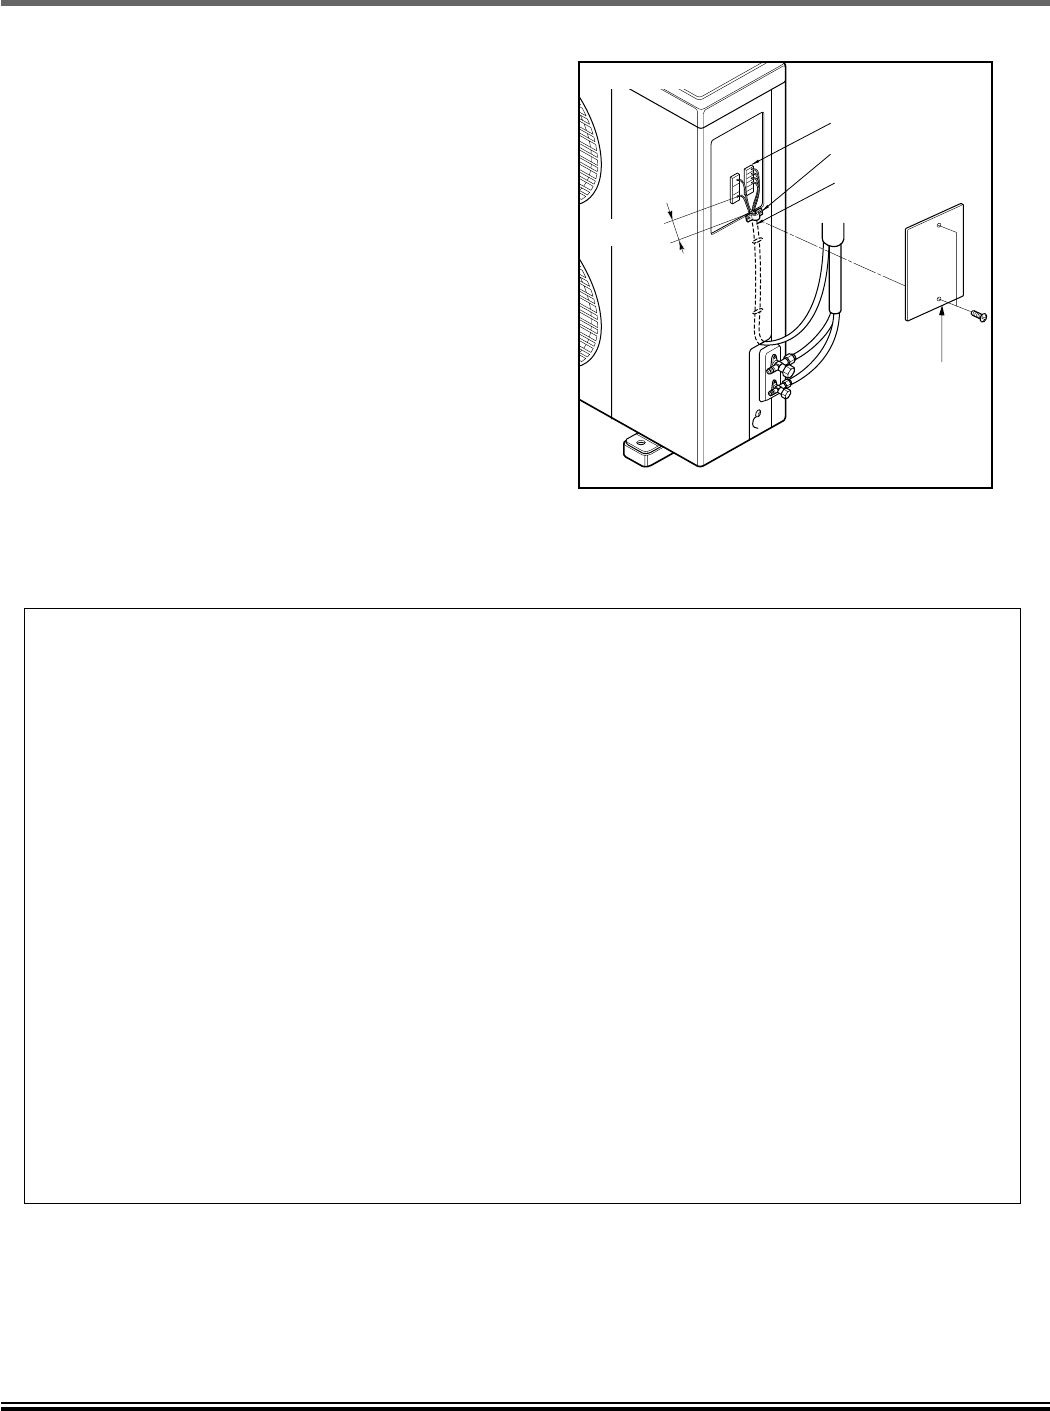
2) Connecting the cable to the Outdoor
Unit
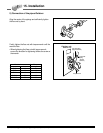
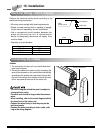
1. Remove the Cover control from the unit by
loosening a screw.
Connect the wires to the terminals on the con-
trol board individually as following.
2. Secure the cable onto the control board with
the holder (clamper).
3. Refix the cover control to the original position
with the screw.
CAUTION
After the confirmation of the above conditions, prepare the wiring as follows:
1) Never fail to have an individual power specialized for the air conditioner. As for the method of wiring, be guid-
ed by the circuit diagram pasted on the inside of control box cover.
2) Provide a circuit breaker switch between power source and the unit.
3) The screw which fasten the wiring in the casing of electrical fittings are liable to come loose from vibrations
to which the unit is subjected during the course of transportation. Check them and make sure that they are
all tightly fastened. (If they are loose, it could give rise to burn-out of the wires.)
4) Specification of power source
5) Confirm that electrical capacity is sufficient.
6) Be sure that the starting voltage is maintained at more than 90 percent of the rated voltage marked on the
name plate.
7) Confirm that the cable thickness is as specified in the power sources specification.
(Particularly note the relation between cable length and thickness.)
8) Never fail to equip a leakage breaker where it is wet or moist.
9) The following troubles would be caused by voltage drop-down.
• Vibration of a magnetic switch, damage on the contact point there of, fuse breaking, disturbance to the normal
function of a overload protection device.
• Proper starting power is not given to the compressor.
Terminal block
Cord Clamper
Cover control
Power supply
cord
Outdoor unit
Over 5mm


