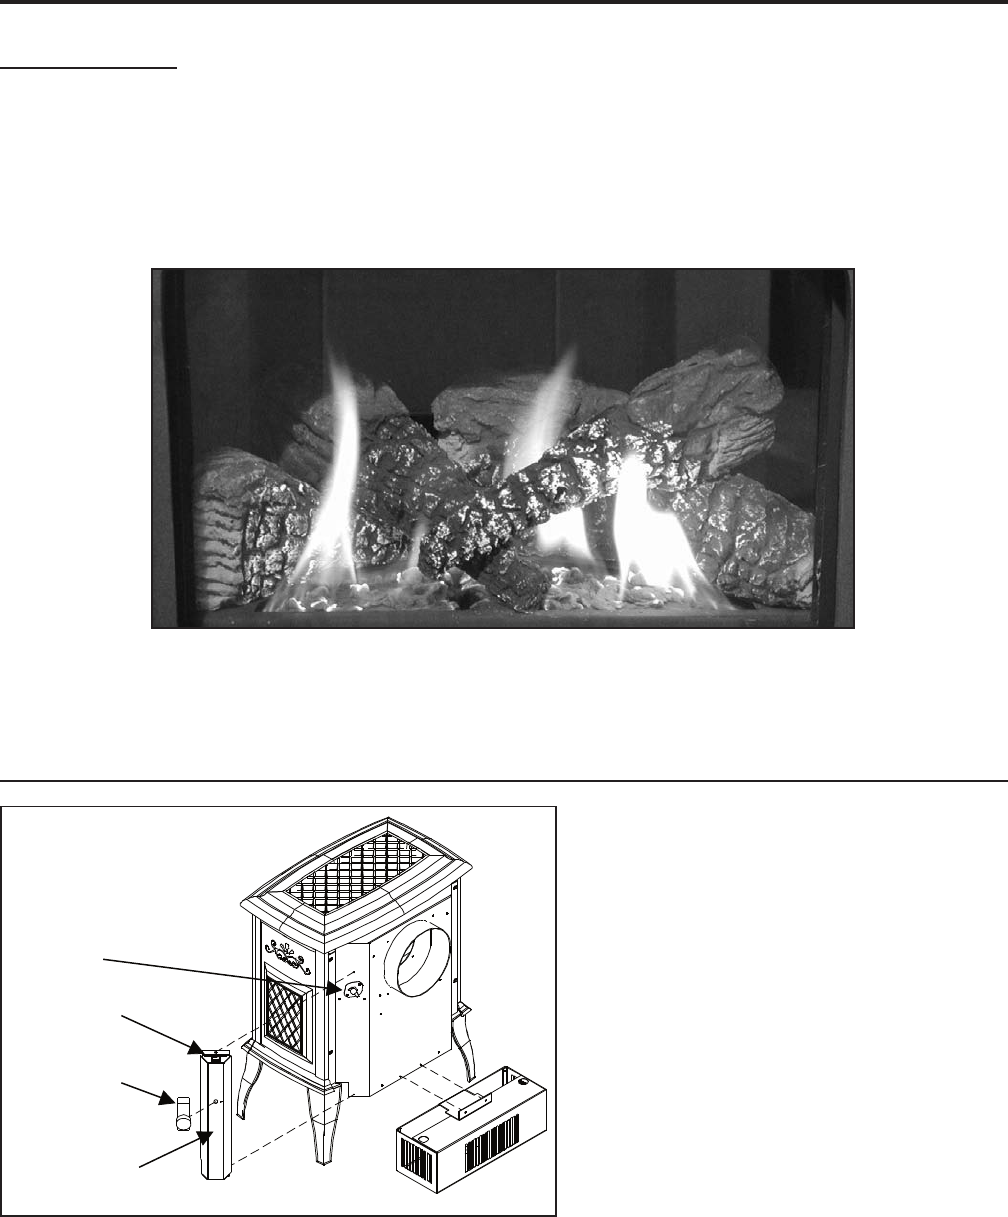
INSTALLATION OF OPTIONAL BLOWER:
Remove the pre-assembled blower from the
packaging. Inspect the blower for damage. If
damage is noticed call your dealer, distributor
or courier company and have components
replaced.
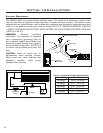
Place the fan assembly behind the unit and
secure with the two screws provided (as
shown in Figure 55).
Remove the fan controller, mounting box and
install fan controller. Neatly dress the wires
from the fan assembly to the fan controller.
Install the fan temperature sensor with the
two (2) screws provided.
Plug the fan assembly into the wall outlet and
turn the unit on to ensure fan operation.
Figure 55: Optional Fan Kit Installation.
CAUTION: NEVER OPERATE THIS APPLIANCE WITH THE DOOR REMOVED.
Important note: When the unit is turned on for the rst time, It should be turned onto high without the
fan on for the rst 4 hours. This will cure the paint, logs, gasket material and the other products used in
the manufacturing process. It is advisable to open a window or door, as the unit will start to smoke and
can irritate some people. After the unit has gone through the rst burn turn the unit off including the
pilot, let the unit get cold then remove the glass door and clean it with a good gas replace glass cleaner,
available at your local ENVIRO dealer.
See Routine MAINTENANCE AND SERVICE on how to remove door to clean glass.
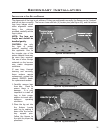
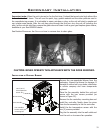
Figure 54. Ascot Burning.
Secondary Installation
33


