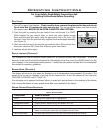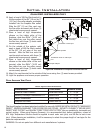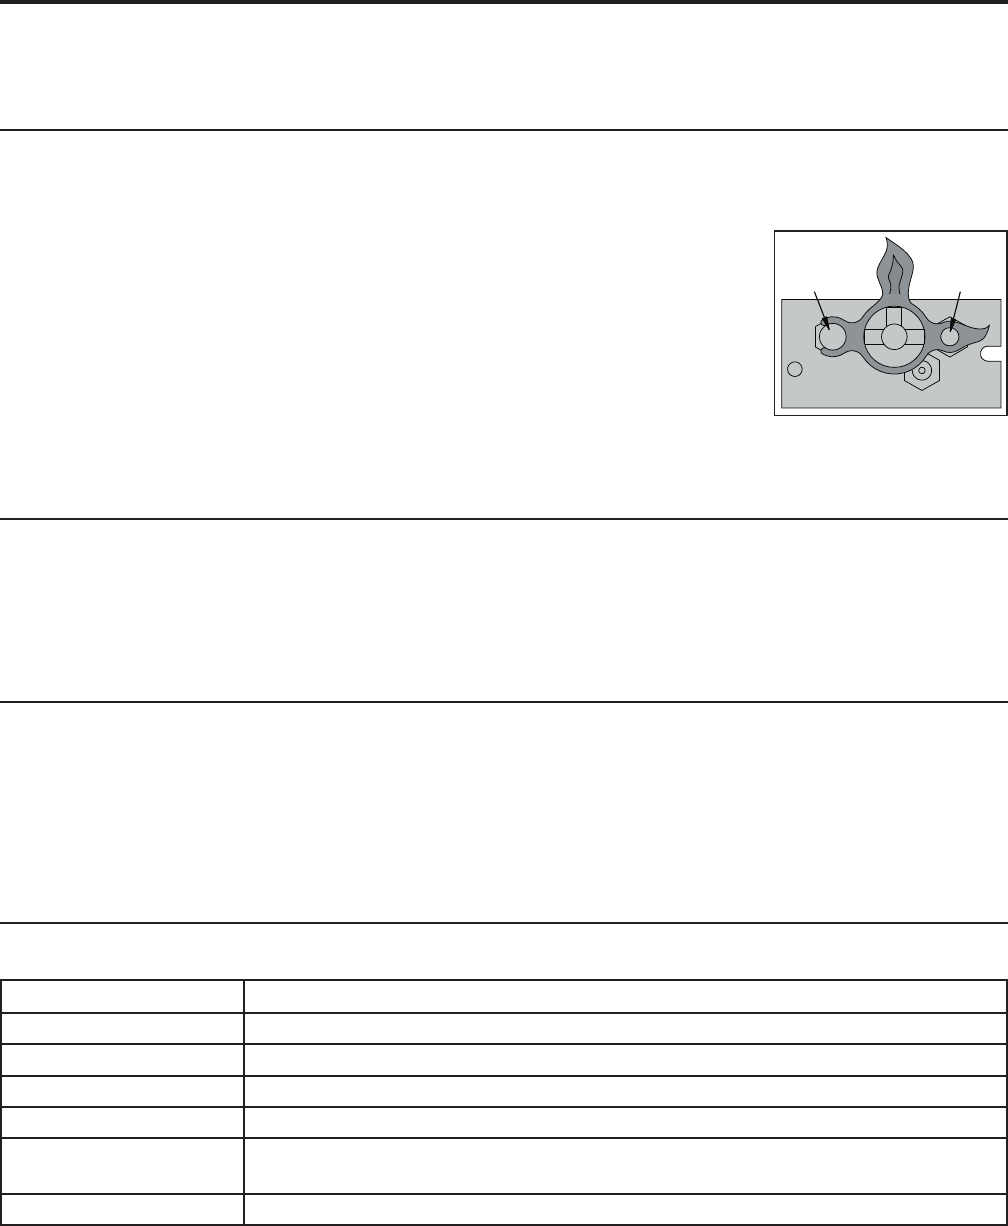
2. Start the pilot by pressing the gas control knob and turning it to PILOT.
While holding the gas control knob in, press the piezo ignitor several
times until the pilot light starts. Hold the gas control knob in for thirty (30)
seconds. Check that the pilot has fully engulfed the thermocouple assembly
(see Figure 3).
3. Start the main burner by turning the gas control knob to ON and then turn
the rocker switch to ON. Check that all burner ports have ame.
4. Leak test all gas joints again.
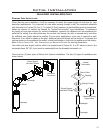
Figure 3. Pilot ame.
REMOTE CONTROLS (OPTIONAL):
This replace can use an optional remote control or an optional cordless wall thermostat. If either of
these are to be used to control the replace for the majority of the time, leave the ON/OFF switch (on the
control panel) in the remote/thermostat position. Consult the instructions included with the remote/wall
thermostat for operation guidelines.
BLOWER SPEED (OPTIONAL):
The blower will come on only when the replace is up to temperature (approximately 20 minutes). The
speed of the fan can be changed by turning the fan control knob. To turn the blower off, turn the knob
COUNTER CLOCKWISE until it “clicks” off.
It is advisable not to operate the blower below
1
/3 speed as it puts a strain on the windings of the blower
and running the blower at lower speeds could also cause premature fan failure.
NORMAL SOUNDS DURING OPERATION:
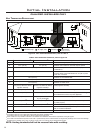
Table 1: Normal Sounds
Component Sound & Reason
Ascot Creaking when heating up or cooling down.
Burner Light pop or poof when turned off; this is more common with LP units.
Temperature Sensor Clinking when it senses to turn the blower on or off.
Pilot Flame Quiet whisper while the pilot ame in on.
Blower / Fan Air movement that increase and decreases with the speed of the blower. The
blower is pushing the heat from the replace into the room.
Gas Control Valve Dull click when turning on or off, this is the valve opening and closing.
7
Operating Instructions
For Your Safety, Read Safety Precautions And
Lighting Instructions Before Operating
PILOT LIGHT:
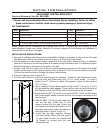
1. Turn off the gas to the replace. If not recently done, remove the glass and let the unit air out
for at least ve (5) minutes to clear out any gas. Turn on gas to the heater. Leak test all joints
with soapy water. NEVER USE AN OPEN FLAME FOR LEAK TESTING.


