A certified service technician will require one of the following Country Flame certified conversion kits,
depending on the type of conversion being planned.
PROPANE CONVERSION KIT
To convert from natural gas to propane fuel follow conversion Steps 1 through 15 starting on this page,
using one of the following conversion kits:
Bayvue DV-46N to DV46P Kit BV-4604
Bayvue DV-30N to DV46P Kit BV-3004
NATURAL GAS CONVERSION KIT
To convert from propane to natural gas fuel follow conversion Steps 1 through 15 starting on this page,
using one of the following conversion kits:
Bayvue DV46P to DV46N Kit BV-4603
Bayvue DV30P to DV46N Kit BV-3003
PROPANE CONVERSION
Bayvue DV appliances are shipped from the Country Flame factory set for 46,000 Btu Natural Gas fuel
usage; however, conversion kits may be purcahsed from Country Flame to convert the Bayvue DV to
different fuels (propane or natural gas) or lower the heat outuput to 30,000 Btu. Depending on the specific
model owned and being converted, conversion kits contain different repalcement parts that are kit specific.
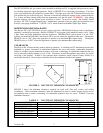
Conversion requires adjustment to the regulators, the burners, and the pilot system. Refer to TABLE 1 and
page 4 and page 5 for the correct gas pressures corresponding to the conversion kit being used.
WARNING: This conversion kit shall be installed by a qualified service agency in accordance
with the manufacturer’s instructions and all applicable codes and requirements of the
authorized agency having juristriction. If the information in these instructions are not followed
exactly, a fire, explosion or production of carbon monoxide may result causing property damage,
personal injury or loss of life. The qualified service agency is responsible for the proper
installation of this kit. The installation is not proper and complete until the operation of the
converted appliance is checked as specified in the owner instructions supplied with the kit.
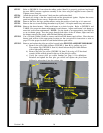
STEP 1 Turn the control knob to the OFF position and turn off the gas supply to the valve.
STEP 2 Remove control knob extentions from the valve. Allow system to cool before proceeding.
STEP 3 Remove the control panel by removing the two screws located at the top of the panel.
Disconnect the wire from back of piezoelectric igniter. Disconnect wires from on/off switch
and variable speed control if required.
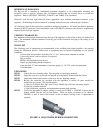
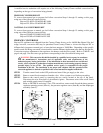
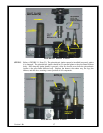
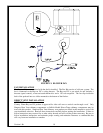
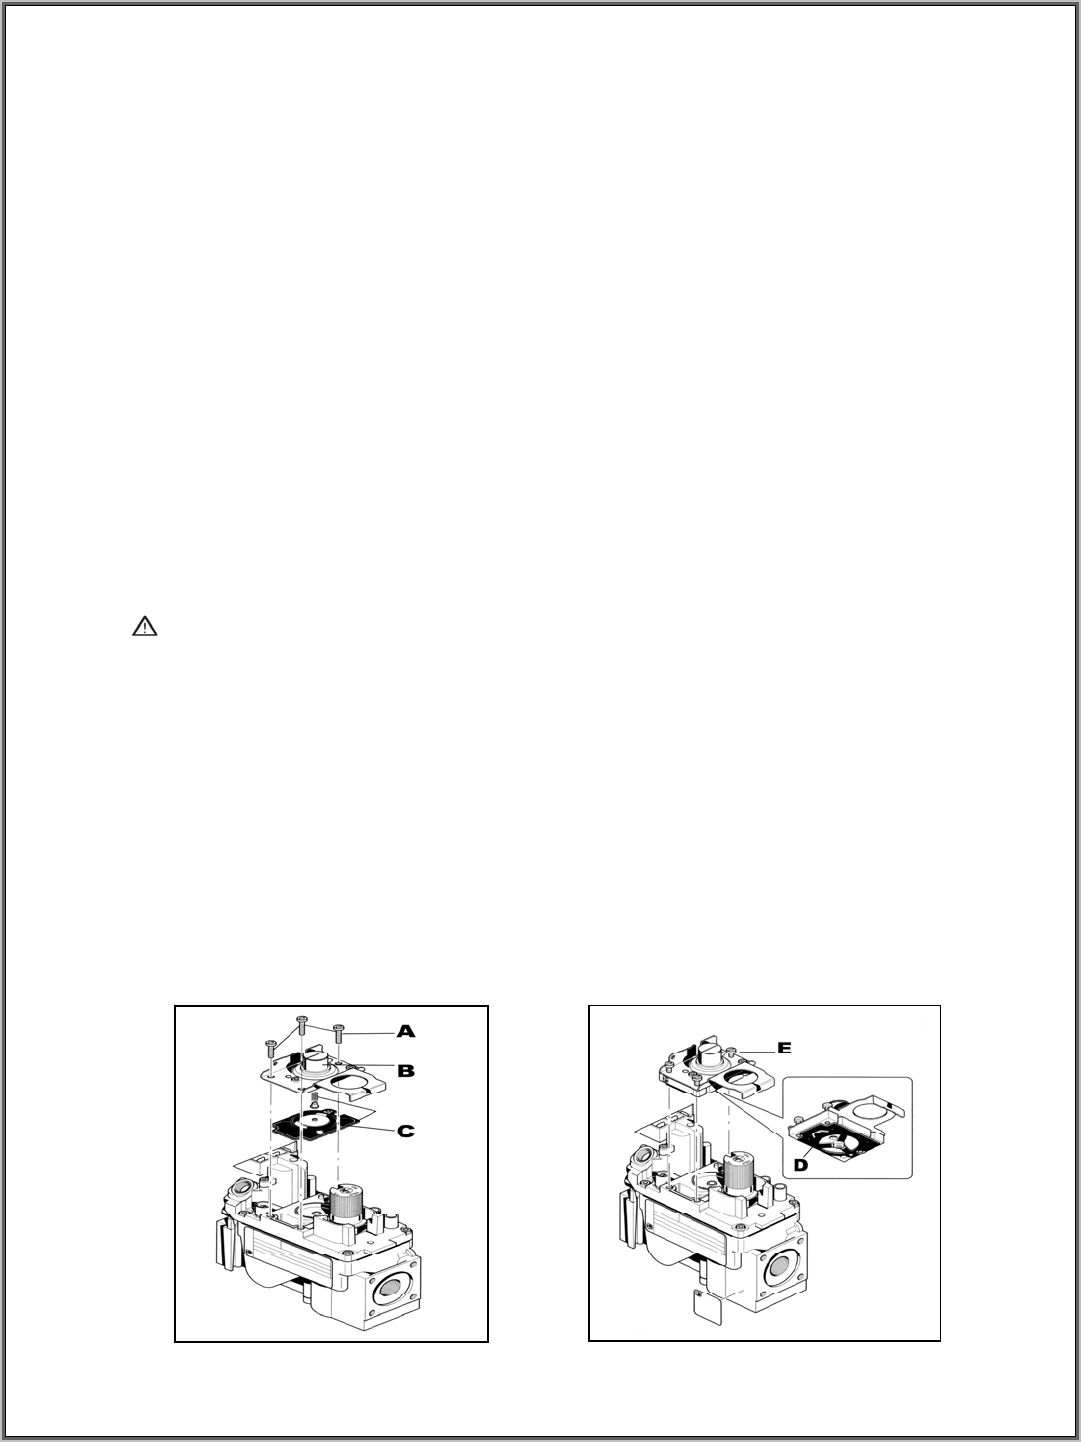
STEP 4 Refer to FIGURE 8 and using a Torx T20 screwdriver, remove and discard the three pressure
regulator mounting screws (Item A), the pressure regulator tower (Item B), and the diaphragm
assembly (Item C).
FIGURE 8: SIT 820 NOVA mV GAS CONTROL VALVE
Version 1.0h
15


