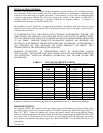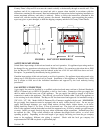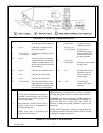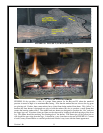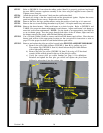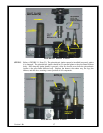
STEP 5 Remove the glass door, logs, and embers. Refer to the specific section for each of these items
for further instructions on removal and installation of the glass door, logs, and embers.
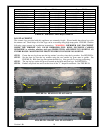
Remove the three burner retaining screws and slide the burners off the burner spud orifice
holders and remove the front, middle, and rear burners. It is critical to ensure each burner is
marked so the correct burner is located in the same position it was removed from.
STEP 6 Remove the nine screws sealing the complete burner assembly to the bottom of the stove.
STEP 7 Disconnect the wiring to the terminal block and disconnect the gas.
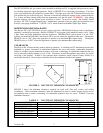
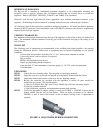
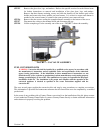
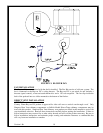
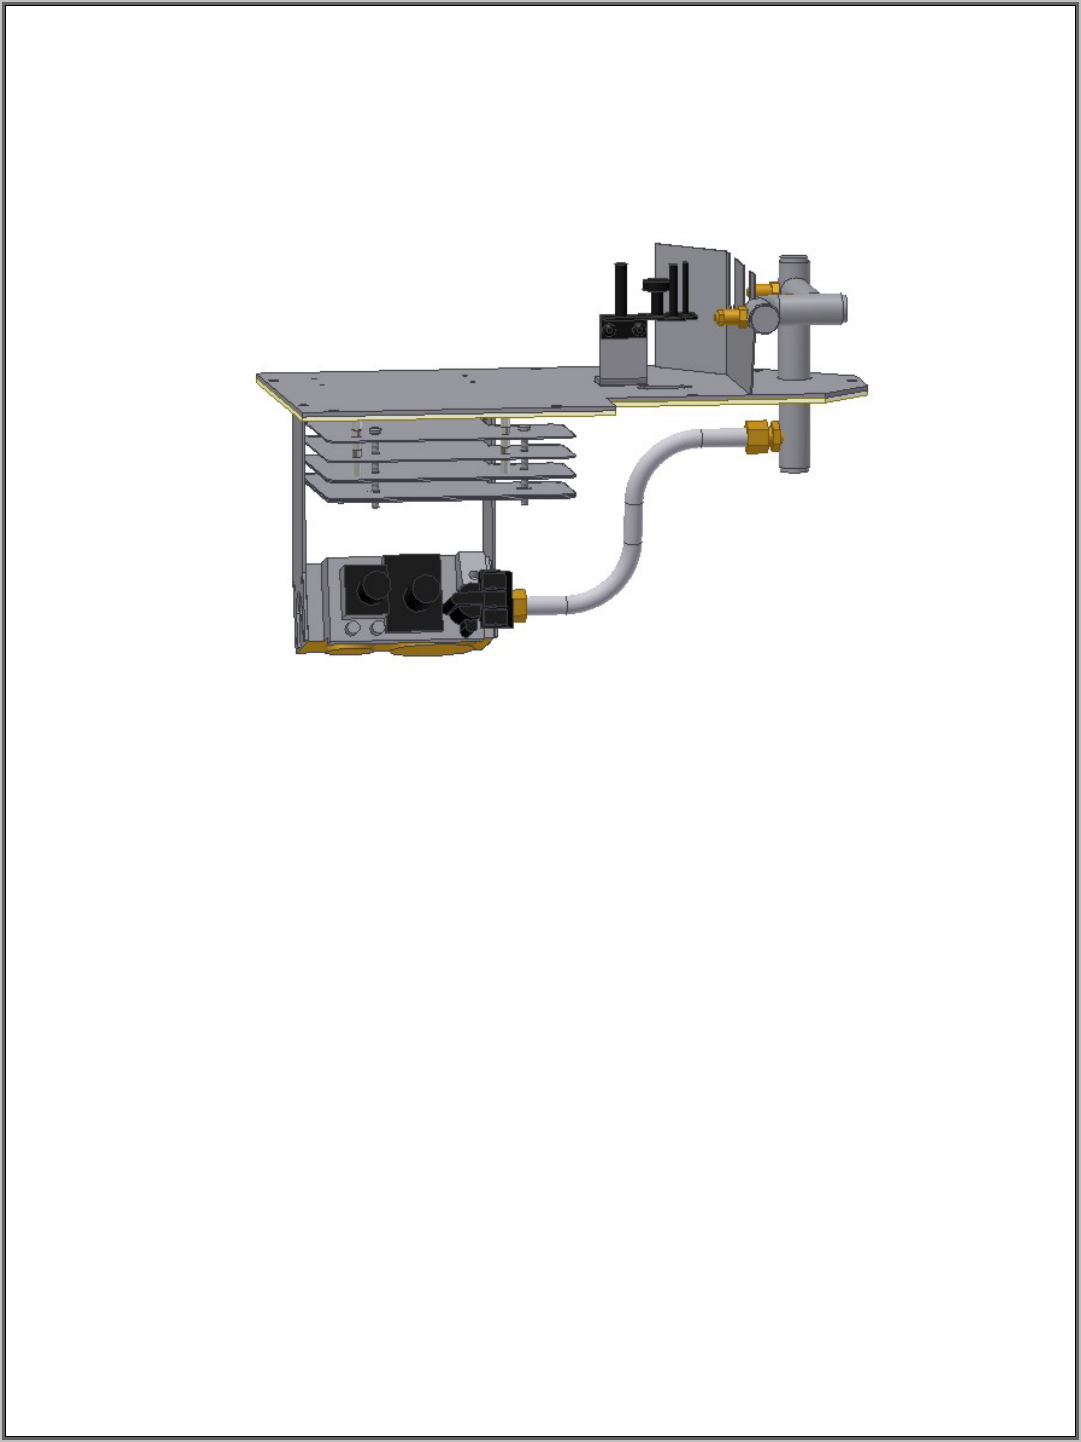
STEP 8 Lift the complete gas valve assembly out of the stove. FIGURE 7 shows the assembly.
FIGURE 7: GAS VALVE ASSEMBLY
FUEL CONVERSION KITS
WARNING: Conversion kits shall be installed by a qualified service agency in accordance with
the manufacturer’s instructions and all applicable codes and requirements of the authorized
agency having juristriction. If the information in these manufacturer’s instructions are not
followed exactly, a fire, explosion or production of carbon monoxide may result causing property
damage, personal injury or loss of life. The qualified service agency is responsible for the proper
installation of this kit. The installation is not proper and complete until the operation of the
converted appliance is checked as specified in the owner instructions supplied with the
conversion kit.
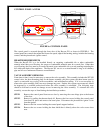
The next several pages explain the conversion kits and step by step procedures to complete conversions.
This information is provided for homeowner reference but all conversions are to be completed by a certified
professional.
Version 1.0h
13
In the event of any problem with a Country Flame conversion kit or the installation of the kit, please contact
a local authorized Country Flame Dealer or contact Country Flame directly to obtain additional information
and assistance in properly resolving the problem.


