26
X Now press F6 (Record) and shout something like "Uhhh" or "Yeah!" into the microphone. The
recording procedure starts immediately when the input signal level reaches the threshold
value.
X Now press F6 (Stop) again, to stop recording.
If you're happy with your recording, please name the new sample in the MPC software in the
small window, which will pop up automatically after finishing the recording procedure. Let’s call it
"Vocal" for now. You should also assign the sample to an unused pad, e.g. Pad 13. Hit it to
assign the sample! After that, click on Keep.
Now we can edit our newly recorded sample. Select the sample in the PROJECT INFORMATION
section and right-click on it. In the pop-up menu, choose the option Edit. Sample Edit Mode will
open.
X Press F2 (Trim) on your MPC hardware to enter the trim mode for editing.
X Use the Q-Link knobs Q1, Q5, Q9 or Q13 to define a suitable start point of your sample. With
Q3, Q7, Q11 or Q15 you can define a suitable end point.
X To hear your edits, press the Pad A15 to play the sample from the new start point to the new
end point.
Finally, let’s apply some transformations to the sample. The MPC software offers some great
options.
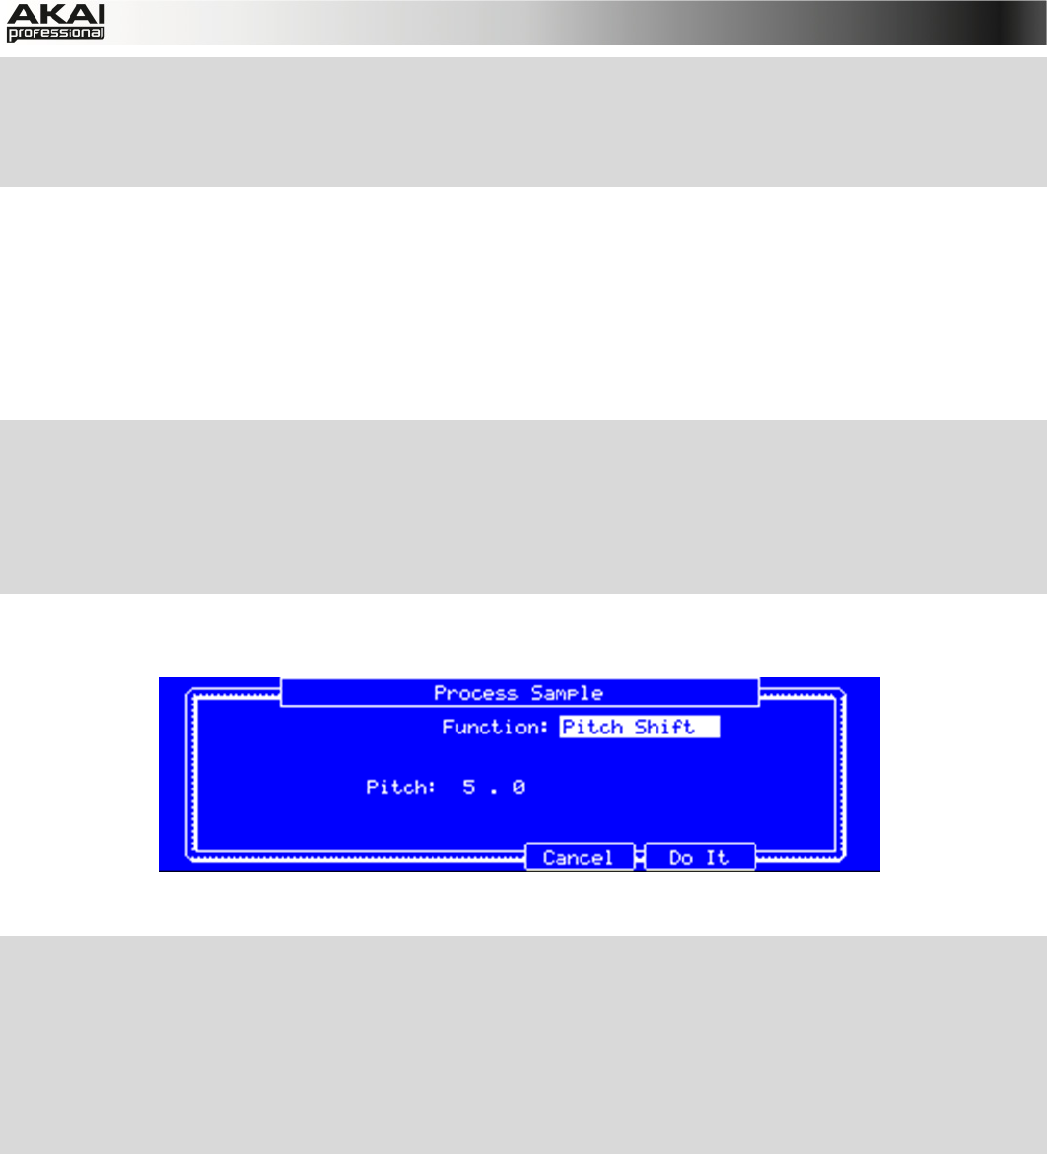
The Process Sample display of the MPC hardware
X Press F6 (Edit) on your MPC hardware to enter the Process Sample page.
X With the data dial you can select the desired option. Let’s try some Pitch Shift to change the
overall pitch of your sample.
X Use the cursor to navigate to the Pitch parameter and set it to 5.0. This will transpose the
sample by 5 semitones but will not affect the length of the sample.
X Press F5 (Do It) to finalize the edit process.
Sounds cool, so let's include the new sample in your track. In the next chapter, we’ll show you an
easy way to record note events.


