30 PTAC-SVX01C-EN
Maintenance Procedures
Perform the following maintenance
procedures to ensure proper unit
operation.
WARNING
Live Electrical Components!
During installation, testing, servicing
and troubleshooting of this product,
it may be necessary to work with
live electrical components. Have a
qualified licensed electrician or other
individual who has been properly
trained in handling live electrical
components perform these tasks.
Failure to follow all electrical safety
precautions when exposed to live
electrical components could result in
death or serious injury.
WARNING
Hazardous Voltage!
Disconnect all electric power,
including remote disconnects before
servicing. Follow proper lockout/
tagout procedures to ensure the
power can not be inadvertently
energized. Failure to disconnect
power before servicing could result
in death or serious injury.
Chassis
Clean the chassis every four months
or more often as the atmospheric
conditions require. Use water and
detergent to clean the basepan,
center partition and coils.
Using harsh cleaning materials may
cause a deterioration of the coil fins
or end plates.
Do not use a high pressure cleaner
as it could cause severe damage to
the PTAC fins and coils.
Note: It is very important to not get
any of the electronic parts
wet.
A hose is okay to use to clean the
coils, but make sure to cover the
control with a blanket or plastic bag
to prevent it from getting wet.
Wall Sleeve
Clean the wall sleeve every four
months or more often as the
atmospheric conditions require.
Remove any debris from the bottom
of the panel, and from around any
internal or external drain kit
accessory item prior to using water
or detergent. This will ensure that no
debris clogs up the drain holes.
The use of harsh cleaning materials
may cause a deterioration of the
bottom panel over time. Do not use
a high pressure cleaner because it
could spray the side or top panel
insulation material and cause future
air quality problems like mold and
mildew.
Clean side and top panel insulation
material with a lint brush or piece of
tape. Press tape against insulation
lightly and slowly peel away to
remove dirt and debris.
Compressor/Fan Motor
The compressor and fan motor are
hermetically sealed, permanently
lubricated, and require no additional
oiling.
Cabinet Front
The cabinet front and discharge air
grille can be cleaned with a mild
soap or detergent.
Under NO circumstances should
hydrocarbon based cleaners (e.g.
acetone, benzene, naphtha gasoline,
etc.) be used to clean the front or air
grilles.
Use care when cleaning the control
area. Do not use an excessively wet
cleaning cloth.
Intake Air Filter
The intake air filter and vent door
filter are both constructed of durable
polypropylene. Clean filters monthly
to ensure proper unit operation.
The fan must be off before the filters
are cleaned.
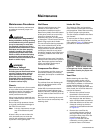
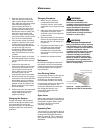
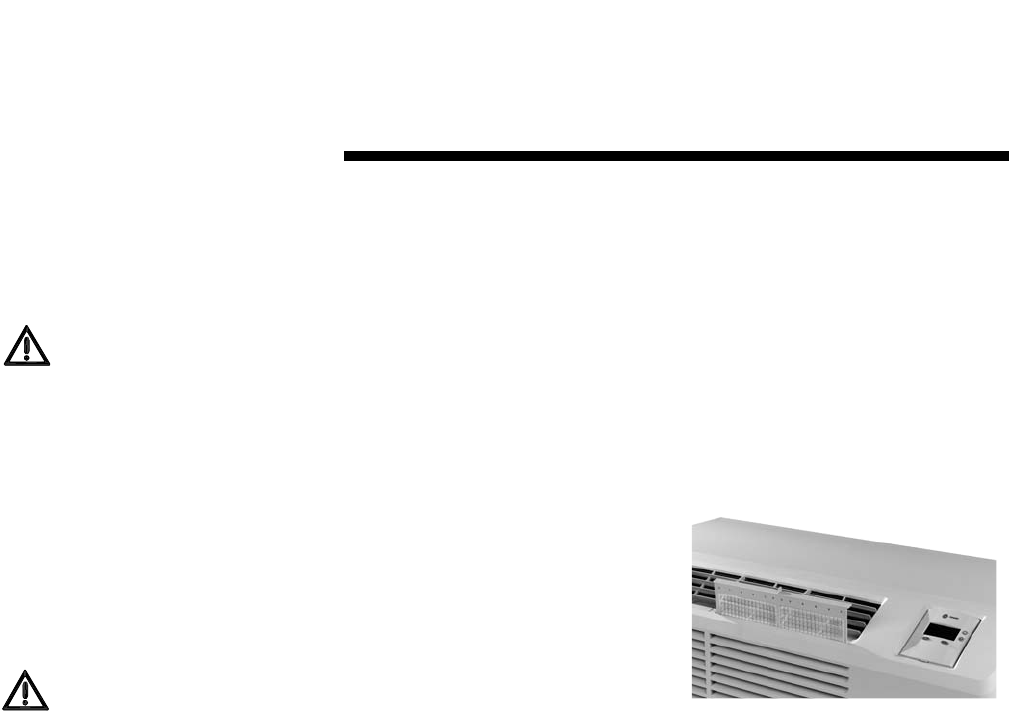
To remove the air filters, grasp the
top of the filter and lift out of the
front cabinet (Figure 19.) Reverse the
procedure to reinstall the filters.
Vent Filter
Before cleaning the vent filter,
disconnect power to the unit by
unplugging the power cord at the
wall outlet or subbase, or disconnect
power at the fuse box or circuit
breaker. If unit is operated with vent
door closed, the vent filter does not
need to be cleaned.
1. Remove the cabinet front as
described in front removal.
2. Remove the six screws securing
the chassis to the wall sleeve
with a Phillips-Head screwdriver.
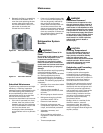
3. Slide the chassis out of the wall
sleeve far enough so that the
vent filter is accessible as shown
in Figure 20.
4. Remove the vent filter by
unscrewing the two screws at
the top of the filter and gently
pulling the filter away from the
partition panel. Refer to
Figure 21. The filter can be
cleaned by running under a low
pressure hose or sink faucet.
Figure 19. Intake air filter removal
is through top of unit. Inspect and
clean filters monthly for proper unit
operation.
Maintenance


