Installation
14 CAH-SVX01A-EN
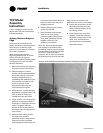
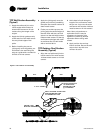
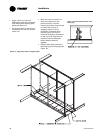
TCP Wall Section Assembly
(Typical)
1 Apply the walls and join at the
inside angles with number 14
sheet-metal screws on 12-inch
centers along the length of the
angles.
2 Apply the 1/8-inch gasket evenly
to the exterior of the walls across
the two joined edges of the
splits.
3 Before installing the pre-cut
joining strip over the gasket, pre-
drill holes in the wall using the
strip as a guide with a number 29
drill bit at 12-inch centers.
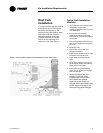
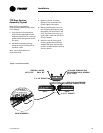
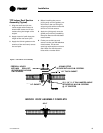
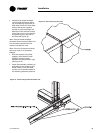
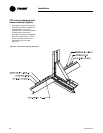
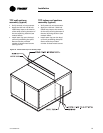
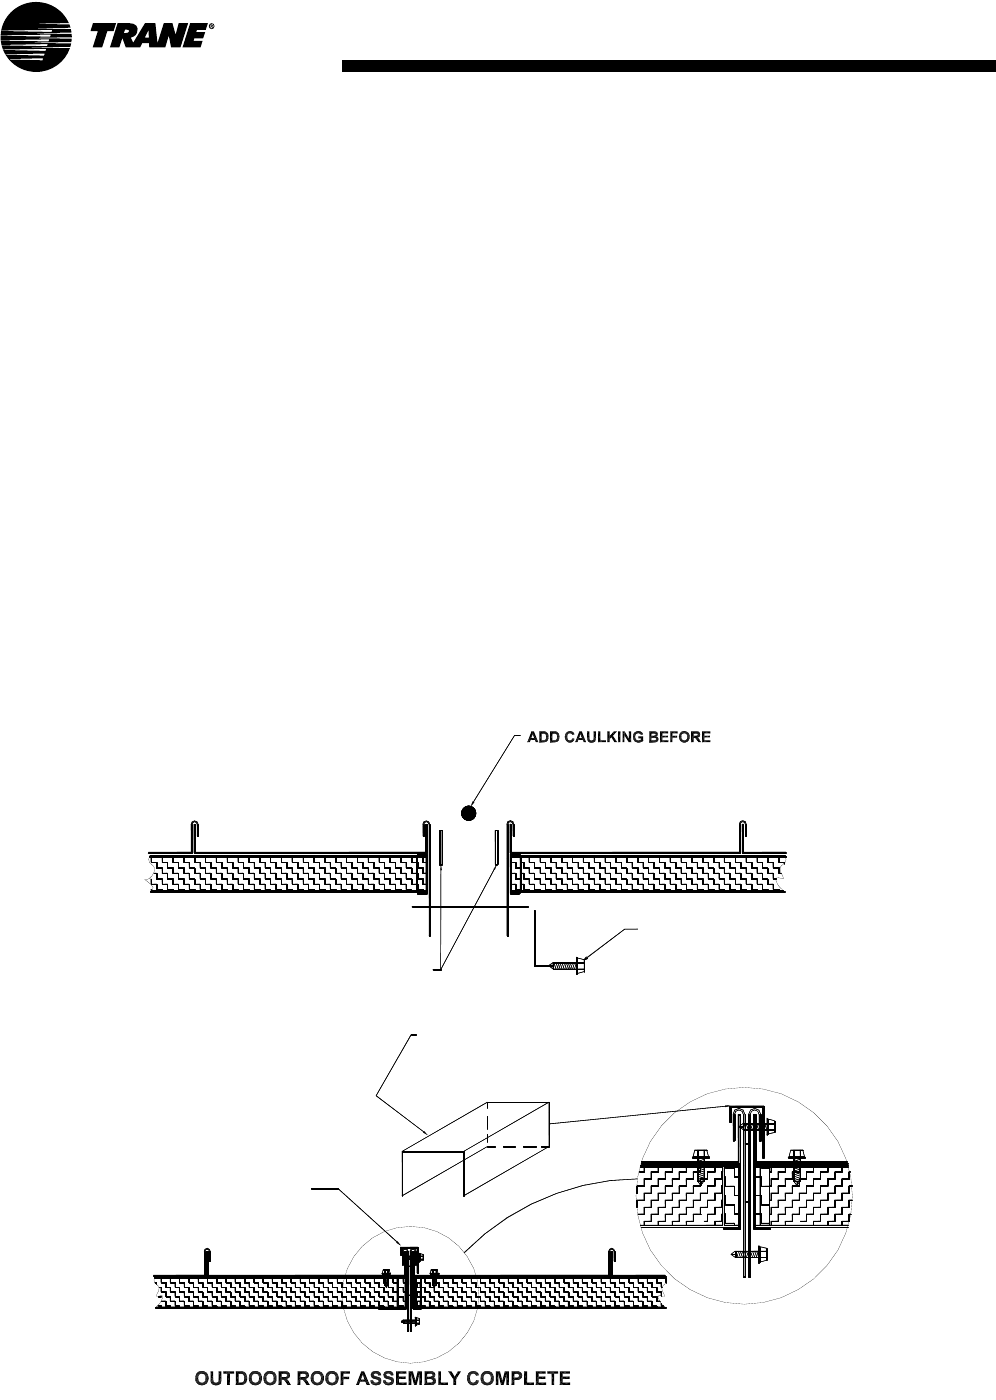
Figure 6. TCP outdoor roof assembly
INSTALLING J-CAP
SPLIT
AS JOINING ANGLE
SECTION TRIM ACTS AS
APPLY CAULKING TO END CAPS
TO THE ENDS OF J CAP.
THEN SECURE END CAPS
END CAP
SECURE w/#14 S.M.
@ 12" CENTERS.
J-CAP
SPLIT
SECURE J-CAP
W/#14 S.M. SCREWS.
4" X 1/4" GASKET
4 Apply the joining strip over the
gasket and uniformly straddling
the splits. Secure with number 10
sheet metal screws.
5 Fit the pre-cut hub cap over the
joining strip the vertical height of
the wall flush with the roof and
secure it to the wall with number
8 sheet metal screws. Fill the top
and bottom openings with caulk
as moisture seal. Pre drill holes
with a number 29 bit.
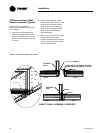
TCP Outdoor Roof Section
Assembly (Typical)
1 Align the roof splits and join the
interior section trim with number
14 sheet metal screws on 12 inch
centers.
2 Add a bead of caulk along the
length of the roof seams. Install
the pre-cut J-cap over the seam
and secure with number 14 sheet
metal screws on 12-inch centers.
Note: Use a polyurethane or
equivalent caulk. It may be
necessary to clamp the joint
together or predrill to prevent
separation when drilling with
screws.
3 Apply caulk to the end cap
interior surface. Secure the end
cap on the J-cap with one
number 10 screw.


