


46
Using the Main Menu
LAN
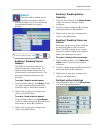
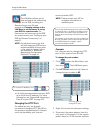
The LAN Menu allows you to
view and adjust the networking
settings for the DVR, including the
Remote Access user IDs and
passwords. Changing settings in the
LAN Menu is not necessary to set up
your DVR for remote access. For
instructions on how to set up the DVR
for remote access, see “Setting up your
DVR for Remote Connectivity” on
page 51.
NOTE: For advanced users, tips that
wi
ll help keep your DVR secure
and accessible at all times, even
in the event of a power failure
are available in “Advanced
Networking Configuration
(Optional)” on page 61.
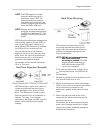
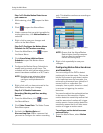
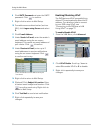
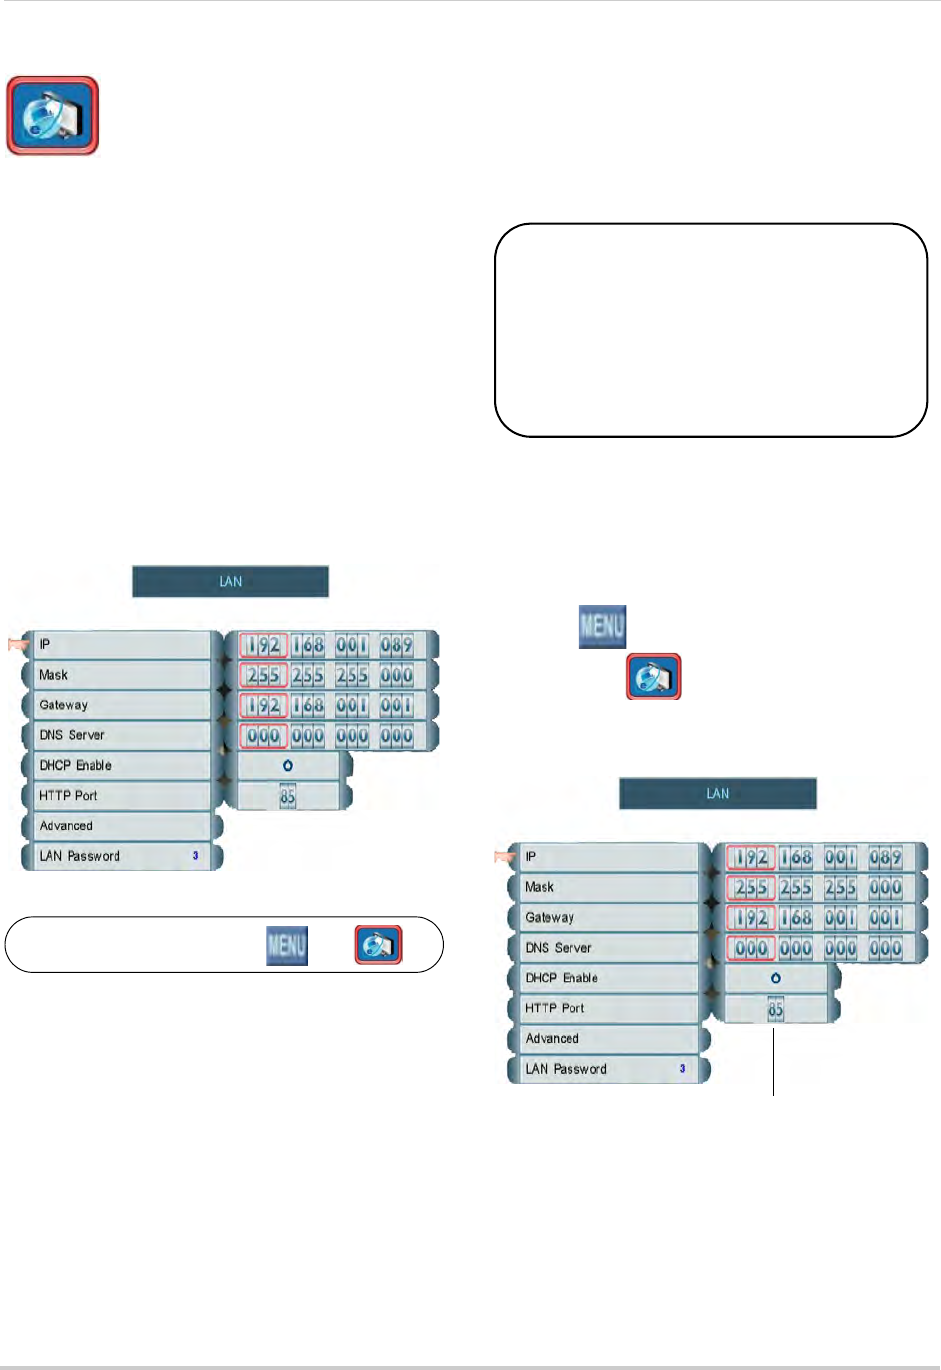
LAN Menu
To access the LAN Menu, click then .
• It is highly recommended to set your DVR
up to use a fixed IP address. For more
information, see “Appendix B: Assigning a
Fixed IP to your DVR” on page 104.
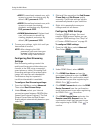
Changing the HTTP Port
For added security, we strongly
recommend changing HTTP port 80 on
the system to
any desired port
—the
port
must
not blocked by your Internet
service provider (ISP).
NOTE: Pl
ease contact your ISP for
c
omplete information on
available ports.
If you change the default port on the system from 80
to a different value, you MUST enter http:// and a
colon and the port number after the DDNS or IP
address when connecting to the DVR using a web
browser.
For example, if you change your port number from
80 to 85, you MUST enter a colon and port 85 after
the DDNS address (for example,
http://
tomsmith.lorexddns.net:85
).
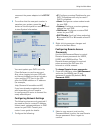
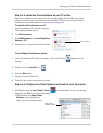
Example
Let’s say you want to change the HTTP
port on your system from 80 to
85
.
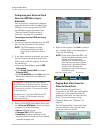
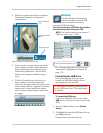
To change the port number:
1 Click
to open the Main Menu, and
then click
. The LAN Menu opens.
2 Click HTTP Port and
scroll up / down to
change the port number to 85.
Scroll up / down to
change HTTP port
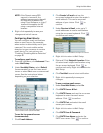
3 Right-click to exit and save your settings.
4 Disconnect the power adapter from the
r
ear panel of the system. Let the system
power-down for 15~20 seconds and then