


106
Appendix B: Assigning a Fixed IP to your DVR
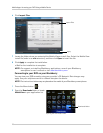
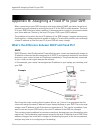
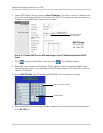
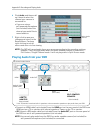
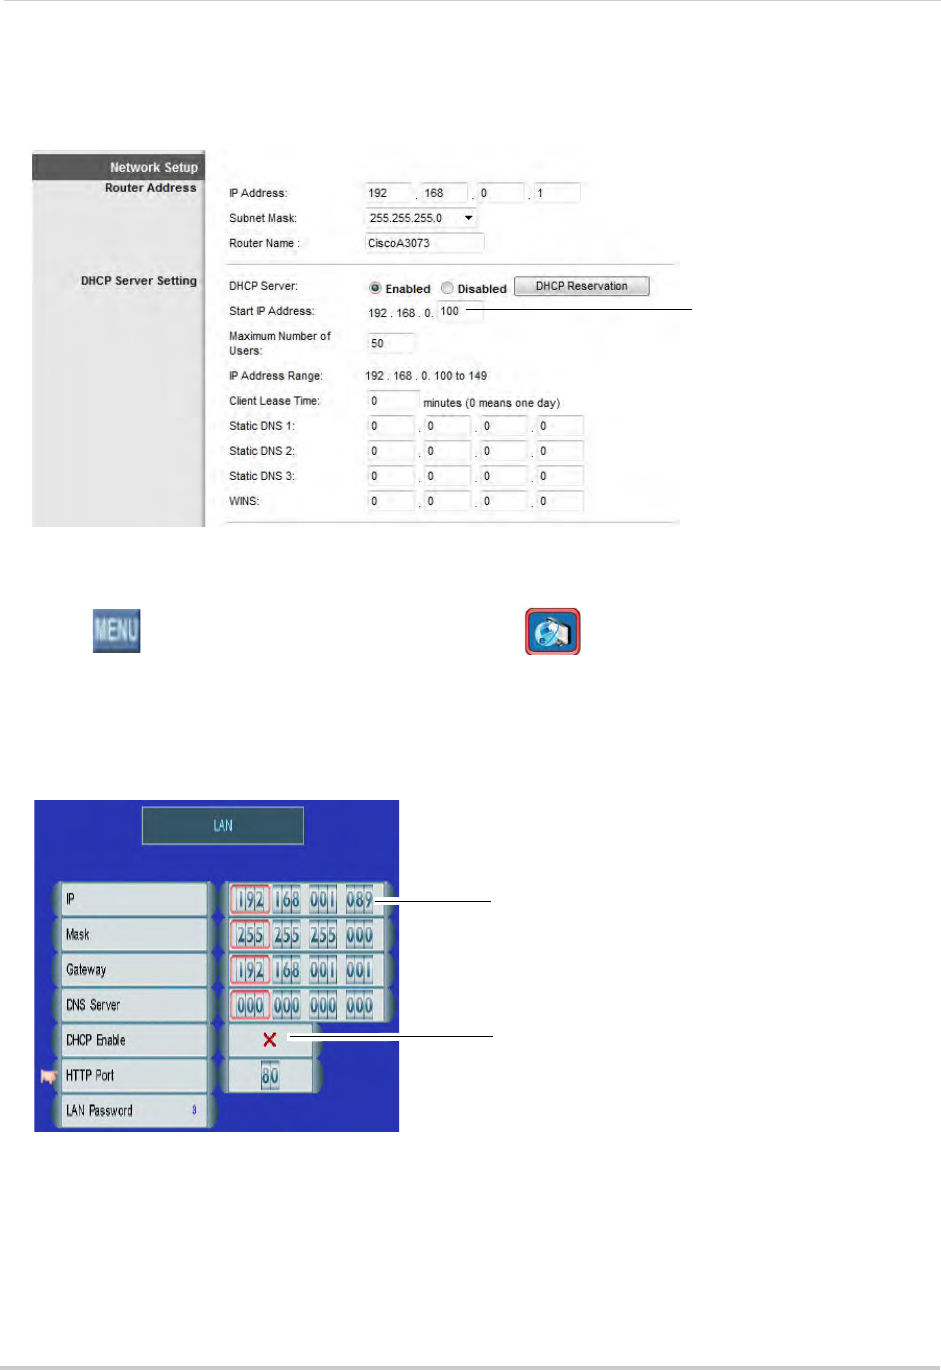
3 Under DHCP Server Setting, locate the Start IP Address. This value is the first IP address that
the router will assign to devices that connect with DHCP. This means that you can assign any
IP address to your DVR that is lower than this value.
Start IP Address
192.168.0.100
DHCP Scope:
192.168.0.100-
192.168.0.255
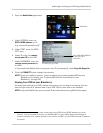
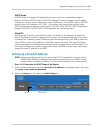
Step 2 of 3: Disable DHCP on the DVR and Assign a Local IP Address Outside the DHCP
Scope
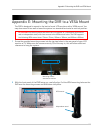
1 Click
to open the Main Menu, and then click . The LAN Menu opens.
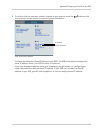
2 Beside IP, enter the desir
ed IP address. This IP address must be outside the DHCP range
specified by your router. In the example, the DHCP range begins at 192.168.0.100, so we can
choose 192.168.0.89.
3 Beside DH
CP Enab
le, select X to disable DHCP.
Enter desired IP address
Disable DHCP
Right-click to save your settings.
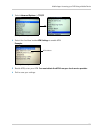
4 Restart the DVR by disconnecting the power adapter from the rear panel and reconnecting it
to
the DC 12V port.