36
The boiler MUST be OFF at the circuit breaker, and
COOL before you attempt to clean the combustion
blower.
The wire to the combustion blower doesn’t need to be
disconnected during the cleaning process.
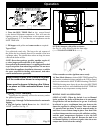
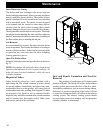
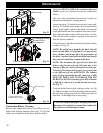
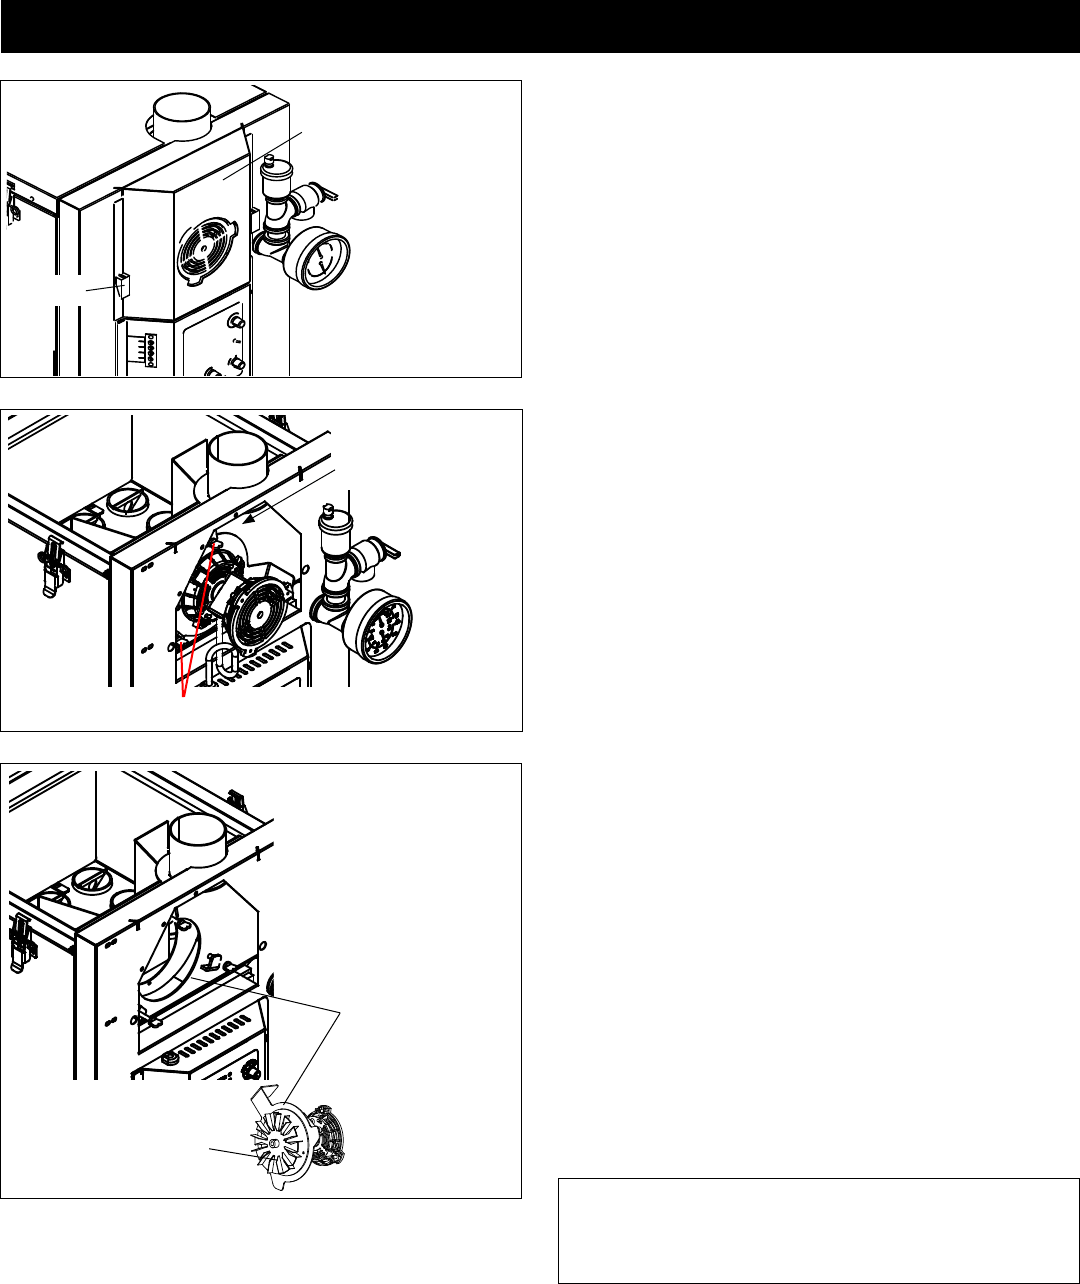
Loosen the three (3) thumb screws about 4 turns each.
See Fig. 23. Hold the motor head with one hand and the
blower plate handle with the other hand. Pull outward
on the plate handle until the complete unit comes loose.
Now rotate the plate counter-clockwise about 1/8 turn.
This will allow the complete assembly to be removed
from the blower chamber.
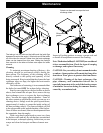
Clean the blower fan blade and the blower plate sealing
overlap. See Fig. 24.
NOTE: Be careful not to bend the fan blade, this will
throw the fan blade out of balance or it may rub the
inner chamber, which may affect the performance of
the boiler. Any horizontal and vertical ue pipe directly
above the unit should be cleaned at this time
NOTE: The horizontal ue pipe directly above the
boiler is the rst place y ash will settle, due to the
slowing of ue gas velocity through horizontal pipe.
Cleaning of horizontal venting pipes is very important
to the efciency of this boiler.NOTE: The exhaust
probe sensing tip extends into this same area. CARE
MUST BE TAKEN NOT TO DAMAGE THE ESP
DURING CLEANING. Bending of the ESP will make
it difcult to remove if it should become necessary.
See Fig. 23.
Clean the boiler blower plate sealing overlap. See Fig
24. Make sure there is no y ash buildup that may block
the easy ow of ue gases into the combustion blower
inlet hole. (A ashlight may be necessary.)
Combustion Blower Cleaning
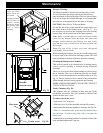
Remove the combustion blower cover.There are two
latches that hold the shield in place (Fig. 22). Flip the
latches up and pull the shield away from the boiler.
CAUTION: Inspect ue pipes, ue pipe joints and
ue pipe seals regularly to ensure that smoke and
ue gases are not entering the home.
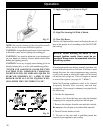
Fig. 24
Sealing Overlap
5” Double Bladed Fan
(standard) #3-21-502221
Fig. 22
Latch
Blower Cover
Fig. 23
Three Thumb Screws
Theexhaust sensing
probe (ESP) is
located here.


