


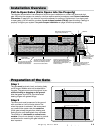

Mighty Mule 352
19
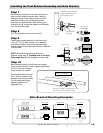
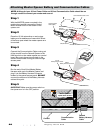
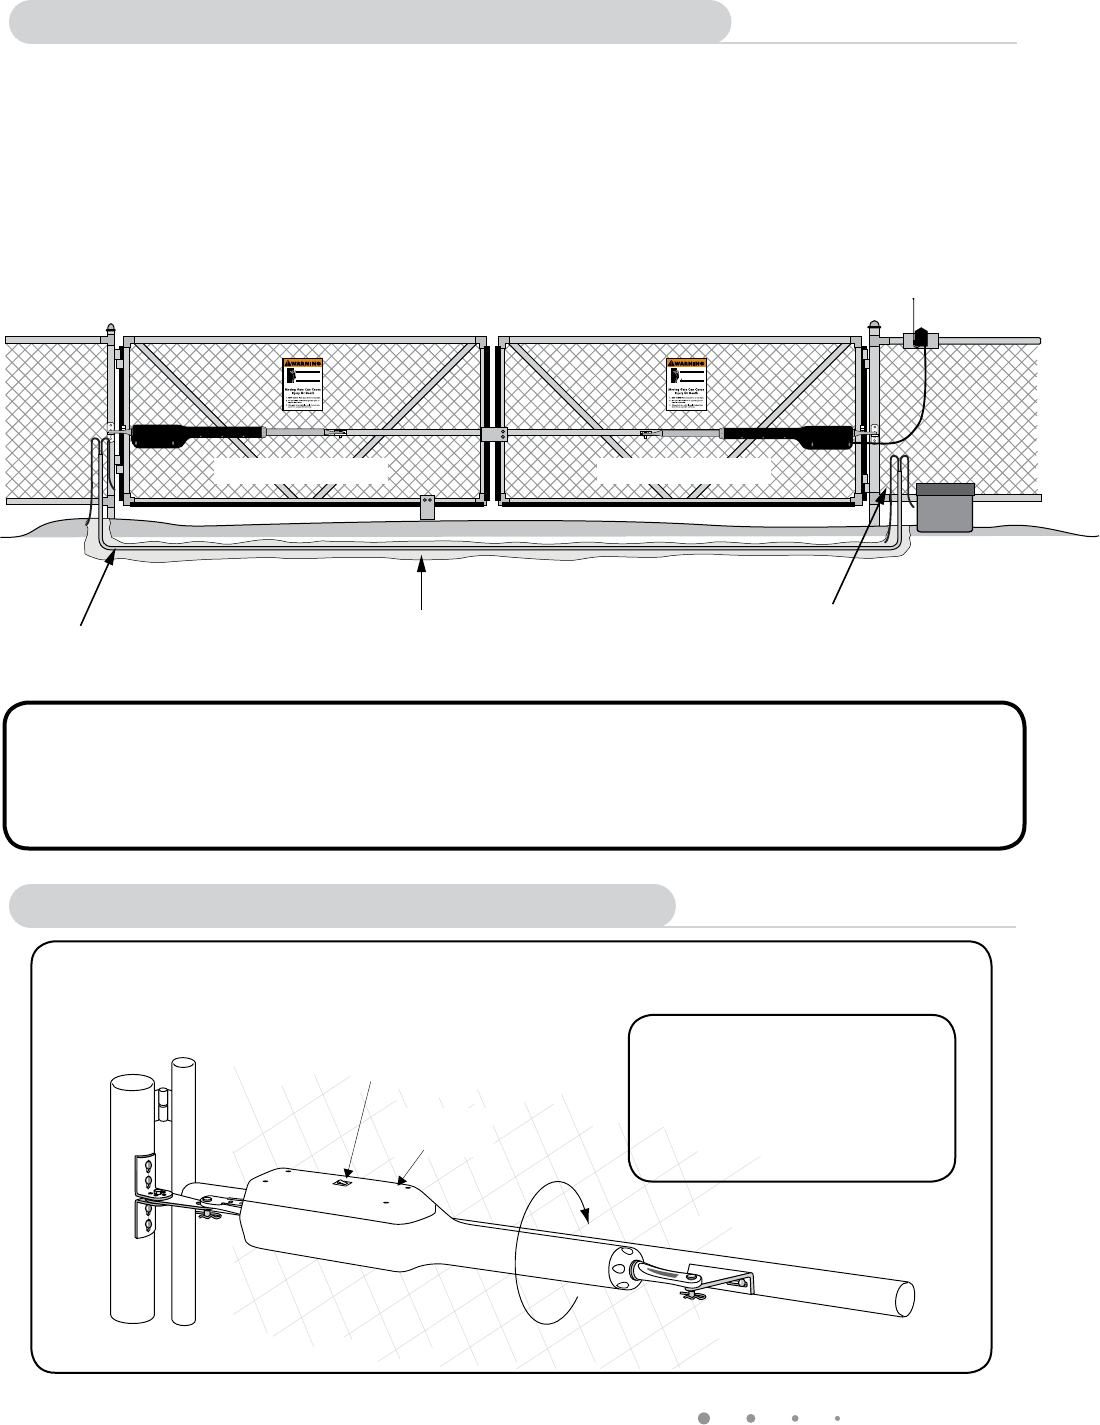
Master OpenerSecond Opener
Trench cut across driveway for
routing of the Communication Cable
and Second Battery Harness Cable.
32 foot Second Battery Harness Cable
and 32 foot Communication Cable
routed through the PVC conduit.
3/4 inch or larger
PVC Conduit
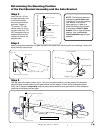
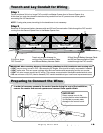
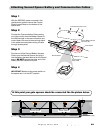
Preparing to Connect the Wires
Trench and Lay Conduit for Wiring
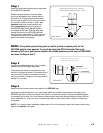
In order to have easy access to the control boards during the rest of the installation,
remove the master and second openers and remount them upside
down.
Bottom
Access Panel
ON
OFF
ON/OFF
Switch
IMPORTANT:
Return opener arms to the
upright position when installation
is complete to prevent water
damage to the control board.
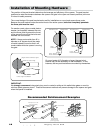
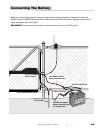
IMPORTANT: After trenching driveway follow these guidelines for PVC installation and running wire.
• DON'T use too many curves in PVC. Use sweeping 90° angles. Wire should be easily removeable if needed.
• DON'T splice wire. This can cause a voltage drop and can interfere with sequencing and the rev counter.
• DON'T run wire in same conduit as AC wiring. This causes communication interference and electrical noise.
• DO use minimum of 3/4" ID (interior diameter) PVC conduit available at your local home improvement store.
Step 1
Trench and place 3/4 inch or larger PVC conduit from Master Opener Arm to Second Opener Arm.
At this time you may also choose to trench and lay conduit from an AC power source to the gate for
connecting the 18V transformer.
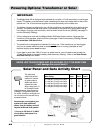
NOTE: If using solar power, trenching for the transformer is not necessary
Step 2
Route the 32 foot second battery harness cable and 32 foot Communication Cable through the PVC conduit
running from the Second Opener Arm to the Master Opener Arm.