


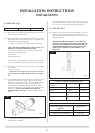

21
INSTALLATION INSTRUCTIONS
INSTALLATION
6. STUDWORK FOR COOL WALL
INSTALLATION KIT
ThereisanoptionalStudio22CoolWallInstallationKitavailable
for installing the fire without a frame: Studio 22 BF Code No.
8727BFCW22.Thisconsistsoffourmetalbracketssothatyoucan
create a flush finish to the "edge" of the appliance.
Forthiscool-wallinstallation,theconvectedheatofthefireis
channelled into the studwork enclosure and vented at the top.
The cool wall installation kit is provided unfinished. This allows the
kit to be finished to match the fireplace decor.
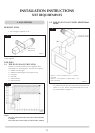
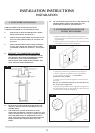
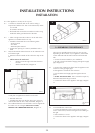
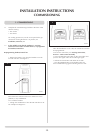
Using the fixing kit:
• Fitthefourmetalbracketsofthekittothefire
• Lineupthesidebracketswiththeholesinthefront
flange of the appliance
• Securetotheflangeusingthenuts,washersandbolts
provided, Diagram 20
20
AR2132
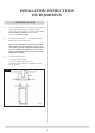
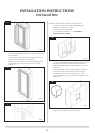
Note: Make sure the long side of the bracket is nearest
the inside.
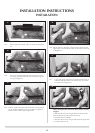
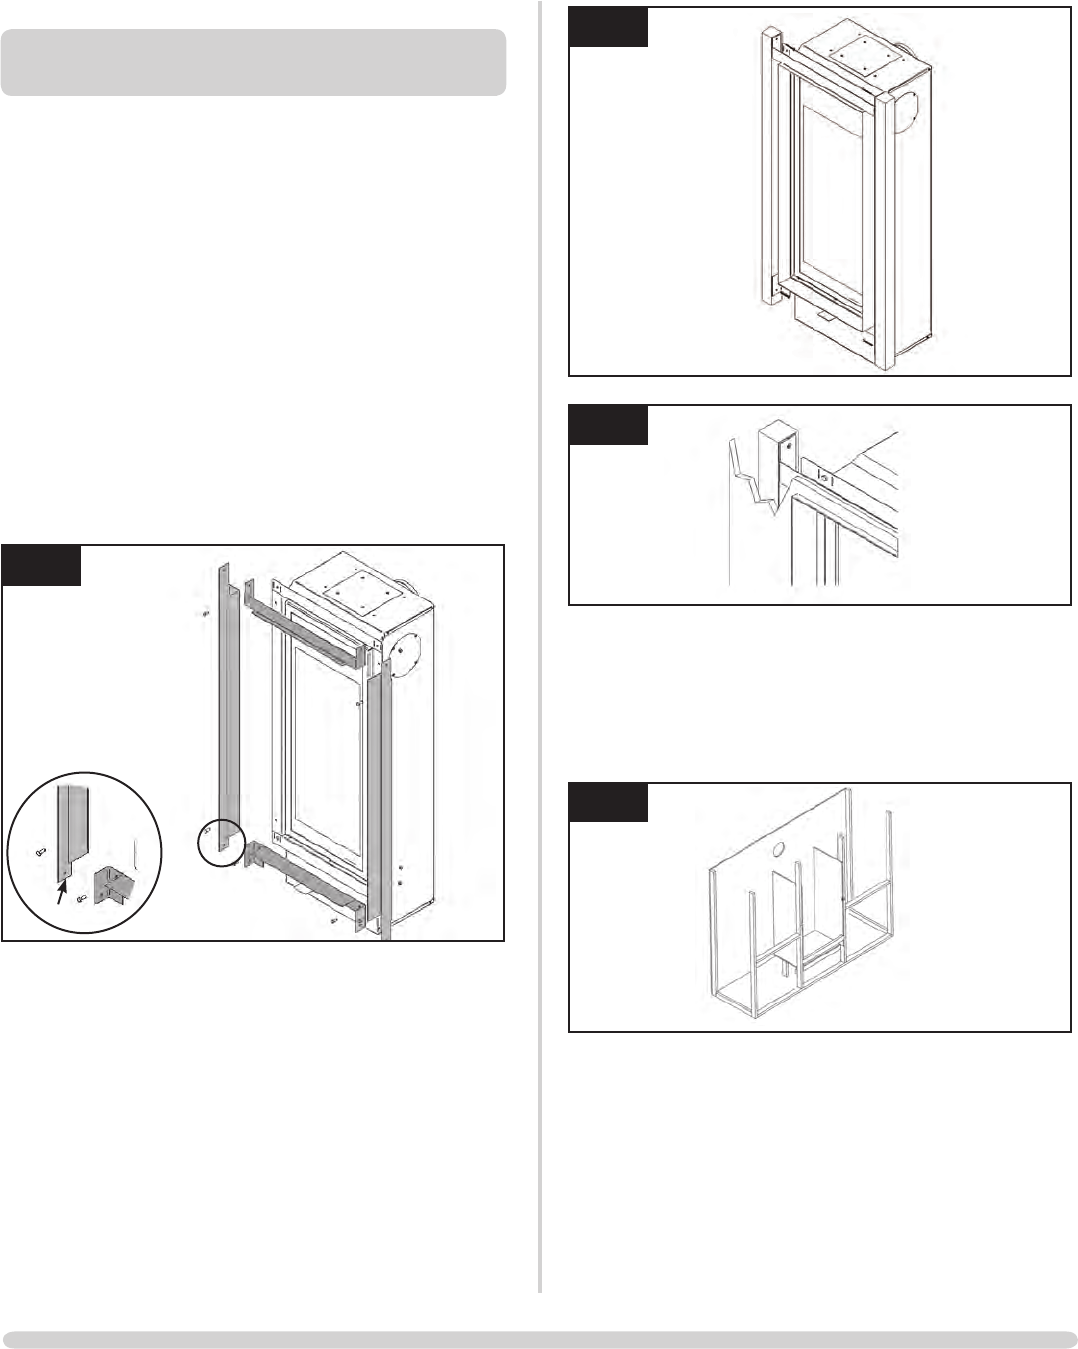
This now determines the width of your two vertical
studworksupports.Thekithasbeendesignedsothatnon-
combustible board can be taken right up to the edge of the
four brackets, Diagram 21 & 22
21
AR2131
22
AR2082
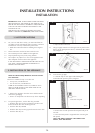
• Ensureallclearancestocombustiblematerialsare
maintained, Section 3, 3.1
• Decideonfluerequirements
• Cutaholefortheflueexit-seeInstallation
Instructions, Flue Assembly, Diagram 21
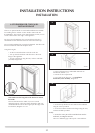
23
AR1902
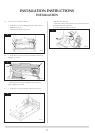
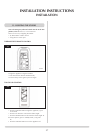
• Securethetopbracketateachsideintothestudwork
using the screws provided
• Securethebottombrackettotheflangeusingthenuts,
washers and bolts provided
Finally:
• Securetheouterpartofthemetalbracketsintothe
studwork,seeDiagram20inset
There is a deliberate gap at the top for convected heat.