


19
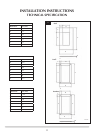
INSTALLATION INSTRUCTIONS
INSTALLATION
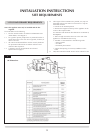
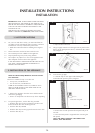
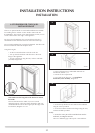
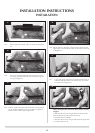
• Fitthesupportbarintothestudworkatthecorrect
height, Diagram 11.
11
AR1904
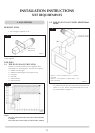
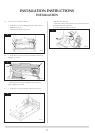
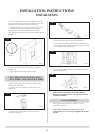
• Attachthe4framefixingbracketstothefirebyplacing
the top part of the bracket through the slots
• Pushthebracketflatagainstthepanel,thenslidedown
to the stop, see Diagram 12
12
AR1913
• Fixfoamsealtotheouterflangeofthefire,Diagram13
13
AR1913b
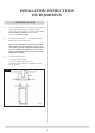
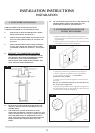
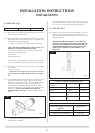
• Positionthefire
• Fitnon-combustibleboardtothestudworkaroundthe
fire. This should extend a minimum of 400mm above the
appliance and at least 50mm to the sides of the appliance
(from the outer box, not the flanges).
• Applyplasterboardtotheremainderofthestudwork
• Securethefirebacktothestudworkusingfourscrews
through flange, bracket, support bar
• Applyaplasterfinishtothefrontofthechimneybreast
Slips
Because of the high temperatures this fire achieves, it is advisable
to use marble slips or similar material between the appliance and
the plasterboard.
Never use a one-piece slip because expansion (even cracking)
can occur.
Note: If a slip is used, longer screws are needed to secure the
appliance.
To finish the installation:
• Connectthewallboxandbatteriesfollowinginstruction
in Section 7 below
• Connect:
- thefluesystem(seeInstallation, Flue Assembly)
-andgasservices(seeInstallation Section 9) using the
opening in the side of the chimney breast for access.
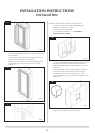
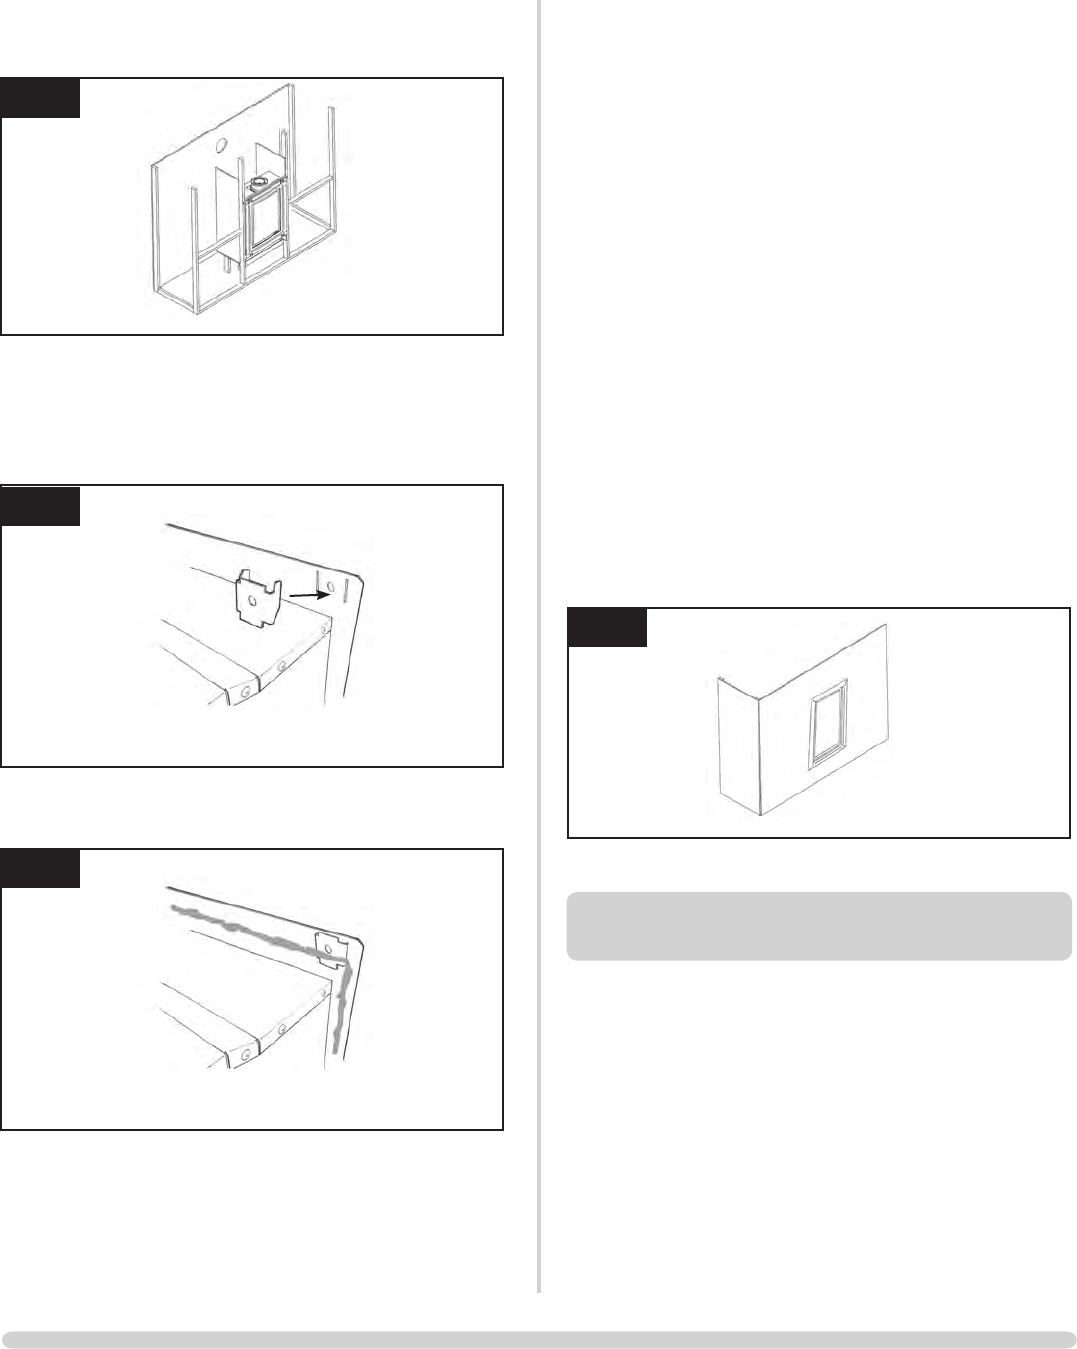
After commissioning:
• Finishthesidesofthechimneybreast,Diagram14
14
AR1905
5. STUDWORK FOR STUDIO EDGE
INSTALLATION KIT
ThereisanoptionalStudio22EdgeInstallationKitavailablefor
installing the fire without a frame: Studio 22 BF Code No.
8727BFEK22.Thisconsistsoffourmetalbracketssothatyoucan
create a flush finish to the "edge" of the appliance.
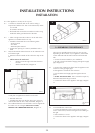
Using the installation kit:
• Fitthefourmetalbracketsofthekittothefire:
•Fitthesidestotheapplianceandsecureusingnutsand
washers provided
•Attachthetopandbottommetalbracketstothetop
and bottom flanges of the appliance using nuts
and washers provided, see Diagram 15