


– 29 –
EXAMPLE:
(a)
✱
ZN 01 B ACK
(b)
✱
ZN 01 BACK
(c)
✱
ZN 01 BACK
D OOR
(d)
✱
ZN 01 BACK
DOOR
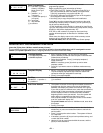
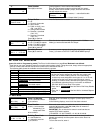
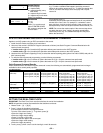
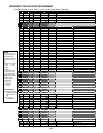
Descriptor Example
EXAMPLE: “BACK DOOR”
a. From the list, BACK = 013, so, after entering the zone number
to be edited (step 1), enter #013. If you accidentally enter the
wrong word, simply press [#] plus the correct 3-di
g
it number fo
r
the word you want.
b. Press [6] to accept the selected word and continue to the next
word. (if this is the only word you are using for the descriptor
press [8] to save it).
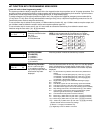
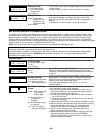
c. Enter the 3-digit number for the next word, “DOOR,” whose
number is “057.” Enter # 0 5 7.
d. Because this is the last word in the example descriptor, press
[8] to save it. (If there was a third word in the descriptor, press
[6] to accept the selected word and continue to the third word.)
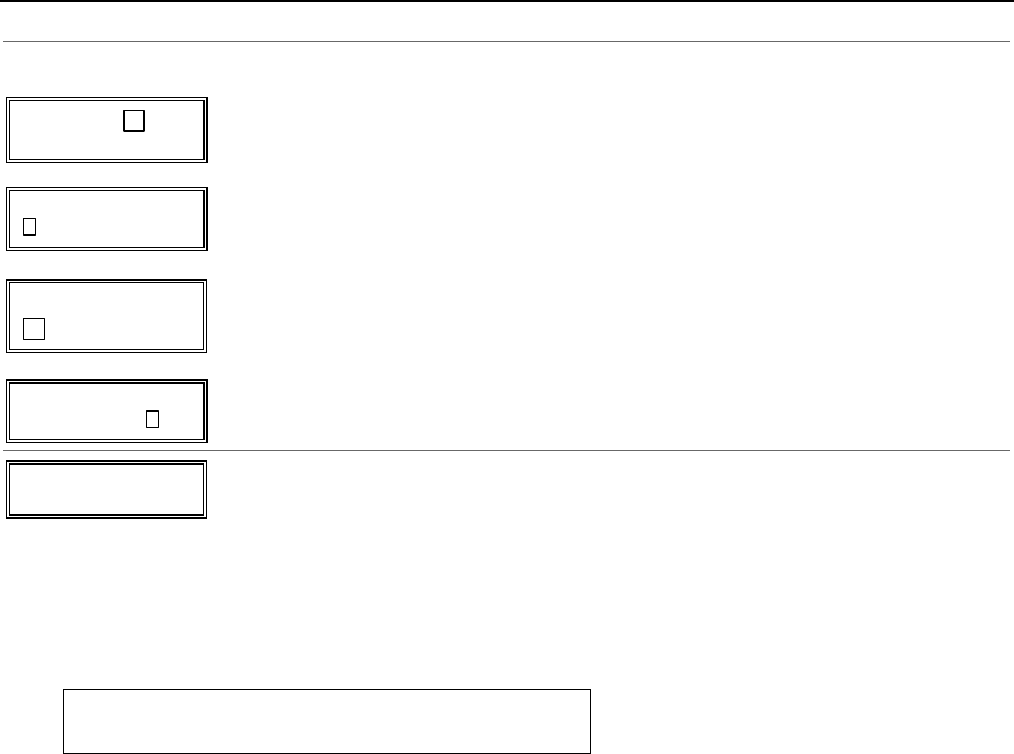
The summary screen displays with the selected descriptor.
✱ ZN 01 BACK
DOOR
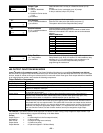
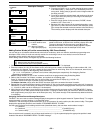
Summary Screen
[
∗] = to enter another zone
number
[#] = return to Program
Alpha prompt (to quit)
The flashing cursor disappears, indicating that the word(s) are
saved for that zone, as shown in the summary display at the left.
To enter a descriptor for the next zone, press [
✱]
plus the
desired zone number. The summary display appears. Repeat
the previous steps to enter the descriptor for the zone.
Adding Custom Words (will not be annunciated by 4286 Phone Module)
You can add up to 10 installer-defined words to the built-in vocabulary, which can then be used when programming zone
descriptors. Each of the 10 words can actually consist of a word string of one or more words, but no more than
ten
characters can be used for each word or word string.
When adding custom words, the keypad keys perform the following functions:
[4] Moves cursor one space to the left.
[6] Moves cursor one space to the right.
[8] Saves the new word in the system's memory.
1. Select Custom Word mode (enter 1) when the prompt “CUSTOM WORD ?” is displayed.
2. Enter the number (01–10†) of the custom word or word string to be created, corresponding to index numbers 245 - 254
respectively (for example, if you are creating the first custom word or word-string, enter 01, for the second, enter 02, etc.).
A cursor will now appear at the beginning of the second line.
† or 11, 12, 13 for partition 1, partition 2 and common lobby descriptors respectively. See Assigning Partition
Descriptors paragraph below.
NOTE: Custom words 8, 9, and 10 are “reminder words” that are programmed using Scheduling Mode.
3. Refer to the Character List of letters, numbers, and symbols on a following page.
Press [#], followed by the two-digit entry for the first letter you would like to display (e.g., # 65 for “A”).
The cursor moves to the right, in position for the next character.
To delete a character, simply enter the SPACE character (#32) at the unwanted character’s location..
4. Repeat Step 3 to create the desired word(s). Note that the “4” key can be used to move the cursor to the left, if necessary.
Remember, no word or word-string can exceed 10 characters (except custom message/partition descriptor word numbers
11, 12, and 13, which can be a maximum of 16 characters).
5. When the word is complete, press the [8] key to save the custom word(s) and return to the “CUSTOM WORD ?” display.
Repeat Steps 2–5 for other custom words to be entered. To change a custom word, just overwrite it. When all words have
been programmed, press [0] to return to the Descriptor entry. The custom word(s) will be automatically added to the built-
in vocabulary.
Assigning Partition/Custom Message Descriptors
FA148CP: You can create a custom message display that appears on alpha keypads instead of “System Ready.” To assign a
custom message, use word number 11 as described below.
FA168CPS: You can assign a partition descriptor (up to 16 characters) for each partition plus the common lobby. The system
displays the appropriate partition’s word instead of “DISARMED READY TO ARM.”
Use the same procedure as for adding custom words (described above), but use these word numbers in step 2:
11 = partition 1 ___________________________________________
12 = partition 2 ___________________________________________ (FA168CPS only)
13 = common lobby ________________________________________ (FA168CPS only)
Once a custom word is entered in any of these word locations (11-13), the system displays the appropriate partition’s word
instead of the default “DISARMED READY TO ARM” message.