


10
Operating Instructions
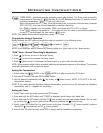
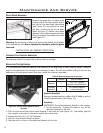
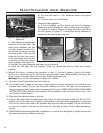
There is one venturi adjustment. Use this venturi
adjustment lever, shown in Figure 8, to achieve a proper
and efcient ame. Pull the rod forward for more air or
push it in for less air. Adjust lever until the ame pattern
is similar to Figure 79.
Figure 8: Adjusting the venturi air setting.
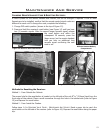
CONTROL PANEL:
Press the larger ame to increase ame height. Press the smaller ame to decrease ame height. For ne
adjustment tap the appropriate ame icon, refer to Figure 4. Can also be use to turn unit on or off.
BLOWER SPEED:
The blower will come on only when the replace is up to temperature (approximately 20 minutes).
Pressing the fan’s three (3) position rocker switch on the unit’s control panel will change the speed of the
fan; it is Low/Off/High (refer to Figure 4). The fan can not be controlled with the handset.
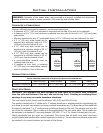
NORMAL SOUNDS DURING OPERATION:
Table 2: Normal Sounds.
Component Sound & Reason
Sonnet & Surrounds Creaking when heating up or cooling down.
Burner Light pop or poof when turned off; this is more common with LP units.
Temperature Sensor Clicking when it senses to turn the blower on or off.
Blower / Fan Air movement that increase and decreases with the speed of the blower.
The blower is pushing the heat from the replace into the room.
Gas Control Valve Dull click when turning on or off, this is the valve opening and closing.
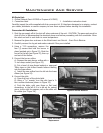
ADJUSTING VENTURI AIR SETTINGS:
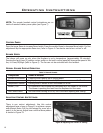
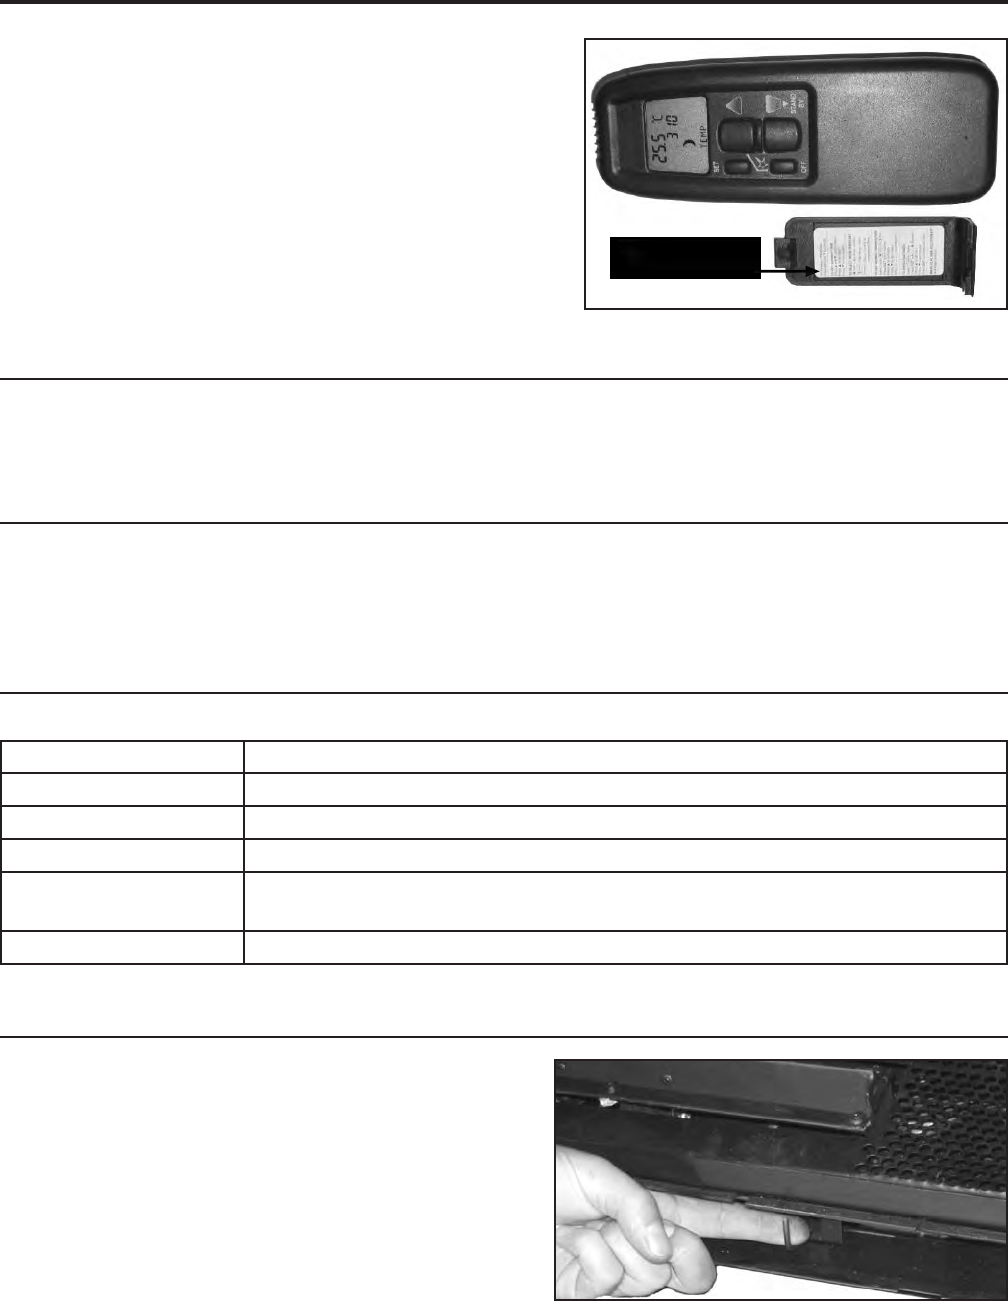
remote instructions
on battery cover
Figure 7. Remote Control Instruction.
NOTE: The remote handset control instructions are on
inside of remote’s battery cover plate (see Figure 7).