TO ACCESS INDOOR-AIR SECTION
COMPONENTS
Ⅲ DISASSEMBLING THE LATERAL DUCT
ADAPTER, FOR UNITS EQUIPPED WITH THE
LATERAL DUCT ACCESSORY PACKAGE
1.
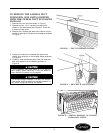
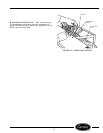
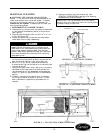
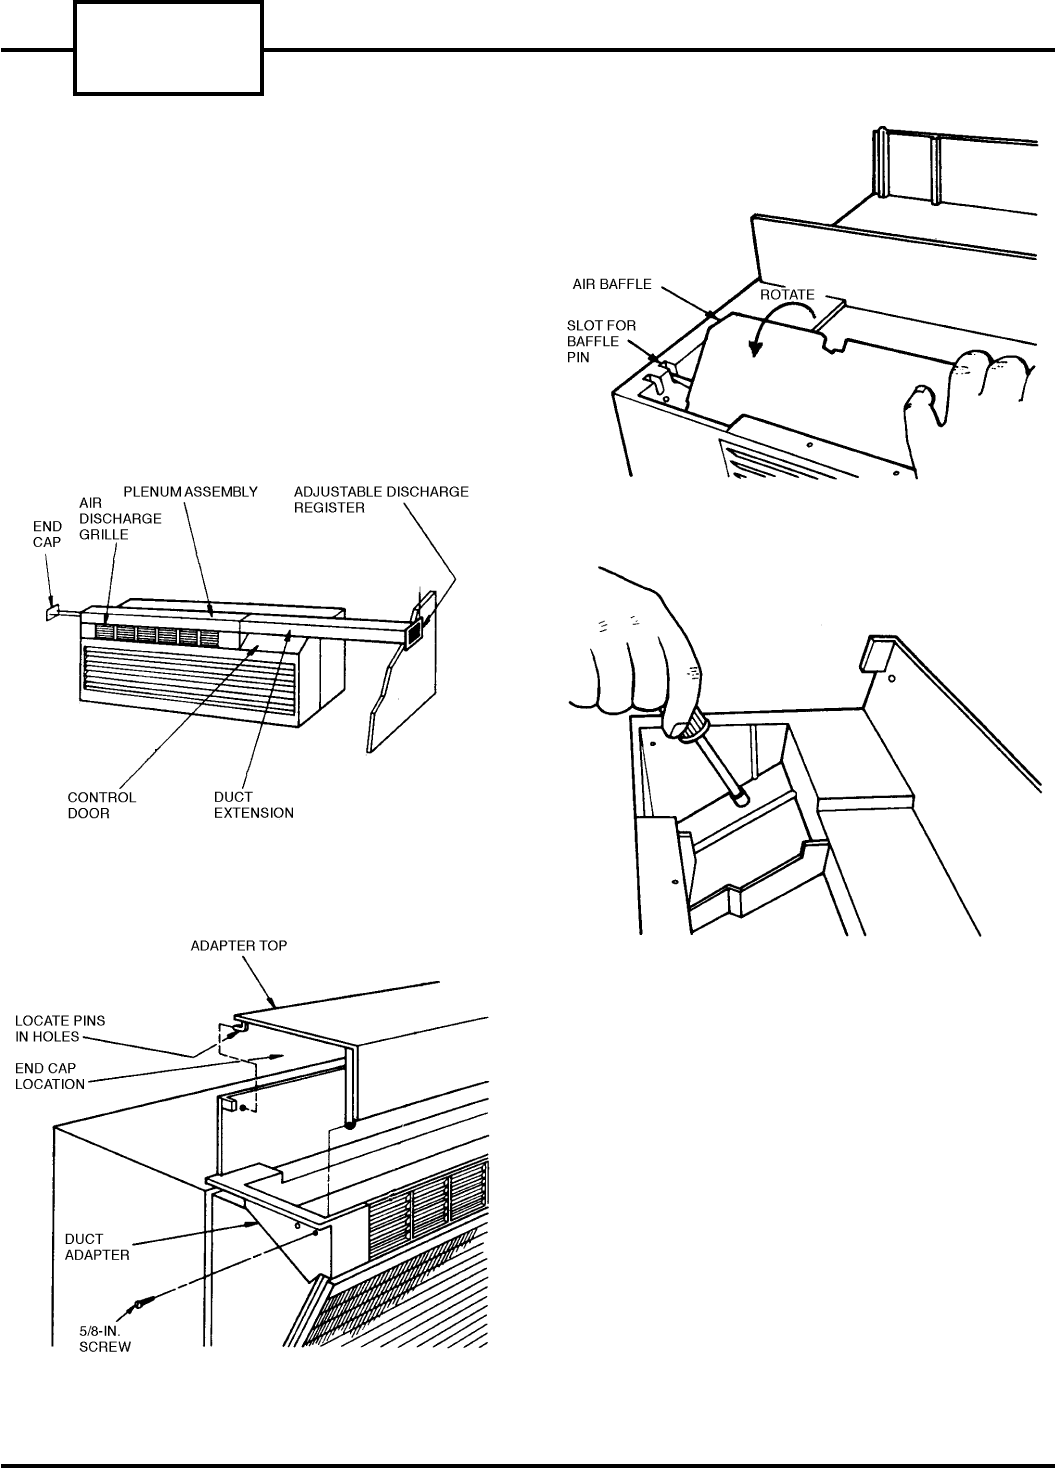
Remove the lateral duct adapter end cap, shown in
Figure 10, by removing the two
1
⁄
2
-in. screws
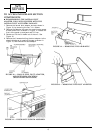
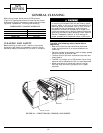
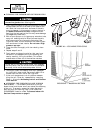
2. Remove the adapter top panel by removing one screw
at each end of unit as shown in Figure 11. Rotate the
front of the panel up and back and lift free.
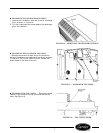
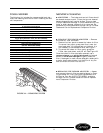
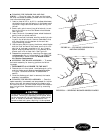
3. Rotate and lift the air baffle out of the unit. See
Figure 12.
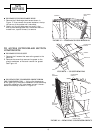
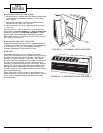
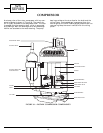
4. Remove the 2 screws holding the duct adapter to the
chassis discharge air opening flanges, as shown in
Figure 13, and remove the duct adapter.
FIGURE 10 — WALL SLEEVE, DUCT ADAPTER,
AND EXTENSION LOCATION
(RIGHT-HAND EXTENSION)
FIGURE 11 — DISCHARGE PLENUM ASSEMBLY
FIGURE 12 — REMOVING THE AIR BAFFLE
FIGURE 13 — REMOVING THE DUCT ADAPTER
52S
SERIES
6


