Ⅲ CLEANING THE INDOOR FAN AND FAN
SCROLL — Once the indoor fan wheel and the indoor
fan scroll have been accessed, proceed with the cleaning
instructions detailed below:
1. Insert a piece of 9.5-in. by 9.5-in. cardboard between
the blower wheel and the opening in the blower scroll
to prevent fungus and other debris from falling into
the coil.
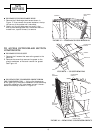
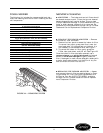
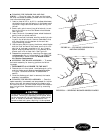
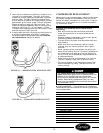
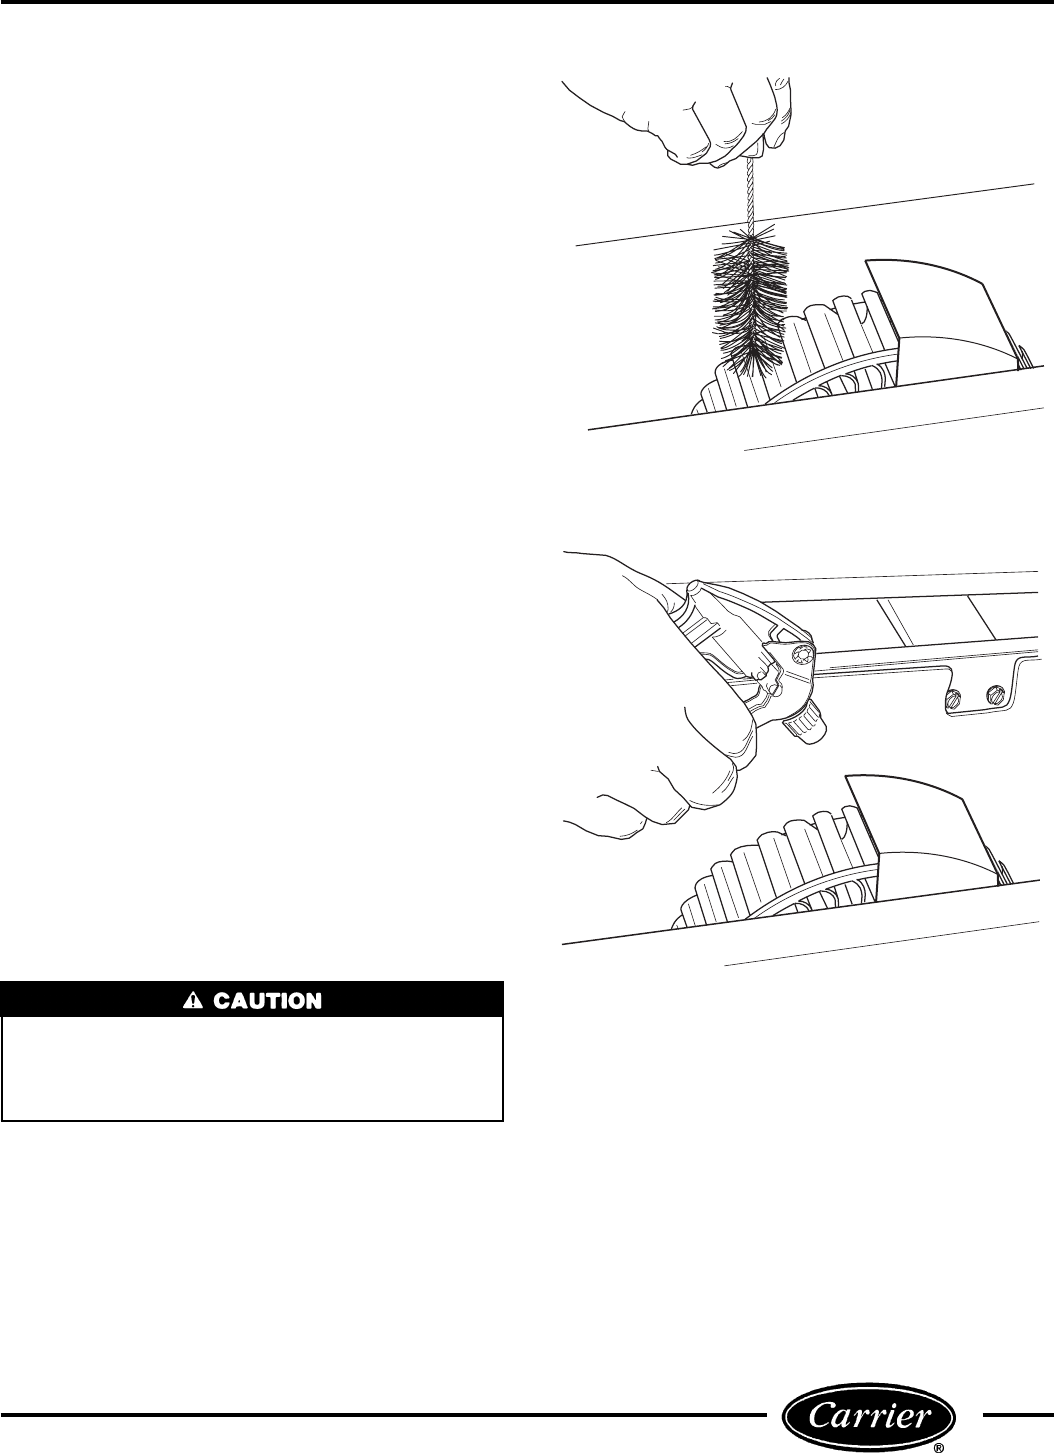
2. Bend a soft, spiral wound, long bristle brush, to con-
form to the inner curve of the blower wheel blades.
See Figure 30.
3. Insert the brush into every blower wheel blade and
gently brush out dried material.
4. Clean the walls of the blower scroll by carefully brush-
ing with the bristle brush. Vacuum loose debris that
may have fallen into the bottom of the scroll dur-
ing the cleaning process.
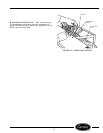
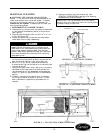
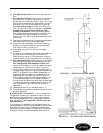
5. Use the spray bottle to spray the blower wheel blades
and the inner surface of the blower scroll with a 3%
solution of hydrogen peroxide to kill any fungus
spores. Wipe up excess solution in the bottom of the
blower scroll with a clean cloth. See Figure 31.
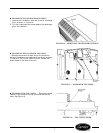
6. Reassemble components by reversing the steps used
to disassemble the unit as detailed in the GENERAL
DISASSEMBLY section under To Access Indoor-
Air Section Components.
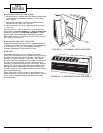
Ⅲ ACCESSING THE HEATER ASSEMBLY — To access
the heater assembly for cleaning, perform the follow-
ing steps:
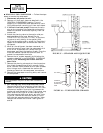
1. DISCONNECT ALL POWER TO THE UNIT.
2. Remove the unit front panel, the discharge air grille,
and the discharge air deck as described and shown
in Figure 1 and the GENERAL DISASSEMBLY
section.
3. Once the discharge air deck is removed, the heater
assembly is accessible.
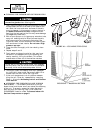
Ⅲ CLEANING THE HEATER ASSEMBLY — Once the
heater assembly is accessed, use compressed air to blow
off any dust that has accumulated on the heater coils.
Do not direct the air at the bi-metal discs of the tempera-
ture limit switches. Reassemble the unit by reversing
Steps1-3.
Do not touch the heater coils or the temperature limit
switches. Touching or depressing the bi-metal discs
on the temperature limit switches may affect the set
point or cause the secondary temperature limit
switch to electrically open, requiring it to be replaced.
FIGURE 30 — CLEANING INDOOR FAN
AND FAN SCROLL
FIGURE 31 — SPRAYING BLOWER WHEEL BLADES
15


