Ⅲ CLEANING THE INDOOR AND OUTDOOR COILS
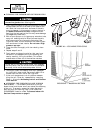
Coil fins are sharp and may cut hands. Wear heavy
protective gloves when cleaning coils.
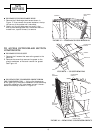
1. Use a vacuum cleaner or soft bristle brush to remove
surface fibers and dirt from each of the faces of the
coil. Both the inner and outer surfaces of the coils
must be cleaned. It is important to apply the tool in
the same direction of the fins, not against them.
Applying the tool against the fins may cause damage
(fin edges may bend over).
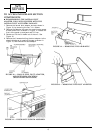
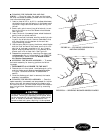
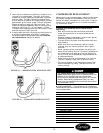
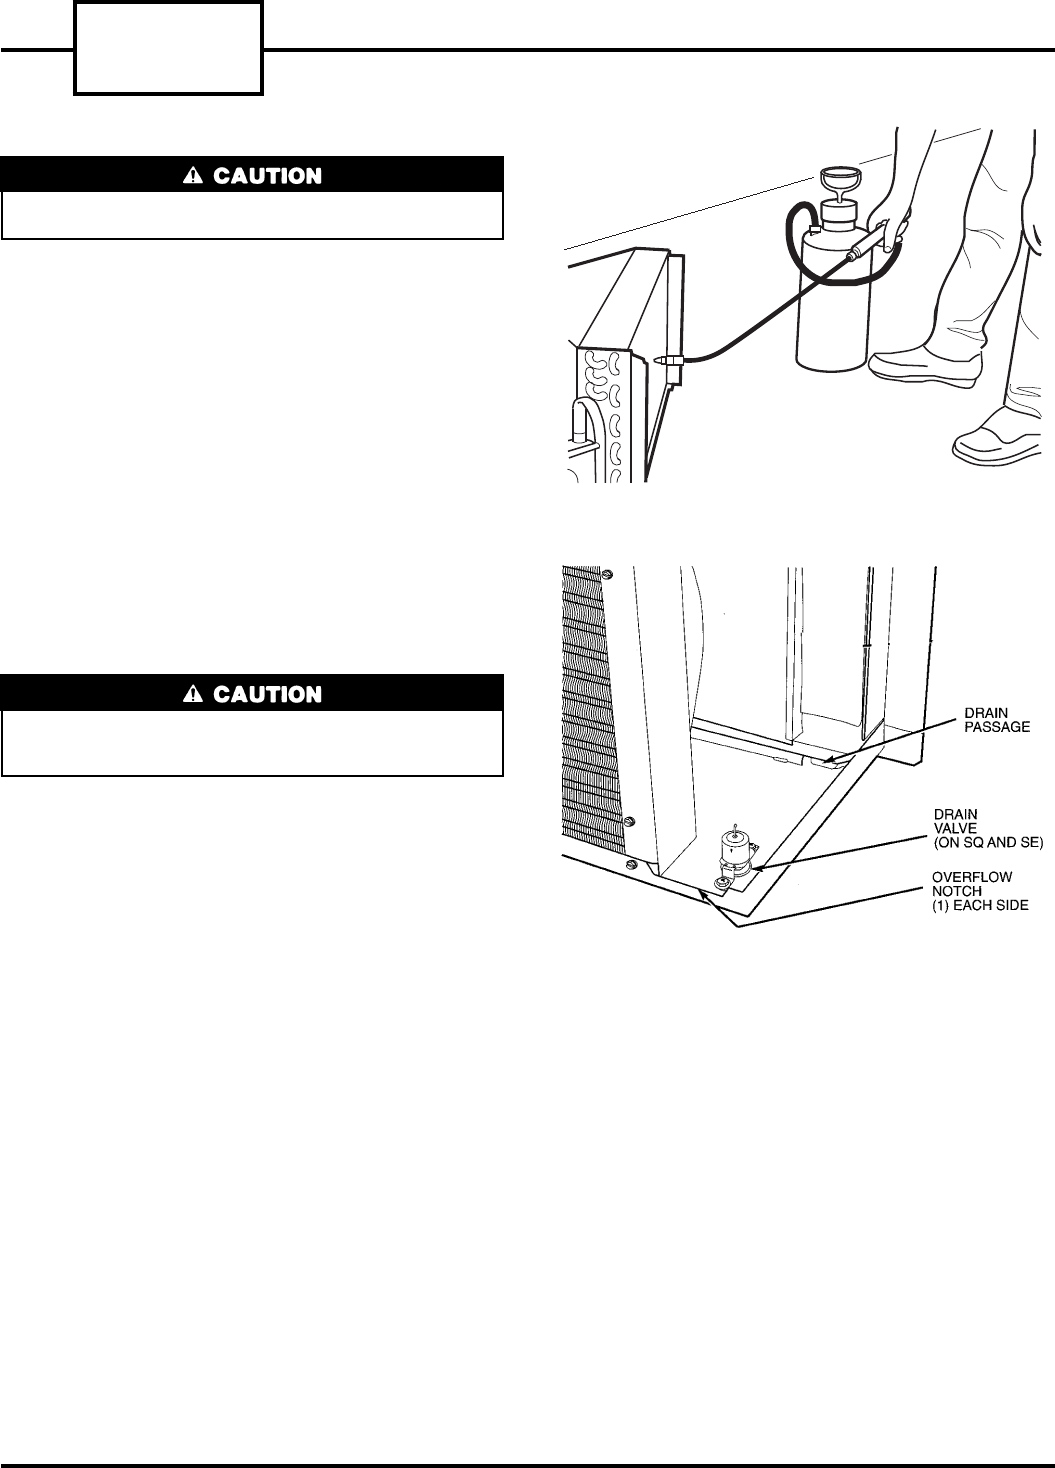
2. With a tank sprayer or a trigger spray extension tube,
spray coil cleaning solution evenly across the coils,
making sure coils are thoroughly saturated. See
Figure 28. Refer to instructions on the cleaning solu-
tion containers for best results. Do not use a high
pressure sprayer.
3. Rinse the coils thoroughly with low-velocity, clean
water.
4. Repeat steps 2 and 3.
5. Drain water and cleaning solution that may have
collected in the basepan during the cleaning pro-
cess by carefully tilting the chassis. This allows
excess water to flow out of the overflow notches.
Do not set unit on end to drain water from basepan,
or at any other time. Oil will drain from the compres-
sor sump, which could cause compressor failure.
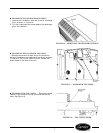
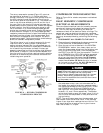
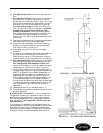
6. Thoroughly clean the basepan and drain passages
by rinsing with clean water. Be sure all debris is re-
moved from the drain valve. See Figure 29.
7. Allow unit components to air dry before reassem-
bling the unit. Once dry, reassemble by reversing
Steps1-9from the Accessing Indoor and Outdoor
Coils section.
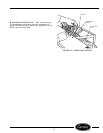
Ⅲ ACCESSING THE INDOOR FAN AND INDOOR
FAN SCROLL — Dried debris and build-up on the
blower wheel and blower scroll can reduce the efficiency
of the unit. To properly access the indoor fan and in-
door fan scroll for cleaning, refer to the GENERAL
DISASSEMBLY section under To Access Indoor-Air
Section Components on page 6.
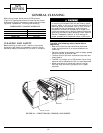
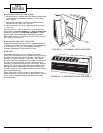
FIGURE 28 — CLEANING THE COILS
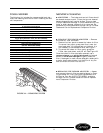
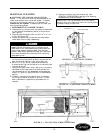
FIGURE 29 — BASEPAN SECTION
52S
SERIES
14


