Page 17.3
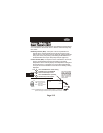
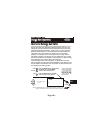
Adjusting the Light Sensor Adjusting the Light Sensor
The light sensor can be adjusted for variable degrees of sensitivity.
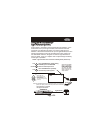
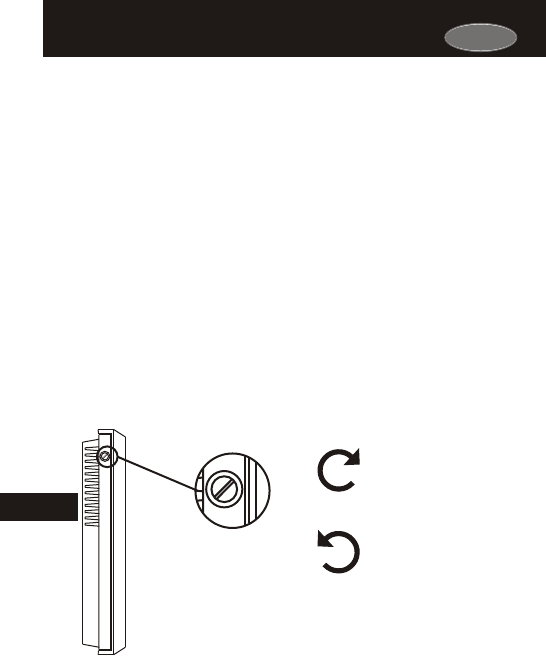
The sensitivity adjustment screw is located on the side of the
thermostat, as illustrated below. Turning the screw clockwise
increases the sensitivity of the sensor to light.
The Light Sensor Adjustment Screw
is located on the side of the thermostat.
Light Sensor
Adjustment Screw
Turn the screw clockwise
to INCREASE light sensor
sensitivity
Turn the screw counter-
clockwise to DECREASE
light sensor sensitivity
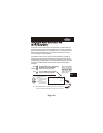
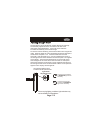
Due to varying lighting conditions, light activation may
not be suitable for all installations.
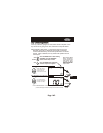
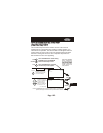
To check for correct sensitivity, place the thermostat in the Program On
mode. When the lights are on the thermostat should enter Occupied 1
and blink the Occupied 1 icon. If the thermostat does not enter
Occupied 1 while the lights are on, use the supplied screw driver to
turn the light sensor screw clockwise until the Occupied 1 icon appears
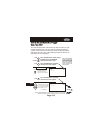
on the display. The thermostat should enter an unoccupied period
when the lights are off. If the sensor does not enter an unoccupied
period when the lights are turned off, use the supplied screw driver to
turn the light sensor screw counterclockwise until the Unoccupied icon
appears on the display, with the lights off.
17
Carrier


