


60
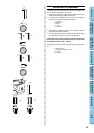
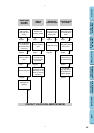
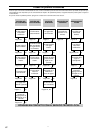
CONTENTS
KNOWING YOUR
SEWING MACHINE
STRAIGHT AND
ZIGZAG STITCHING
BUILT-IN STITCHES
BUTTONHOLE AND
BUTTON SEWING
USING ATTACHMENTS
AND APPLICATIONS
MAINTENANCE
INDEX
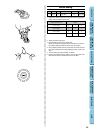
Monogramming and Embroidering
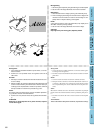
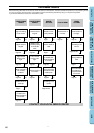
XL5030 XL5020 XL5010
Pattern Stitch Length Stitch Width Foot
4 4 2 Zigzag Stitch Fixed 1.7
5 5 3 Zigzag Stitch -2 Fixed 3.5 None
6 6 4 Zigzag Stitch Fixed 5
Preparing for Monogramming and Embroidering
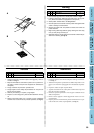
1. Place the darning plate on the needle plate.
(When the machine is equipped with a drop feed lever, lower the
feed dogs by setting the drop feed lever to the up position.)
2. Set the pattern selection dial to the appropriate Zigzag Stitch.
3. Draw the lettering (for monogramming) or design (for embroider-
ing) on the surface of the fabric.
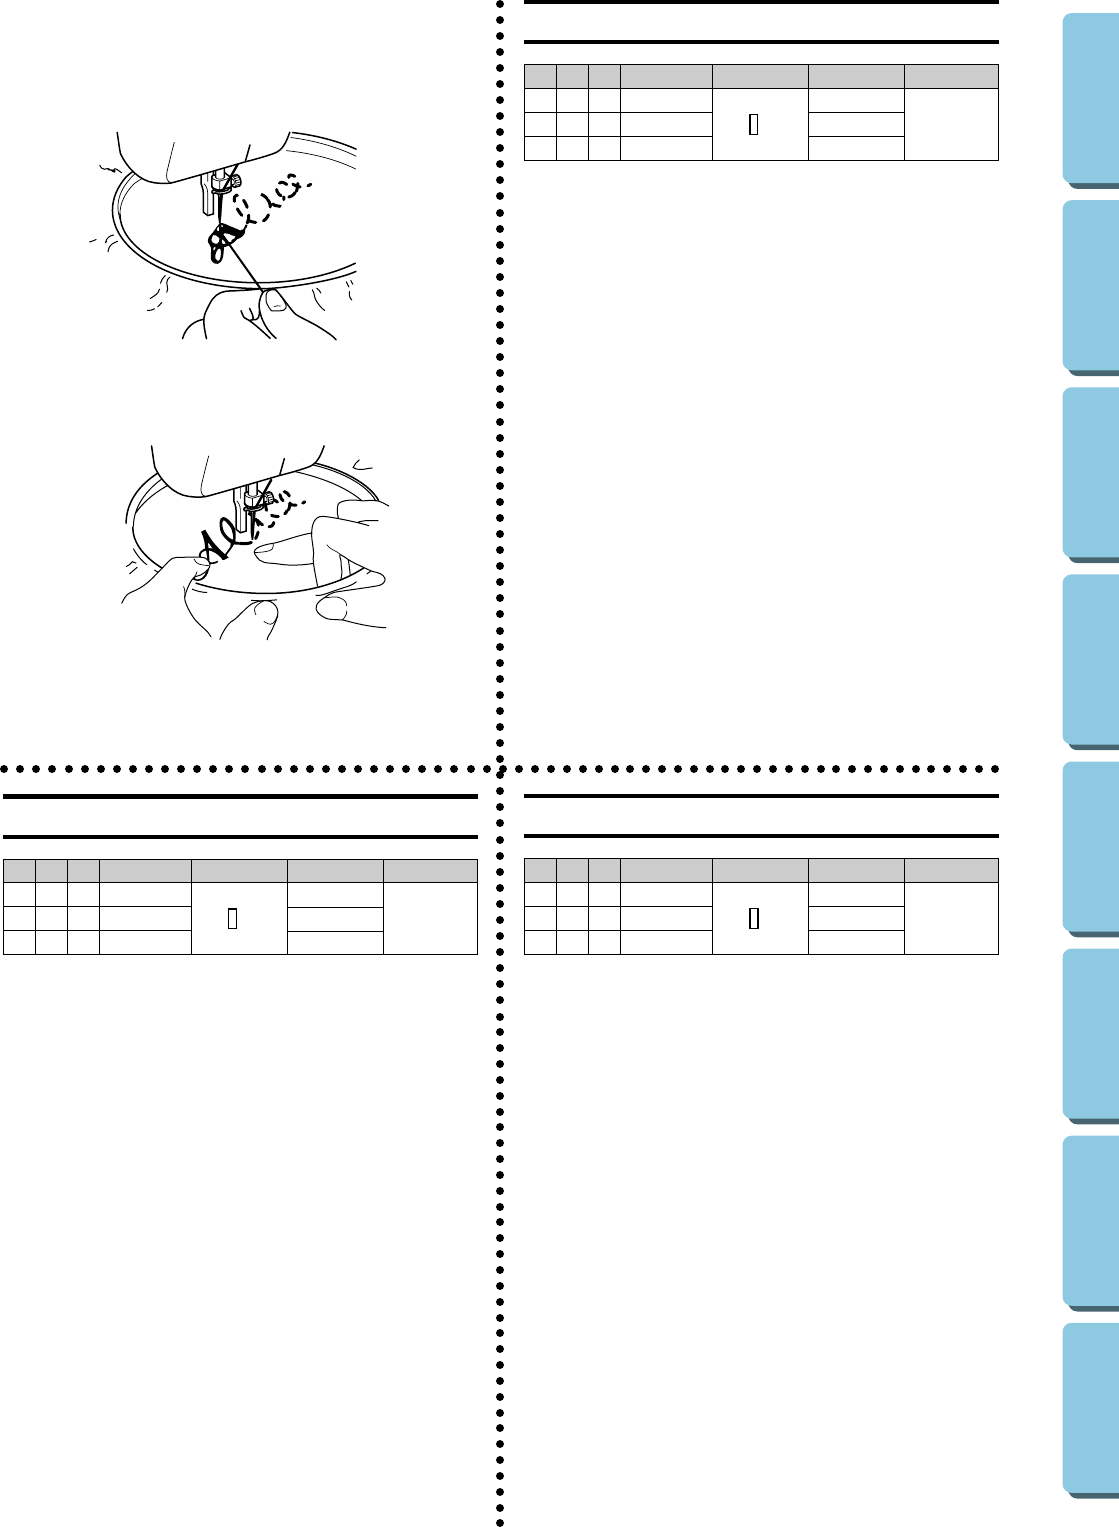
4. Stretch the fabric between embroidery hoops as firmly as possible
with the reverse side of the fabric under the inside hoop.
5. Place the work under the needle and lower the presser bar with the
presser foot holder assembly removed.
6. Pull the lower thread up through the work at the starting position
by turning the balance wheel and make a few holding stitches.
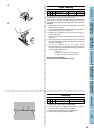
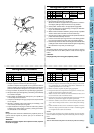
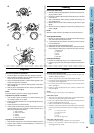
7. Hold the hoop with the thumbs and forefingers of both hands while
pressing the fabric with the middle and third fingers and supporting
the outside of the hoop with your small fingers.
NOTE:
After sewing without feeding, prepare for the next seam by returning
the drop feed lever to the down position so that the feed dogs are
raised.
CAUTION:
Keep fingers away from moving parts, especially needles.
Monogramas y bordados
XL5030 XL5020 XL5010
Número de puntada
Largo de puntada Ancho de puntada
Prensatelas
442
Puntada zigzag
Fija 1,7
Quitarlo, sin
553
Puntada zigzag
-2 Fija 3,5
664
Puntada zigzag
Fija 5
prensatelas
Preparación para monogramas y bordados
1. Coloque la placa de zurcido en la placa de la aguja.
(Cuando la máquina está equipada con una palanca de alimen-
tación de bajada, baje los ganchos de alimentación colocando la
palanca de alimentación de bajada en la posición hacia arriba).
2. Ponga el selector de puntadas en la puntada zigzag apropiada.
3. Dibuje las letras (para monogramas) o el diseño (para bordados)
en el derecho del tejido.
4. Estire el tejido en bastidor tanto como pueda y si es posible con
el revés abajo del circulo interior.
5. Coloque la tela debajo de la aguja y baje la barra del prensatelas
con su soporte.
6. Girando la ruedecilla, pase el hilo inferior por el trabajo y cosa
unas cuantas puntadas para asegurarlo.
7. Sujete el bastidor con el pulgar e índice de cada mano, presione
el tejido con los dedos medios y anulares y sostenga los exterio-
res del bastidor con los meñiques.
NOTA:
Después de haber cosido sin la alimentación, prepárese para la si-
guiente costura bajando la palanca para que se levanten los
alimentadores.
ATENCIÓN:
Mantenga los dedos alejados de las piezas móviles, especial-
mente de las agujas.
Monogrammi e ricami
XL5030 XL5020 XL5010
Punto Lunghezza Ampiezza Piedino
4 4 2 Punto zigzag Fissa 1,7
5 5 3 Punto zigzag -2 Fissa 3,5 Nessuno
6 6 4 Punto zigzag Fissa 5
Preparazione per la cucitura di monogrammi e ricami
1. Posizionare la placca da rammendo sulla placca dell’ago (se la macchi-
na è equipaggiata con la leva abbassa-trasportatore, abbassare il tra-
sportatore spostando la leva verso l’alto).
2. Ruotare il selettore dei punti sul punto zigzag appropriato.
3. Disegnare le lettere che comporranno il monogramma o il motivo orna-
mentale da rammendare sul diritto del tessuto.
4. Mettere il tessuto in un cerchietto da ricamo tenendolo ben teso, con il
rovescio del tessuto sotto al cerchietto interno.
5. Disporre il lavoro sotto l’ago e abbassare la barra di pressione a cui sarà
stato tolto in precedenza il supporto del piedino premistoffa.
6. Girando il volantino, tirare su il filo inferiore facendolo passare attra-
verso il lavoro nella posizione di inizio e cucire alcuni punti di fissag-
gio.
7. Usando entrambe le mani, tenere il cerchietto fra il pollice e l’indice e
nello stesso tempo premere il tessuto con il medio e l’anulare reggendo
con i mignoli il bordo esterno del cerchietto.
NOTA:
Dopo aver cucito senza trasporto, preparare la cucitura successiva riportan-
do la leva abbassa-trasportatore in posizione abbassata per alzare il traspor-
tatore.
ATTENZIONE:
Tenere le dita lontano dalle parti in movimento, in particolare dall’ago.