


30
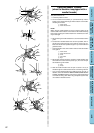
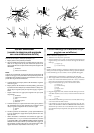
CONTENTS
KNOWING YOUR
SEWING MACHINE
STRAIGHT AND
ZIGZAG STITCHING
BUILT-IN STITCHES
BUTTONHOLE AND
BUTTON SEWING
USING ATTACHMENTS
AND APPLICATIONS
MAINTENANCE
INDEX
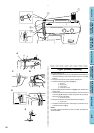
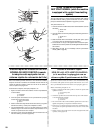
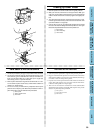
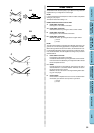
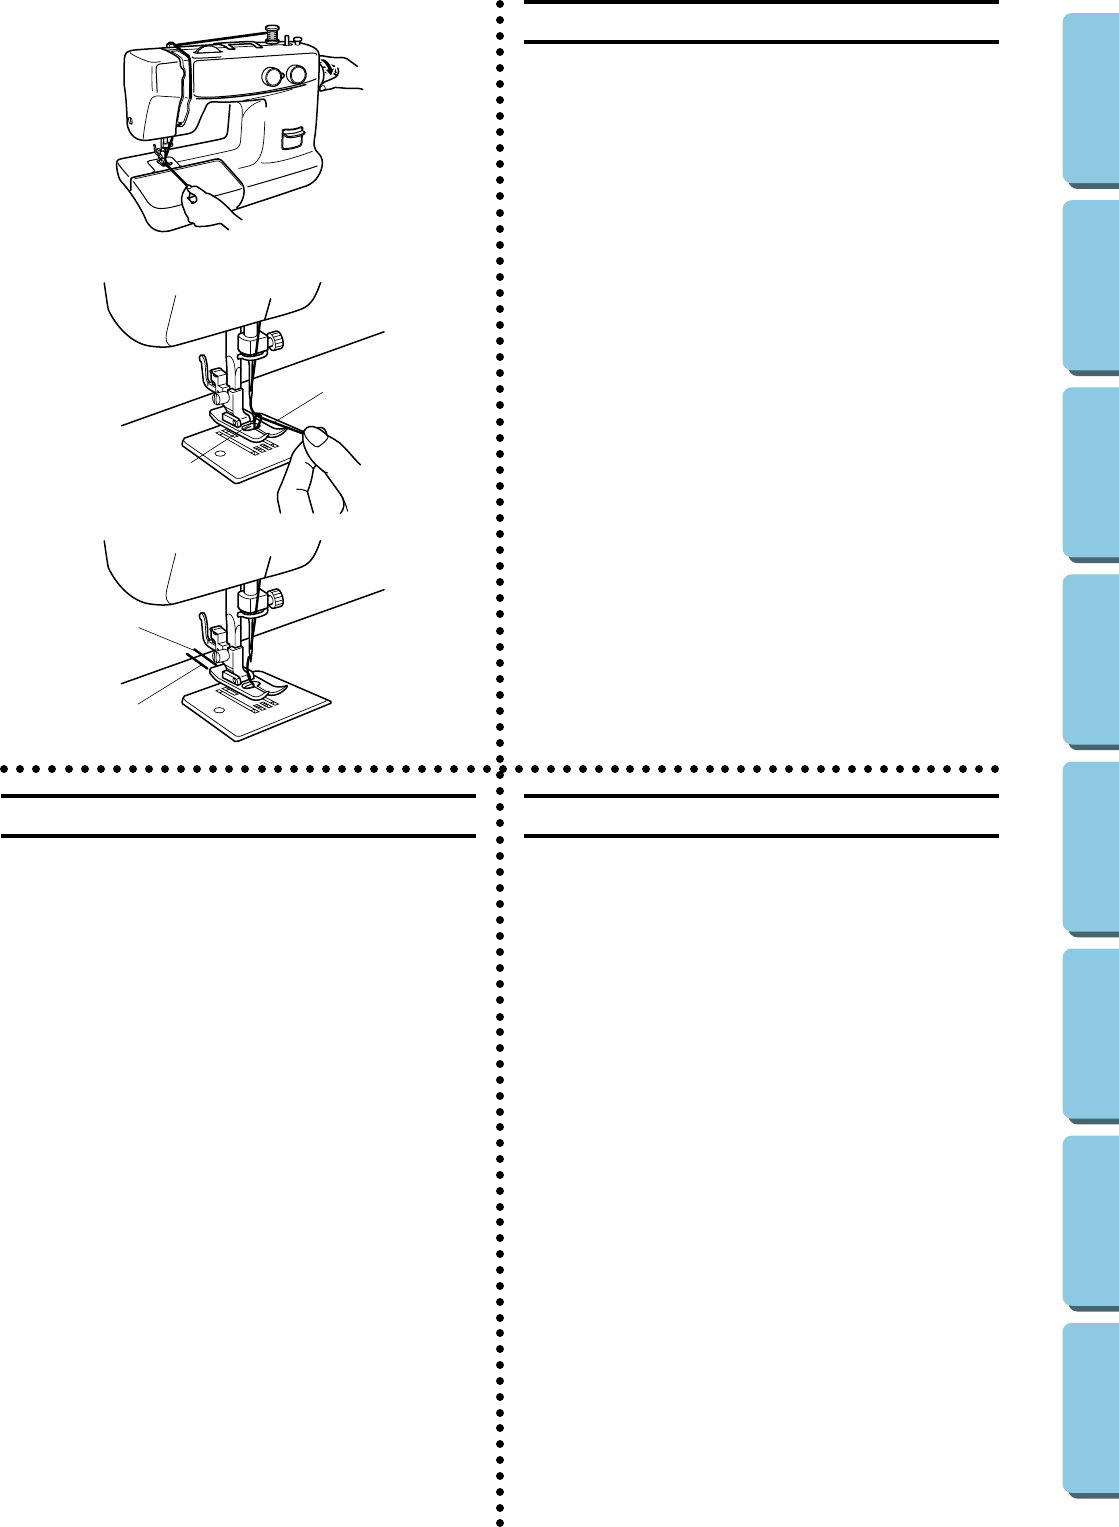
Drawing Up Lower Thread
1. Raise the presser foot and the needle to their highest positions.
2. With your left hand, hold the end of the upper thread. With your
right hand, turn the balance wheel toward you (counterclockwise)
until the needle moves down and back up again to its highest posi-
tion.
3. The upper thread should have caught the lower thread in a loop.
Pull the upper thread toward you and the lower thread will come
up from the bobbin in a large loop.
4. Pull out about 15 cm (6") of both threads and place them toward
the back of the machine straight behind the presser foot. The upper
thread should pass between the toes of the presser foot.
1 Upper thread
2 Lower thread loop
3 Lower thread
1
2
3
1
Para sacar el hilo de la canilla
1. Levante el prensatelas y la aguja a sus posiciones más elevadas.
2. Con la mano izquierda, sujete el extremo del hilo superior. Con la
mano derecha, gire la ruedecilla hacia usted (en el sentido con-
trario al de las manecillas de un reloj) hasta que la aguja vaya
hacia abajo y suba a su posición más alta.
3. El hilo superior debe haber enganchado el hilo inferior en un lan-
zo. Tire del hilo superior hacia usted y el hilo inferior saldrá de la
canilla en un amplio enlace.
4. Tire unos 15 cm (6") de ambos hilos y colóquelos hacia la parte
posterior de la máquina, justo detrás del prensatelas. El hilo su-
perior debe pasar entre los salientes del prensatelas.
1 Hilo superior
2 Enlace del hilo inferior
3 Hilo inferior
Raccolta del filo inferiore
1. Sollevare il piedino premistoffa e l’ago fino alla posizione più alta.
2. Reggere l’estremità del filo superiore con la mano sinistra. Con la mano
destra girare il volantino verso se stessi (in senso antiorario) finché l’ago
non scende e risale fino alla posizione più alta.
3. In questo modo il filo superiore afferrerà il filo inferiore formando un
cappio. Tirare il filo superiore verso se stessi in modo che il filo inferio-
re fuoriesca dalla spoletta in un ampio cappio.
4. Tirare circa 15 cm dei due fili e orientarli verso il retro della macchina
direttamente dietro il piedino premistoffa. Il filo superiore deve passare
attraverso le punte del piedino premistoffa.
1 Filo superiore
2 Cappio del filo inferiore
3 Filo inferiore