


8
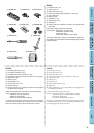
CONTENTS
KNOWING YOUR
SEWING MACHINE
STRAIGHT AND
ZIGZAG STITCHING
BUILT-IN STITCHES
BUTTONHOLE AND
BUTTON SEWING
USING ATTACHMENTS
AND APPLICATIONS
MAINTENANCE
INDEX
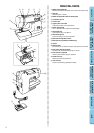
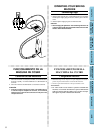
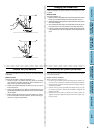
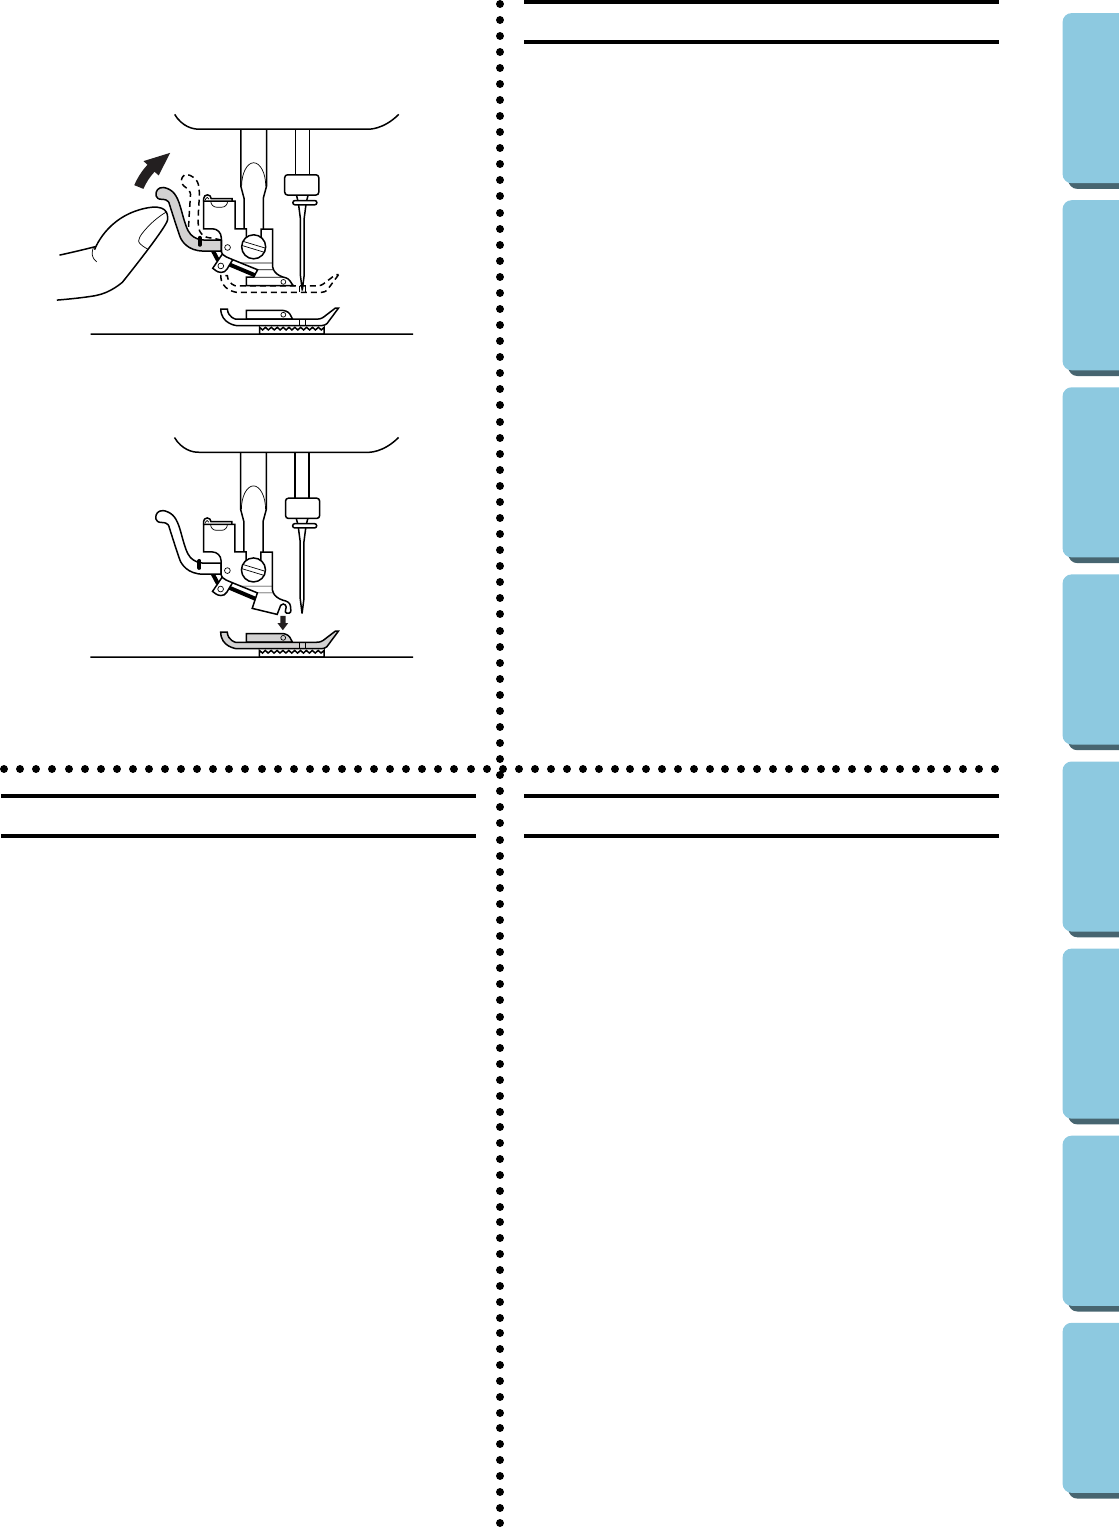
Changing the Presser Foot
It may be necessary to change the presser foot according to your sew-
ing needs.
SNAP-ON TYPE
Turn power switch to “O”.
1. Raise the needle to its highest position by turning the balance wheel
toward you (counterclockwise) and raise the presser foot lever.
2. Release the foot by raising the lever located at the back of the presser
foot holder assembly.
3. Place a different presser foot on the needle plate so that the bar on
the presser foot is in line with the slot in the presser foot holder.
4. Lower the presser foot lifter and fix the presser foot onto the holder.
If the presser foot is in the correct location, the bar should snap into
place.
Cambio del prensatelas
Según sus necesidades de costura, puede ser necesario cambiar el
prensatelas.
Modelo a presión
Desenchufar la máquina, interruptor principale a “O”.
1. Levante la aguja a su posición más alta, girando la ruedecilla
hacia usted (en el sentido contrario al de las manecillas de un
reloj) y levante la palanca del prensatelas.
2. Suelte el prensatelas levantando la palanca que hay en la parte
trasera del soporte.
3. Coloque otro prensatelas en la placa de agujas de tal forma que
la barra del prensatelas quede alineada con la ranura del soporte
del prensatelas.
4. Baje la palanca del prensatelas y fije el prensatelas en el sopor-
te. Si el prensatelas está bien colocado, la barra debe engan-
charse en su lugar correspondiente.
Sostituzione del piedino premistoffa
In base alle esigenze del lavoro da eseguire, può rendersi necessario sostitu-
ire il piedino premistoffa.
Piedino con innesto automatico
Mettere l’interruttore principale su “O”.
1. Far salire l’ago fino alla sua posizione più alta girando il volantino ver-
so se stessi (in senso antiorario) e sollevare la leva del piedino premistoffa.
2. Staccare il piedino premendo la levetta situata dietro al gruppo supporto
del piedino premistoffa.
3. Collocare il nuovo piedino premistoffa sulla placca dell’ago in modo
che il perno del piedino sia allineato alla scanalatura sul supporto del
piedino premistoffa.
4. Abbassare la leva del piedino premistoffa ed innestare il piedino nel
supporto. Se il piedino è applicato nella posizione corretta, il perno scat-
terà in posizione.