


21
CONTENTS
KNOWING YOUR
SEWING MACHINE
STRAIGHT AND
ZIGZAG STITCHING
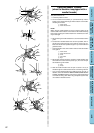
BUILT-IN STITCHES
BUTTONHOLE AND
BUTTON SEWING
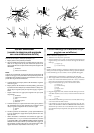
USING ATTACHMENTS
AND APPLICATIONS
MAINTENANCE
INDEX
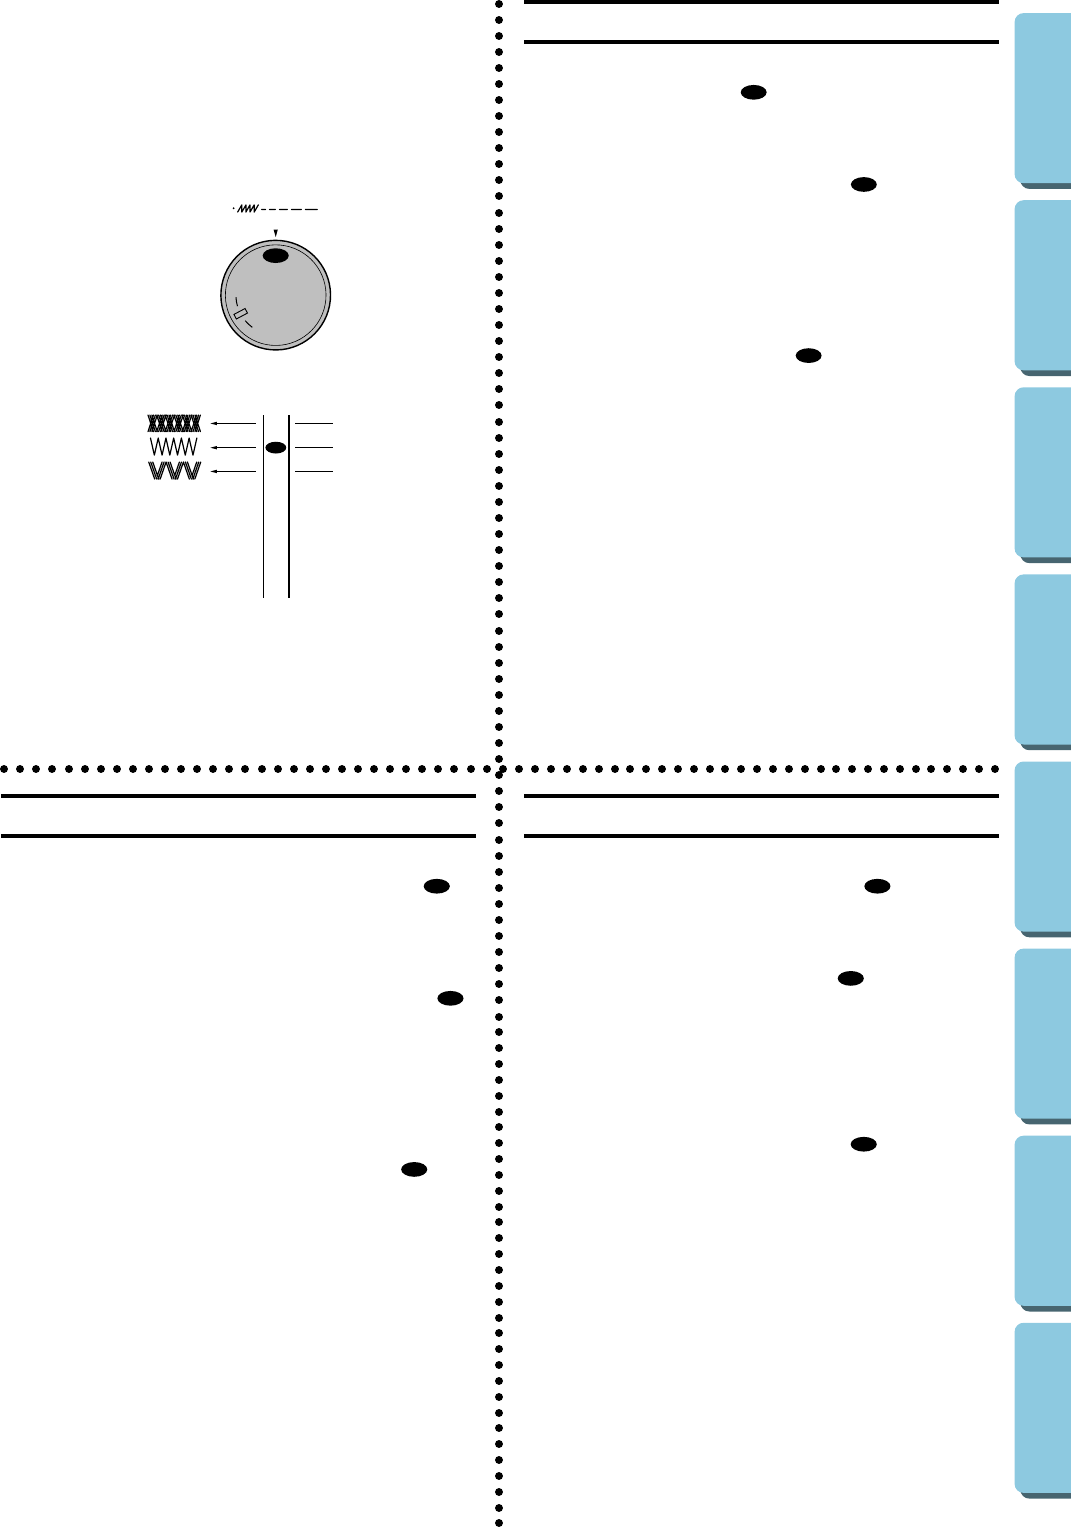
Stretch Stitching
Selecting a stretch stitch
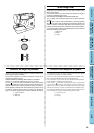
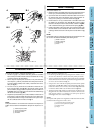
Setting the stitch length dial to “
SS
” changes the selected pattern to a
stretch stitch. (See fig. A.)
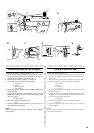
Adjusting the stretch stitching
The sewing machine is adjusted during its production so that the stretch
stitching can be sewn at the standard position “
SS
”.
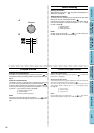
If different types of fabric or thread are used or the pattern does not
have the correct shape, turn the dial toward either “+” or “–” to adjust
the stitch. (See fig. B.)
1 Makes fine stitches
2 Standard position
3 Makes rough stitches
NOTE:
The dial cannot be turned past “· · · · +
SS
–”. Do not forcefully turn
the stitch length dial out of the allowable range.
–
+
•
•
•
•
4
3
2
3
1
B
A
–
0
3
4
2
1
•
•
•
•
+
SS
SS
Puntada elástica
Selección de la puntada elástica
Al establecer el selector del largo de puntada en la posición “
SS
”, la
puntada actualmente seleccionada cambia a la puntada elástica. (Ver
fig. A.)
Ajuste de la puntada elástica
La máquina de coser se ajusta durante su producción de tal forma
que puede coser la puntada elástica en la posición estándar “
SS
”.
Si utiliza un tipo de hilo diferente al de fábrica o la puntada realizada
no tiene la forma correcta, gire el disco hacia la posición “+” o hacia
la posición “–” para ajustar la puntada. (Ver fig. B.)
1 Realiza puntadas correctas
2 Posición estándar
3 Realiza puntadas defectuosas
NOTA:
No puede girar el disco después de la posición “· · · · +
SS
–”. No
intente forzar el selector del largo de puntada fuera del rango permi-
tido.
Cucitura con punti elastici
Selezione di un punto elastico
Ruotando il selettore della lunghezza del punto su “
SS
” si seleziona un
punto elastico. (Vedi fig. A.)
Regolazione del punto elastico
La macchina da cucire viene regolata in fabbrica in modo da eseguire punti
elastici con il selettore sulla posizione standard “
SS
”.
Se si utilizzano tipi di stoffa o di filo diversi oppure se il punto non ha la
forma corretta, ruotare il selettore verso “+” o “–” per regolare il punto.
(Vedi fig. B.)
1 Esegue punti fitti
2 Posizione standard
3 Esegue punti radi
NOTA:
Non è possibile ruotare il selettore oltre “. . . . +
SS
–”. Non forzare il
selettore della lunghezza del punto oltre l’intervallo consentito.