


7
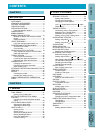
CONTENTS BEFORE USE
SEWING
UTILITY STITCHES MAINTENANCE
SEWING CHART
PATTERNS
(PROGRAMMED IN
MACHINE)
OPERATION PANEL
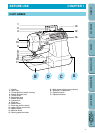
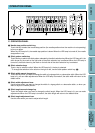
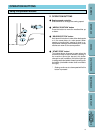
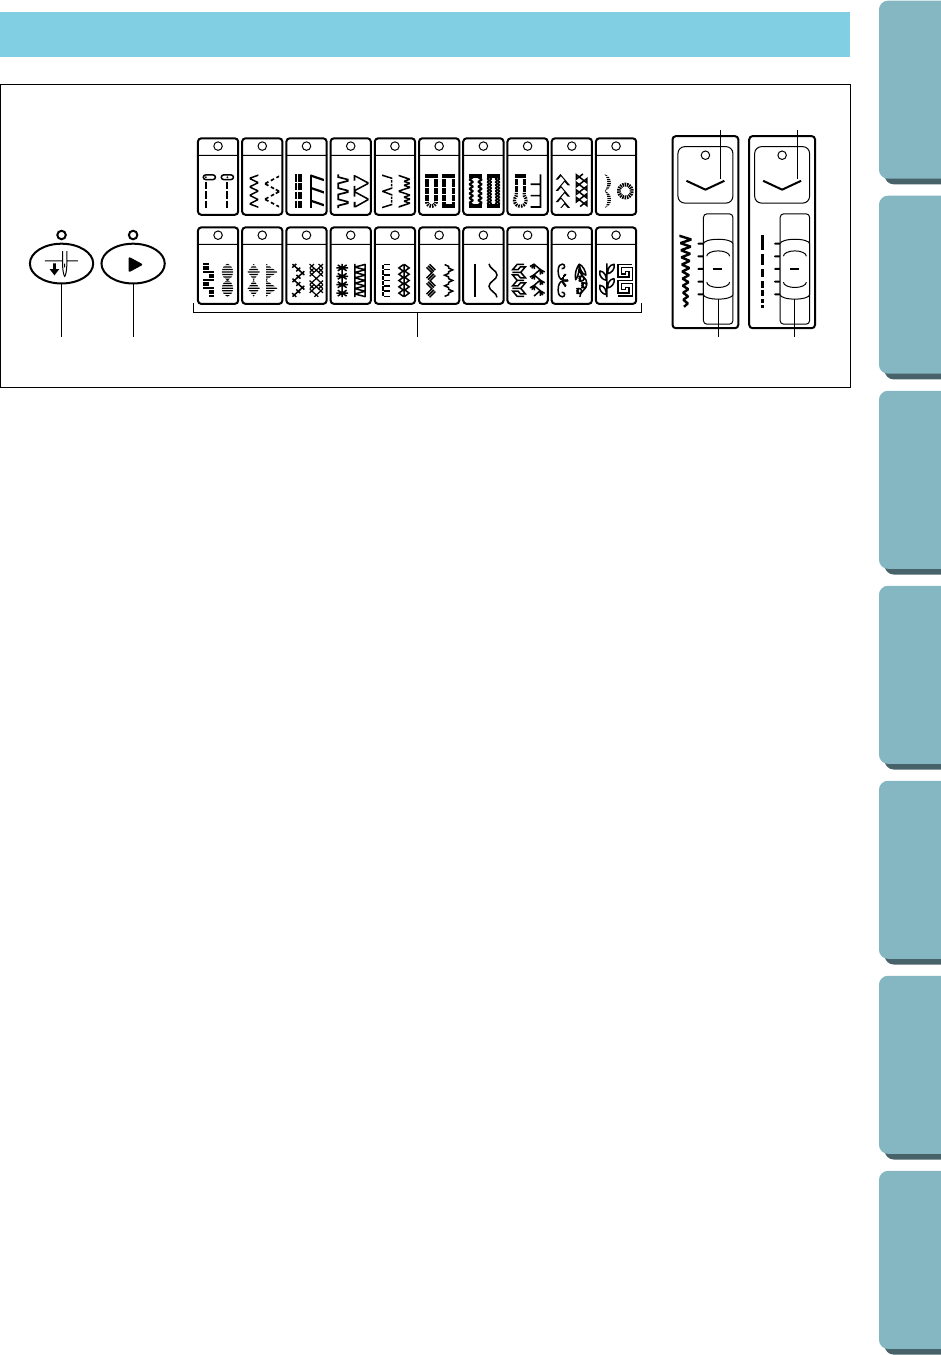
C. OPERATION PANEL
1 Needle stop position switch key
Touch this key to select the needle stop position (the needle position when the machine is not operating)
to be up or down.
When the LED lamp is lit, the needle stop position is down. When the LED lamp is turned off, the needle
stop position is up.
2 Stitch pattern switch key
Touch this key to switch the stitch pattern selected by the stitch selection key. When the LED lamp is lit, the
stitch shown by the mark on the right side of the stitch selection key is selected. When the LED lamp is
turned off, the stitch shown by the mark on the left side of the stitch selection key is selected.
3 Stitch selection keys
Touch a key to select the stitch. When the LED lamp is lit, the key is selected.
* To change the selection to the stitch on the right or left, use the stitch pattern switch key (2).
4 Stitch width manual change key
Touch this key when you want to change the width of a zigzag stitch or a decorative stitch. When the LED
lamp is lit, you can make adjustments. When the LED lamp is turned off, the stitch width will return to the
default value.
5 Stitch width adjustment lever
Use this lever when you want to change the width of a zigzag stitch or a decorative stitch, or when you
want to adjust the needle position.
6 Stitch length manual change key
Touch this switch when you want to change the stitch length. When the LED lamp is lit, you can make
adjustments. When the LED lamp is turned off, the stitch length will return to the default value.
7 Stitch length adjustment lever
Use this lever when you want to adjust stitch length.
1 2 3 4 5 6 87 109 1211 13 14 15 16 17 18 2019
21 22 23 24 2525 26 27 28 29 30 31 32 33 34 35 36 37 38 39 40
12 3
4
7
6
5