


Buttonhole Stitching 85
3
— — — — — — — — — — — — — — — — — — — — — — — — — — — — — — — — — — — — — — — — — — — — — — — — — — — —
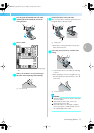
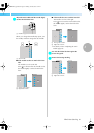
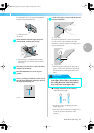
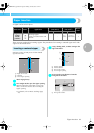
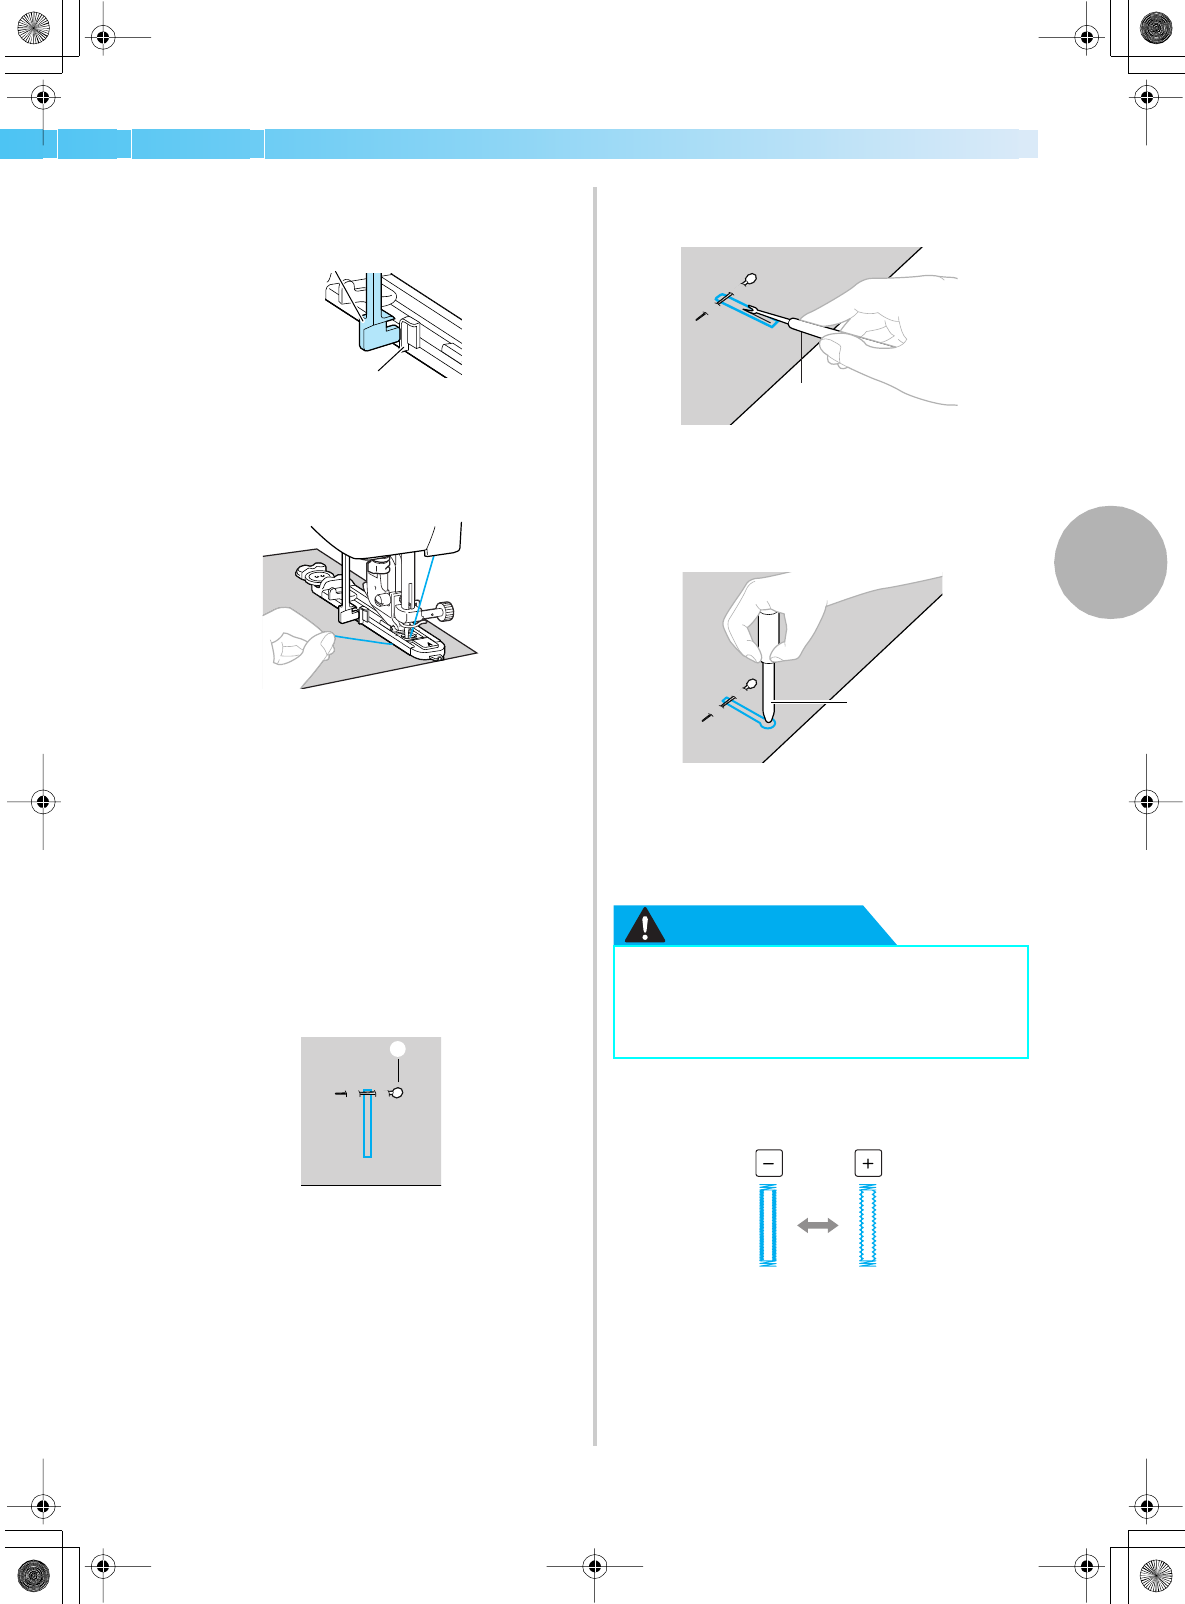
The buttonhole lever is positioned behind the
bracket on the buttonhole foot.
a Buttonhole lever
b Bracket
g
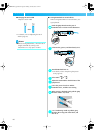
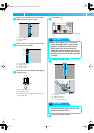
Gently hold the end of the upper thread in
your left hand, and then start sewing.
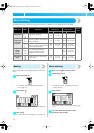
X Once sewing is completed, the machine
automatically sews reinforcement stitches,
then stops.
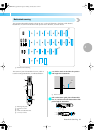
h
Raise the presser foot lever, remove the fabric,
and then cut the thread.
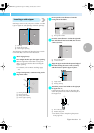
i
Raise the buttonhole lever to its original
position.
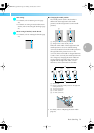
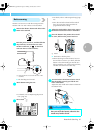
j
Insert a pin along the inside of one bar tack at
the end of the buttonhole stitching to prevent
the stitching from being cut.
a Pin
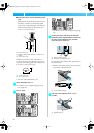
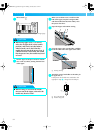
k
Use the seam ripper to cut towards the pin and
open the buttonhole.
a Seam ripper
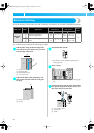
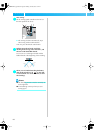
For keyhole buttonholes, use the eyelet punch
to make a hole in the rounded end of the
buttonhole, and then use the seam ripper to cut
open the buttonhole.
a Eyelet punch
• When using the eyelet punch, place thick
paper or some other protective sheet under
the fabric before punching the hole in the
fabric.
CAUTION
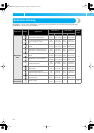
■ Changing the density of the stitching
Adjust the stitch length.
• For details, refer to "Adjusting the stitch
length" (page 57).
• If the fabric does not feed (for example, if it is
too thick), decrease the density of the
stitching.
2
1
1
● When opening the buttonhole with the
seam ripper, do not place your hands in
the cutting direction, otherwise injuries
may result if the seam ripper slips.
1
1
SE-BrotherE_sgml.book Page 85 Monday, June 30, 2003 3:44 PM