


154
EMBROIDERY — — — — — — — — — — — — — — — — — — — — — — — — — — — — — — — — — — — — — — — — — — — — —
Convenient Functions
Ways for fixing problems when there are mistakes in adjustments and colors for the pattern and
convenient functions will be explained here.
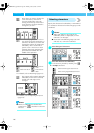
Adjusting the layout
The pattern is normally positioned in the center of the
embroidery frame.
You can check the layout before starting embroidery
and change the position and the size.
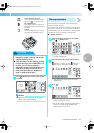
a
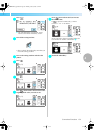
After selecting the embroidery pattern, press
.
X The screen for changing the pattern is
displayed.
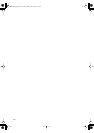
b
Press .
X The layout screen is displayed.
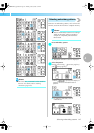
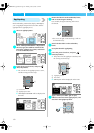
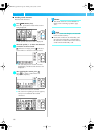
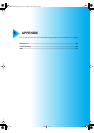
c
Check and adjust the layout.
a Layout within the frame
b Embroidery frame (M/S) used
c 90 degree rotation key
d Size key
e Horizontal mirror image key
f Stitch beginning key
g Trial key
h Change position key
i Pattern size/position switching key
j Embroidery size (cm)
• If you make a note of the values in the lower
left when you change the size and position,
you can sew with the same size and layout
even if you have to turn the power back on in
the middle of your work.
12
3
4
5
6
7
9
80
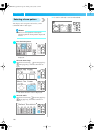
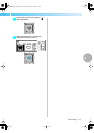
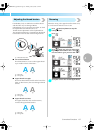
Embroidery frame size
The size of embroidery frame that can
be used is displayed. When the
smaller mark is grayed out in the
display, embroidery frame (small)
cannot be used.
Size key
Increases/decreases the size of the
embroidery. If is pressed, it
returns to the previous screen.
Decrease size
Return to original size
Increase size
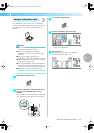
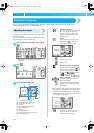
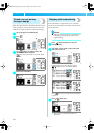
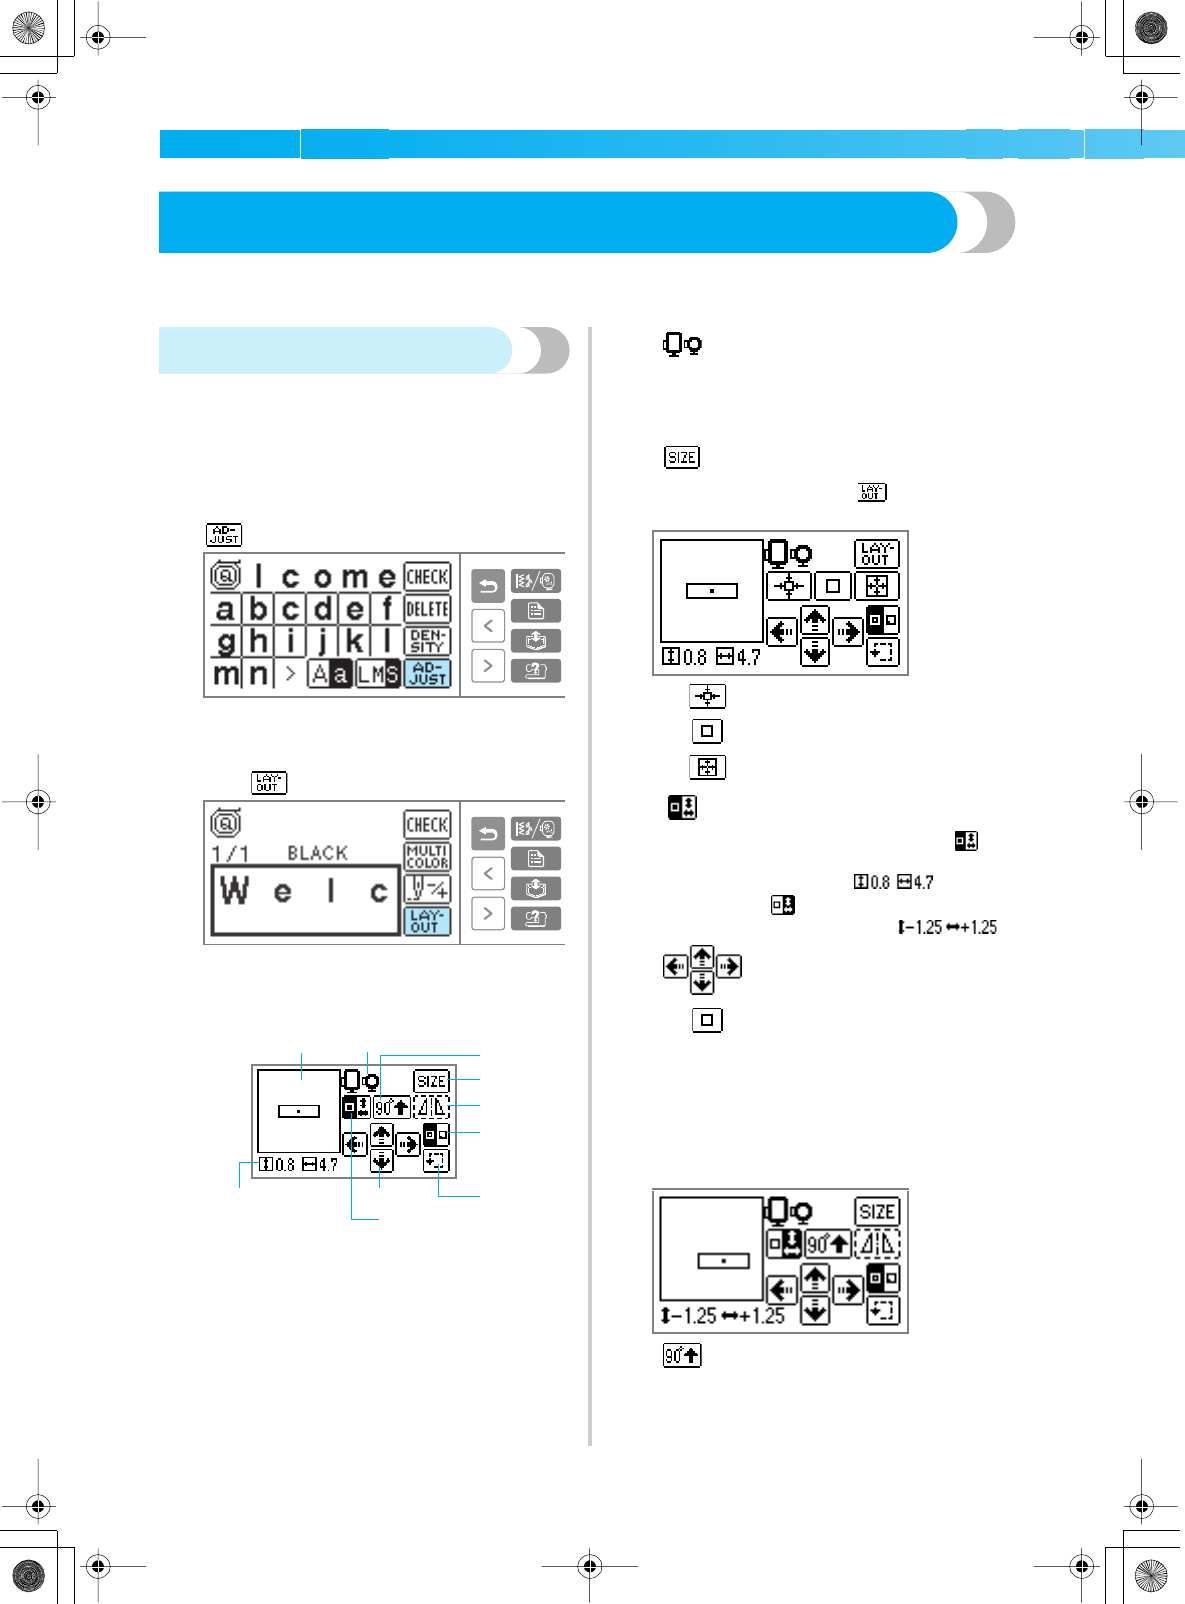
Pattern size/position switching key
Switches between pattern size and
position displays. When it is , the
pattern size is displayed in the lower
left (Example: ). When it
is , the distance moved is
displayed (Example: ).
Change position key
Moves the embroidery position up,
down, left and right.
Return to center position (when the
pattern was moved with the change
position key)
90 degree rotation key
Rotates the embroidery 90° each
time. The direction of the arrow
points to the top of design.
SE-BrotherE_sgml.book Page 154 Monday, June 30, 2003 3:44 PM