136
EMBROIDERY — — — — — — — — — — — — — — — — — — — — — — — — — — — — — — — — — — — — — — — — — — — — —
CAUTION
Note
z If the initial settings are made with hands or
objects near the carriage, the LCD may
return to the initial display. In such a case,
turn the power on again after removing
whatever is near the carriage.
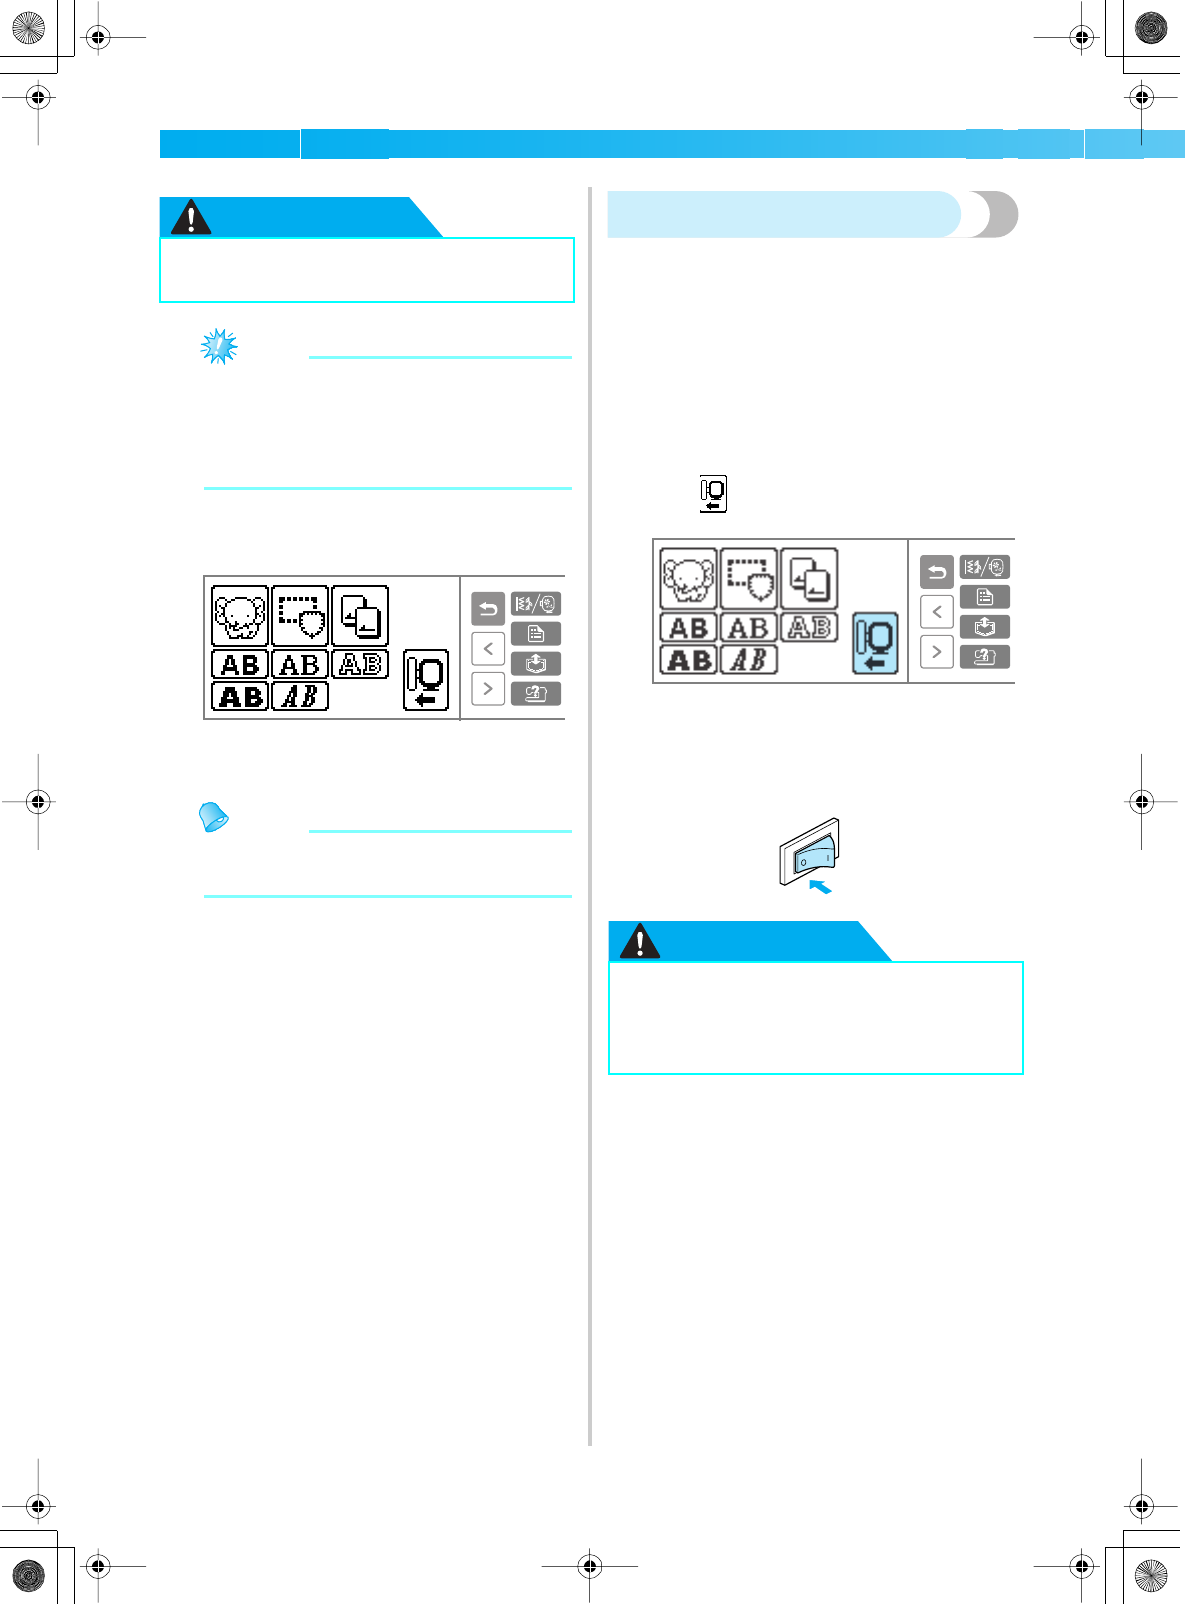
X The screen for selecting the embroidery
pattern group is displayed.
• For details on Embroidery patterns, refer to
"Selecting embroidery patterns" (page 144).
Memo
z Utility stitches cannot be selected when the
embroidery unit is attached.
Removing the embroidery unit
After removing the embroidery frame, turn off the
machine and remove the embroidery unit.
a
Be sure that the sewing machine is stopped.
b
Remove the embroidery frame.
• For details on removing the embroidery
frame, refer to "Removing the embroidery
frame" (page 143).
c
Press on the LCD.
X The embroidery carriage moves into a
position where it can be stored.
d
Turn off the sewing machine.
CAUTION
● Do not put your hands or anything else
near the carriage. It could cause injury.
● Always turn off the sewing machine
before removing the embroidery unit.
It could cause malfunctions if removed
when the machine was turned on.
SE-BrotherE_sgml.book Page 136 Monday, June 30, 2003 3:44 PM


