


2
Adjusting the Stitch Width and Length 57
— — — — — — — — — — — — — — — — — — — — — — — — — — — — — — — — — — — — — — — — — — — — — — — — — — — —
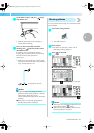
CAUTION
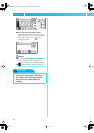
Adjusting the stitch length
The stitch length can be adjusted on the LCD.
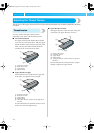
a
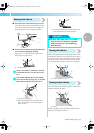
Turn on the sewing machine.
X The LCD comes on.
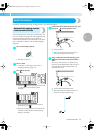
b
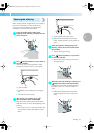
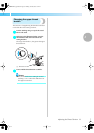
Select a stitch.
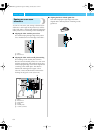
■ For groups other than utility stitches
When selecting stitches in the decorative
stitch, satin stitch, cross-stitch and combined
utility stitch groups, press after selecting
the stitch.
X A screen containing settings for the selected
stitch appears.
• For details on selecting a stitch, refer to
"Selecting stitching" (page 47).
• Immediately after the stitch is selected, the
standard settings (highlighted) appear.
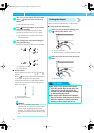
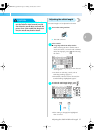
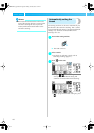
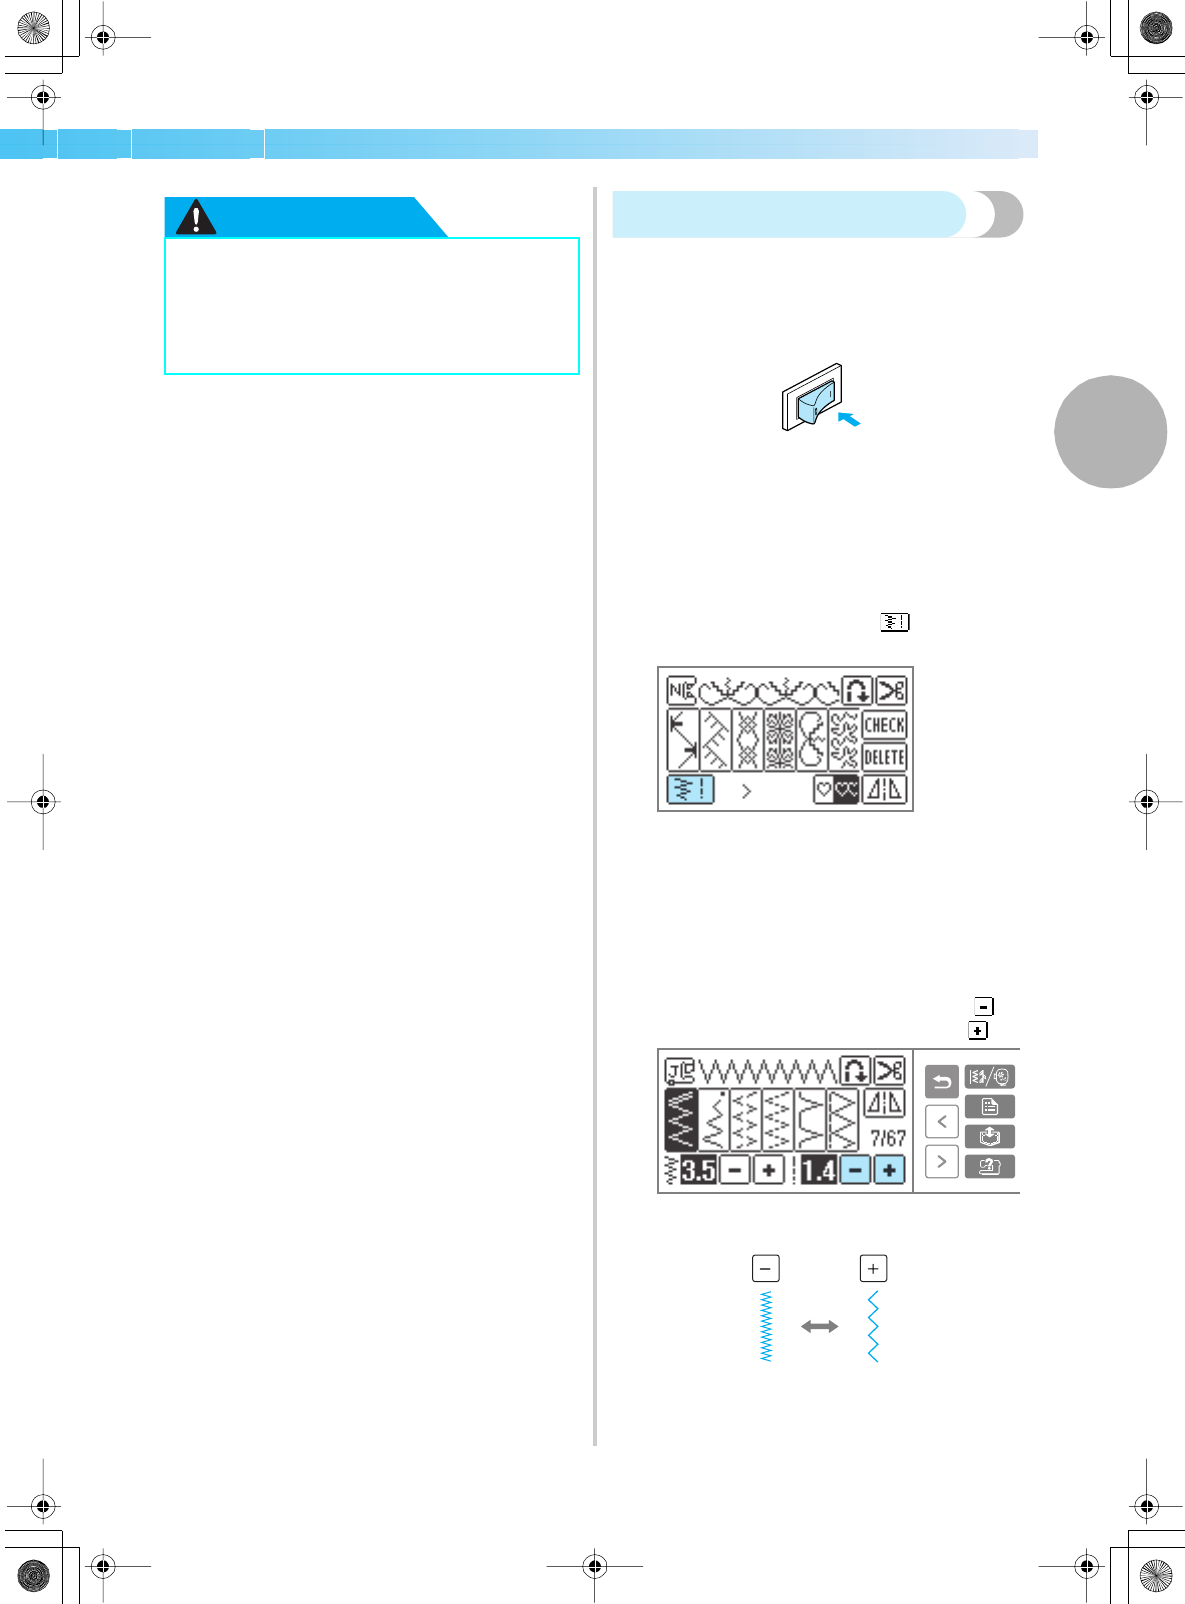
c
To make the stitch length shorter, press .
To make the stitch length longer, press .
X The stitch length is changed.
• If the setting is changed, the highlighted
value is erased.
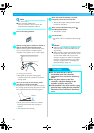
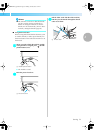
● After adjusting the stitch width, slowly
turn the balance wheel toward you and
check that the needle does not touch the
presser foot. If the needle hits the presser
foot, the needle may bend or break.
SE-BrotherE_sgml.book Page 57 Monday, June 30, 2003 3:44 PM