


A
B
C
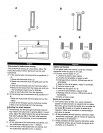
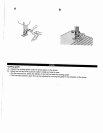
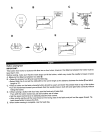
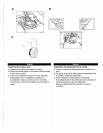
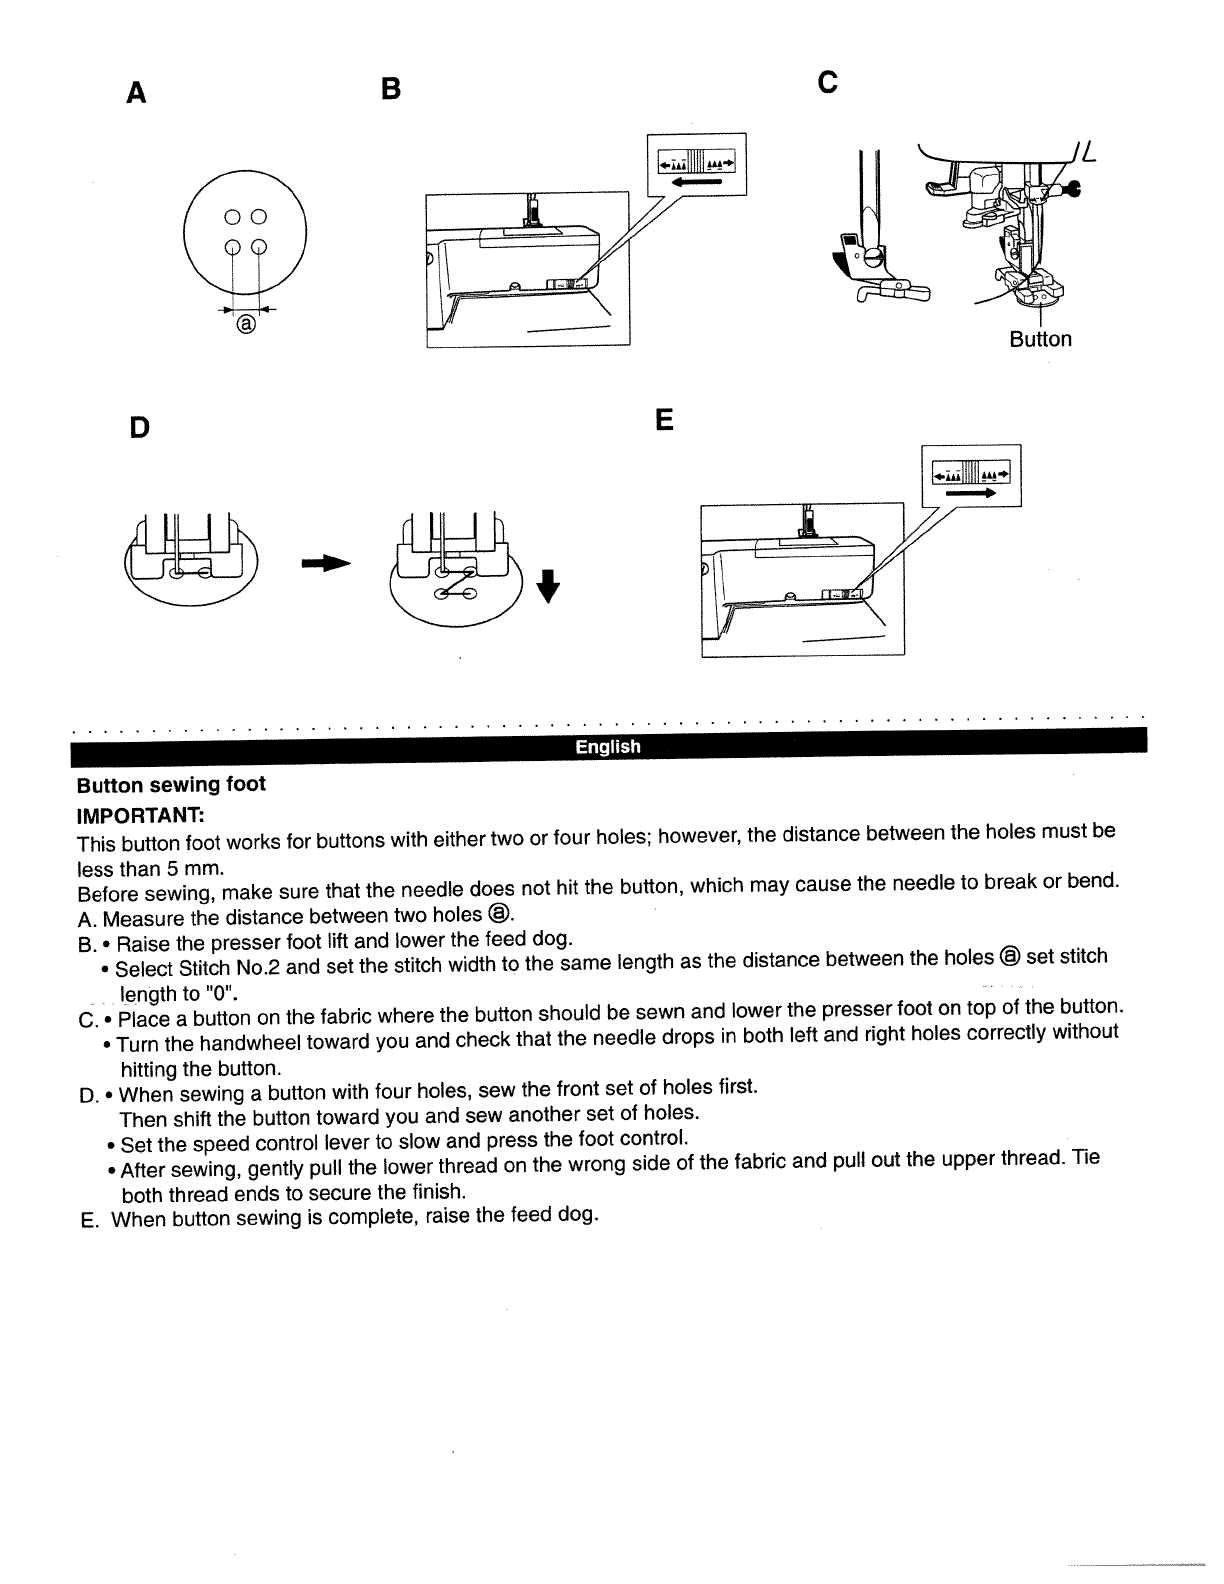
Button
sewing
foot
IMPORTANT:
This
button
foot
works
for
buttons
with
either
two
or
four
holes;
however,
the
distance
between
the
holes
must
be
less
than
5
mm.
Before
sewing,
make
sure
that
the
needle
does
not
hit
the
button,
which
may
cause
the
needle
to
break
or
bend.
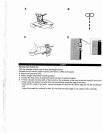
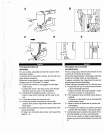
A.
Measure
the
distance
between
two
holes
®.
B.
•
Raise
the
presser
foot
lift
and
lower
the
feed
dog.
•
Select
Stitch
No.2
and
set
the
stitch
width
to
the
same
length
as
the
distance
between
the
holes
©
set
stitch
length
to
“0’.
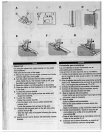
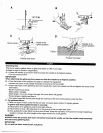
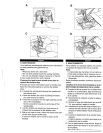
C.
•
Place
a
button
on
the
fabric
where
the
button
should
be
sewn
and
lower
the
presser
foot
on
top
of
the
button.
•
Turn
the
handwheel
toward
you
and
check
that
the
needle
drops
in
both
left
and
right
holes
correctly
without
hitting
the
button.
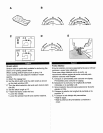
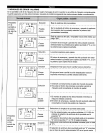
D.
•
When
sewing
a
button
with
four
holes,
sew
the
front
set
of
holes
first.
Then
shift
the
button
toward
you
and
sew
another
set
of
holes.
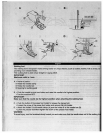
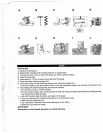
•
Set
the
speed
control
lever
to
slow
and
press
the
foot
control.
•
After
sewing,
gently
pull
the
lower
thread
on
the
wrong
side
of
the
fabric
and
pull
out
the
upper
thread.
Tie
both
thread
ends
to
secure
the
finish.
E.
When
button
sewing
is
complete,
raise
the
feed
dog.
D
E
+
English