25
W415-0788 / A / 09.22.09
5.0 INSTALLATION
!
WARNING
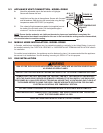
FOLLOW THE VENTING INSTRUCTIONS EXACTLY.
ALL INNER EXHAUST AND OUTER INTAKE VENT PIPE JOINTS MAY BE SEALED USING EITHER RED
RTV HIGH TEMP SILICONE SEALANT W573-0002 (NOT SUPPLIED) OR BLACK HIGH TEMP MILL PAC
W573-0007 (NOT SUPPLIED) WITH THE EXCEPTION OF THE APPLIANCE EXHAUST FLUE COLLAR
WHICH MUST BE SEALED USING MILL PAC.
IF USING PIPE CLAMPS TO CONNECT VENT COMPONENTS, 3 SCREWS MUST ALSO BE USED TO
ENSURE THE CONNECTION CANNOT SLIP OFF.
DO NOT CLAMP THE FLEXIBLE VENT PIPE.
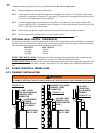
RISK OF FIRE, EXPLOSION OR ASPHYXIATION. IMPROPER SUPPORT OF THE ENTIRE VENTING
SYSTEM MAY ALLOW VENT TO SAG AND SEPARATE. USE VENT RUN SUPPORTS AND CONNECT
VENT SECTIONS PER INSTALLATION INSTRUCTIONS.
RISK OF FIRE, DO NOT ALLOW LOOSE MATERIALS OR INSULATION TO TOUCH THE VENT PIPE.
REMOVE INSULATION TO ALLOW FOR THE INSTALLATION OF THE ATTIC SHIELD AND TO
MAINTAIN CLEARANCES TO COMBUSTIBLES.
68.2
5.1 MINIMUM CLEARANCE TO COMBUSTIBLES
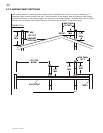
GDS60:
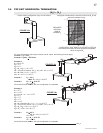
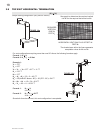
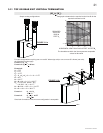
HORIZONTAL VENT SECTIONS: A minimum clearance of 2" at the top and1" at the bottom and sides of the vent pipe on
all horizontal runs is required.
VERTICAL VENT SECTIONS: A minimum of 1" all around the vent pipe on all vertical runs to combustibles is required.
GS60:
A minimum of 1" all around the B vent pipe on both horizontal and vertical runs to combustibles is required.
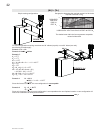
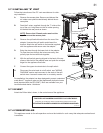
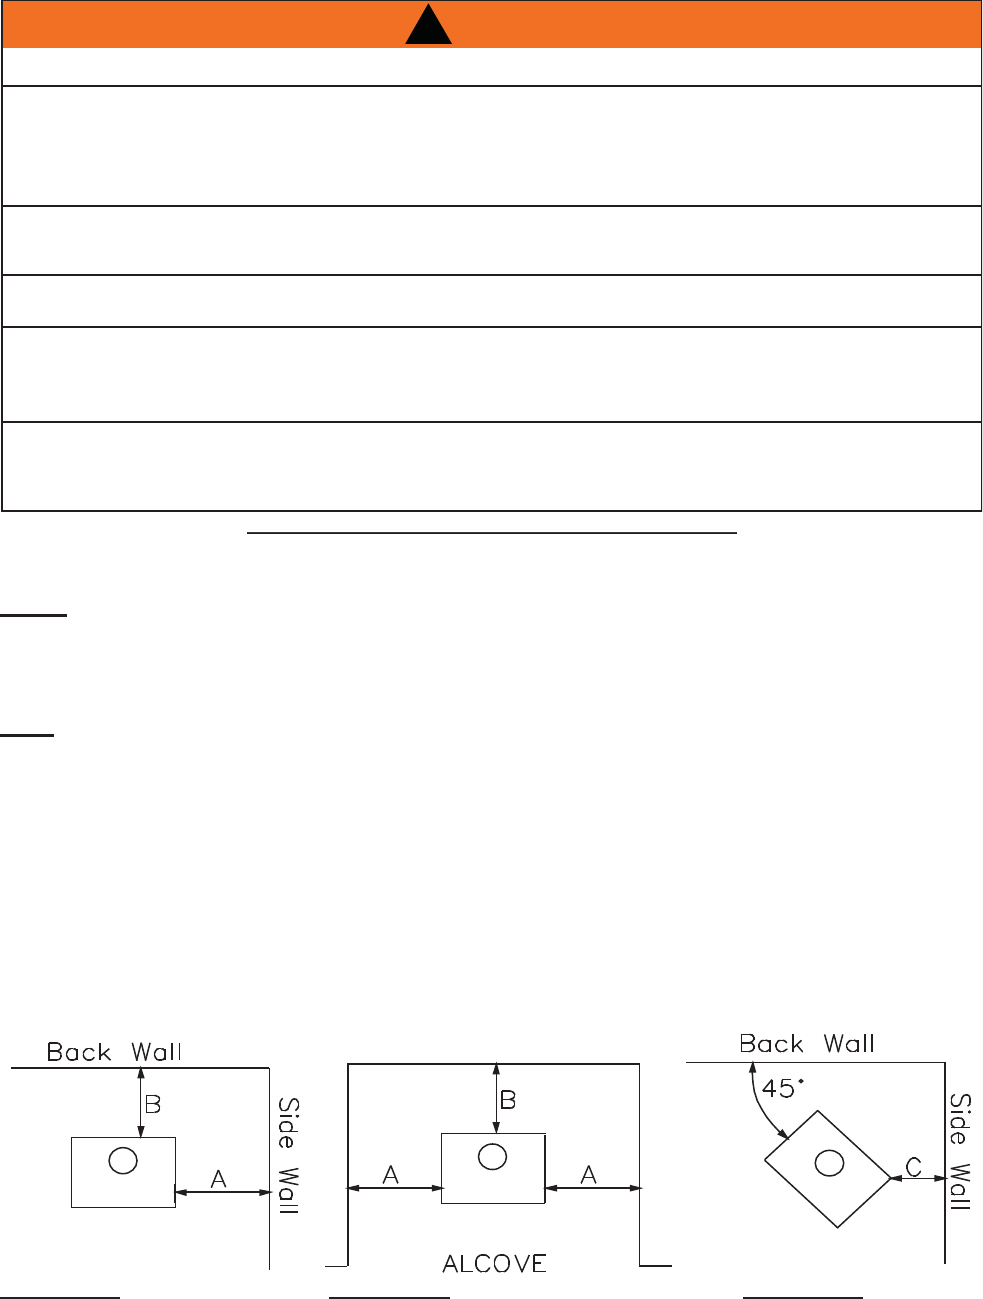
MAINTAIN THESE MINIMUM CLEARANCES TO COMBUSTIBLES:
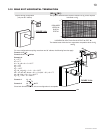
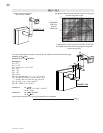
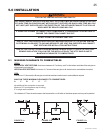
A. 6" B. 6" C. 2"*
No additional fl oor protection is required.
Minimum 20" from appliance top to ceiling.
6" to single wall connector.
*At a distance of 2" from the wall, access to the blower switch, on-off switch or the blower power cord may not be practical.
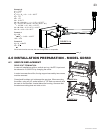
FIGURE 5.1a FIGURE 5.1b FIGURE 5.1c


